The start of 2022 means getting organized, and hopefully adding a lot of fun things to the calendar!
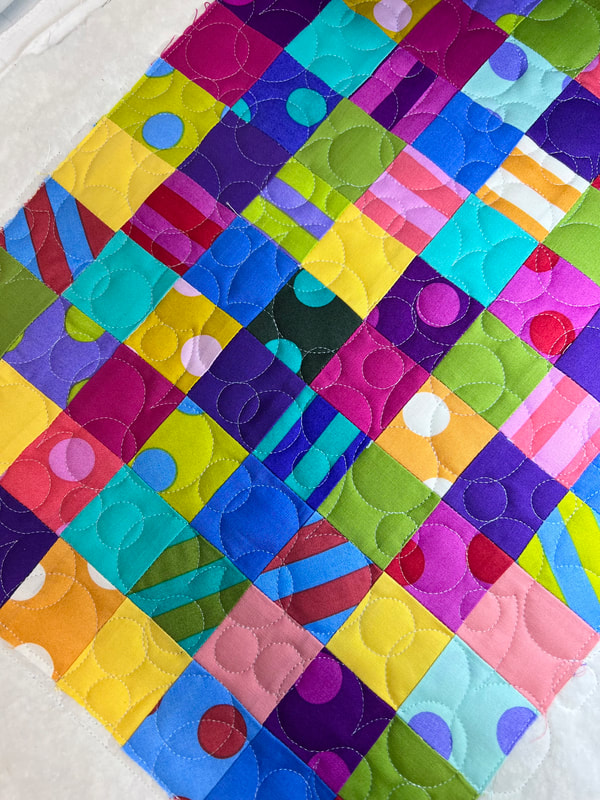
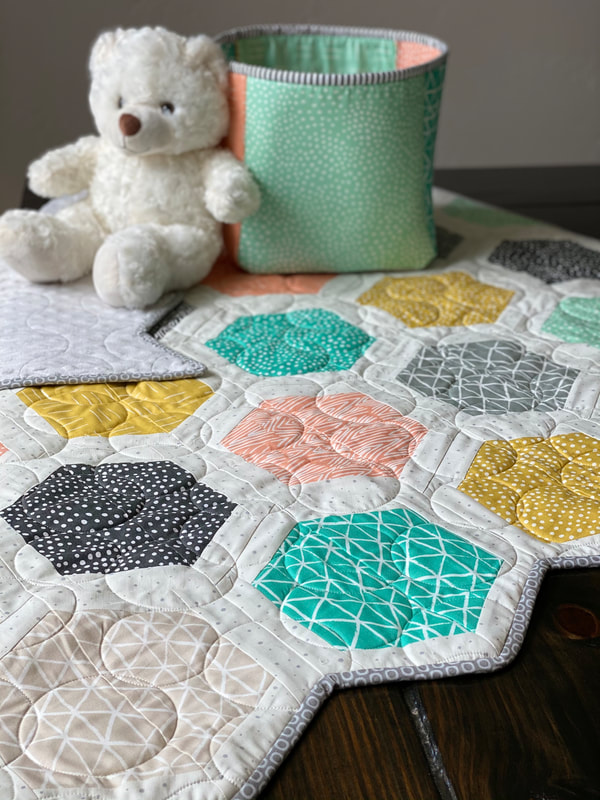
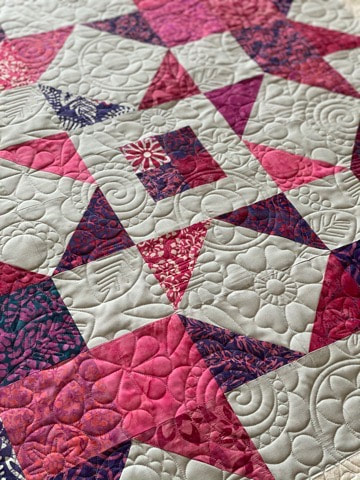
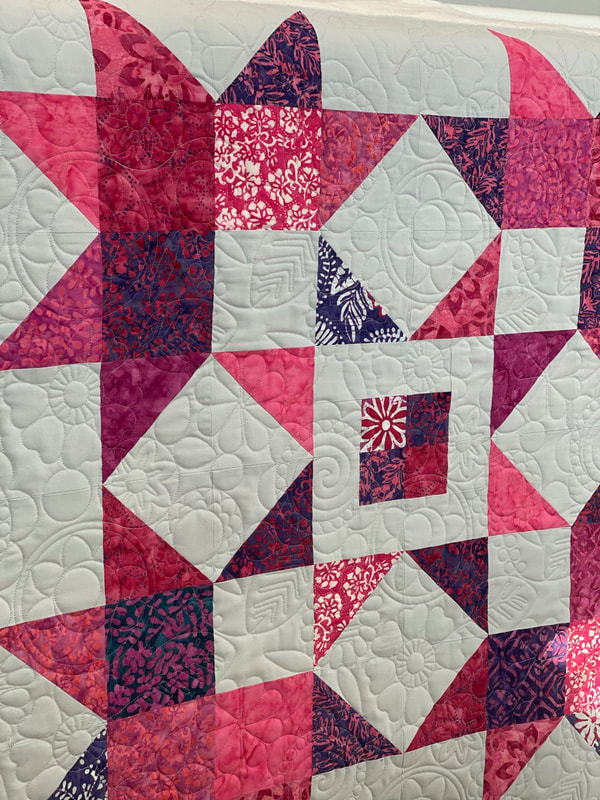
We all know the last couple years have been rough with quarantine and sickness, but 2022 is going to be a better year, I'm sure of it! We are going to start doing fun stuff again, and filling our calendars with events that bring giggles and big smiles! Color is my favorite thing, it makes me feel happy, I love rainbows, flowers and lots of bright saturations of color, so let's get creative and cover our Lori Holt Bee in my Bonnet Planners with our favorite colors!
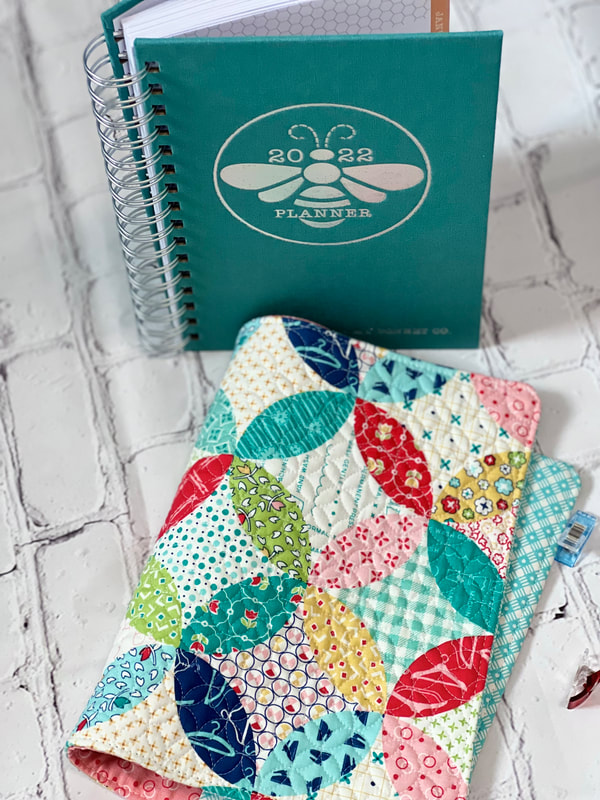
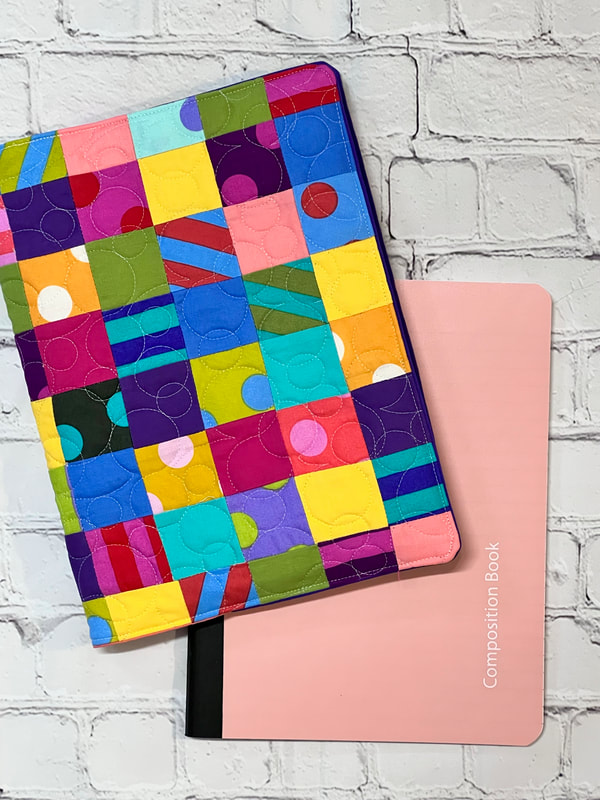
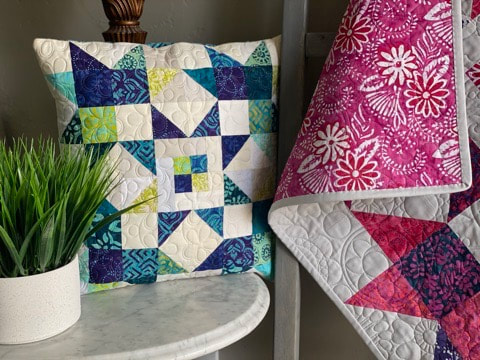
I made this planner cover above for Kimberly at Fat Quarter Shop to celebrate their 18th year in business, but we had so many people ask for a tutorial so I made a few more to show all the fun ways you can cover your planner or composition book, or any book really!
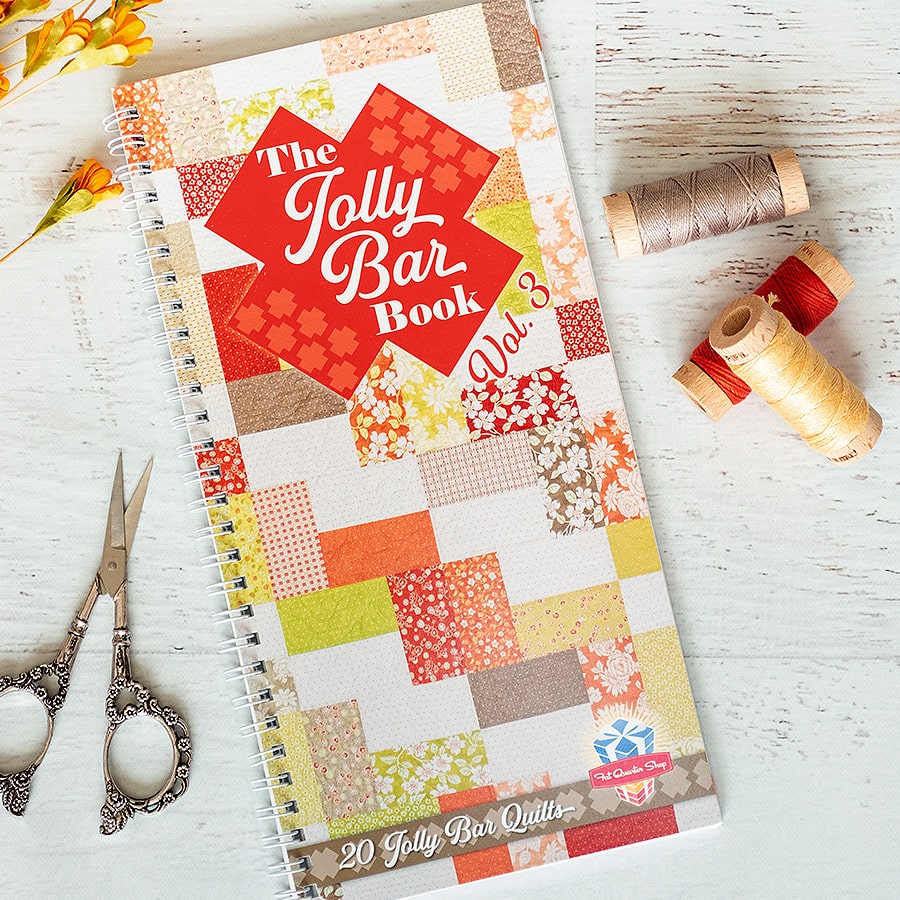
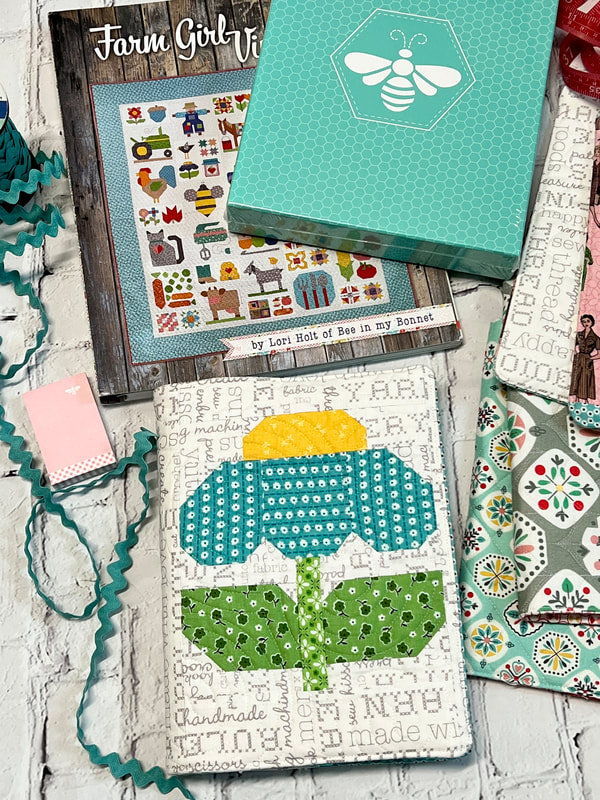
The newest planner cover I'm making with you, it's from Lori's Spelling Bee Book and it's on page 140, I thought this would be adorable for my planner, my Grandparents had a phone just like this, only yellow, I loved it!! I also made a 6” block from Lori Holts Farm Girl Vintage 2 book below, isn’t this zinnia adorable? But keep in mind you can use a 6" block pattern from any of her books to create a unique cover, even the Spelling Bee Alphabet book if you wanted to make one with your initials. Check out the link HERE to order your planner, the discount is already applied!! It's 40% OFF Woo Hoo!! ❤️??✂️ 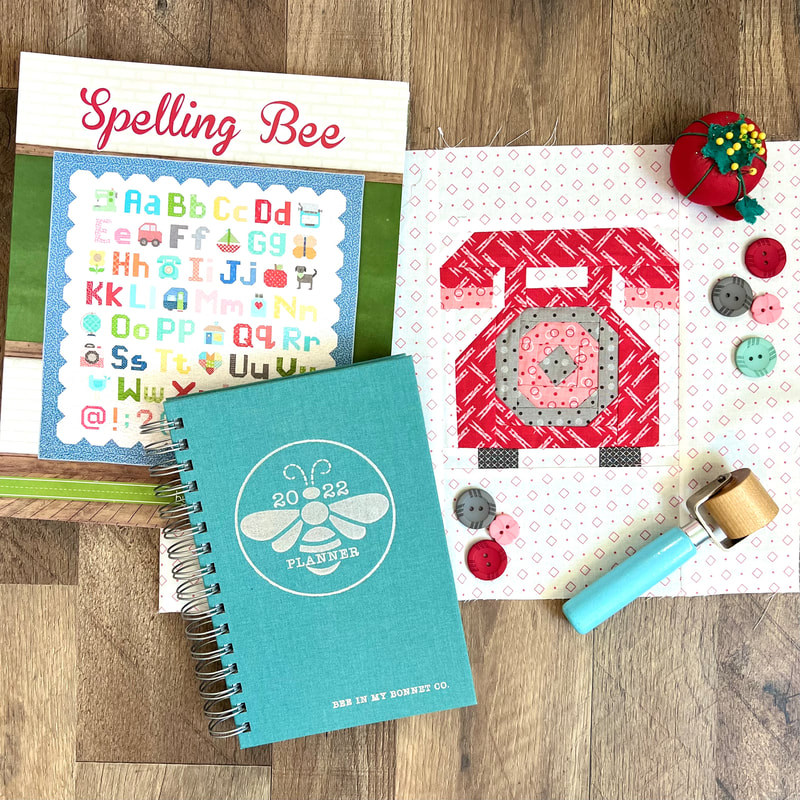
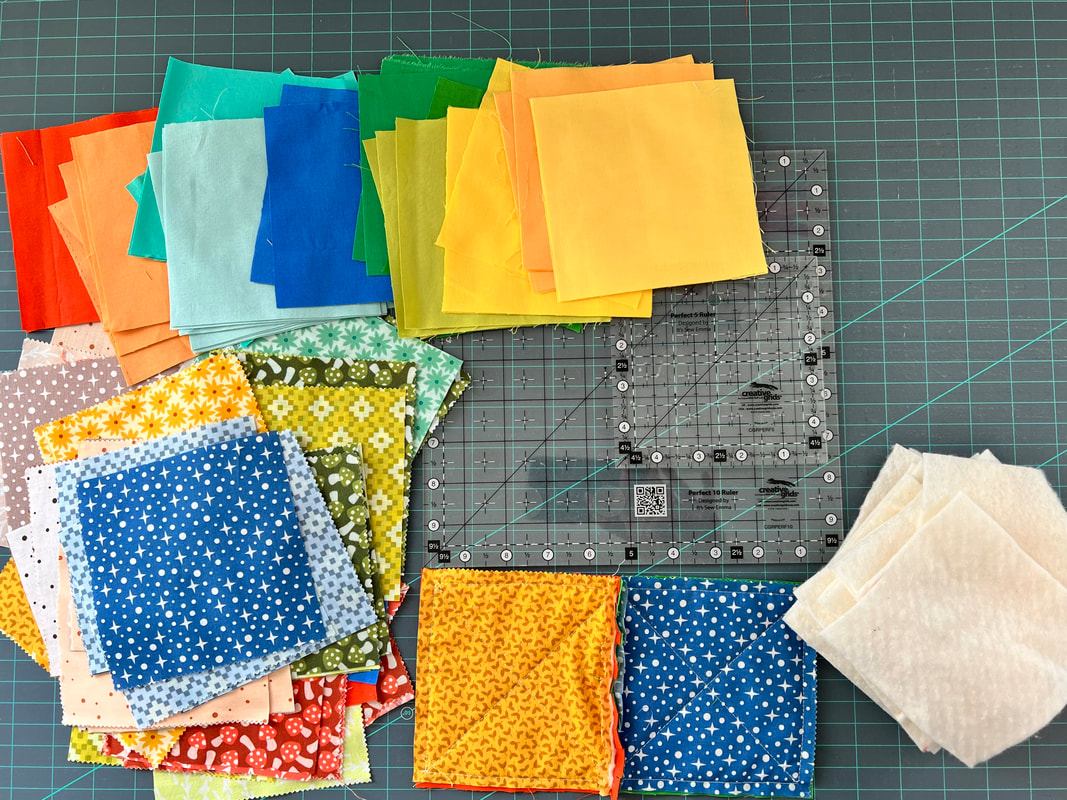
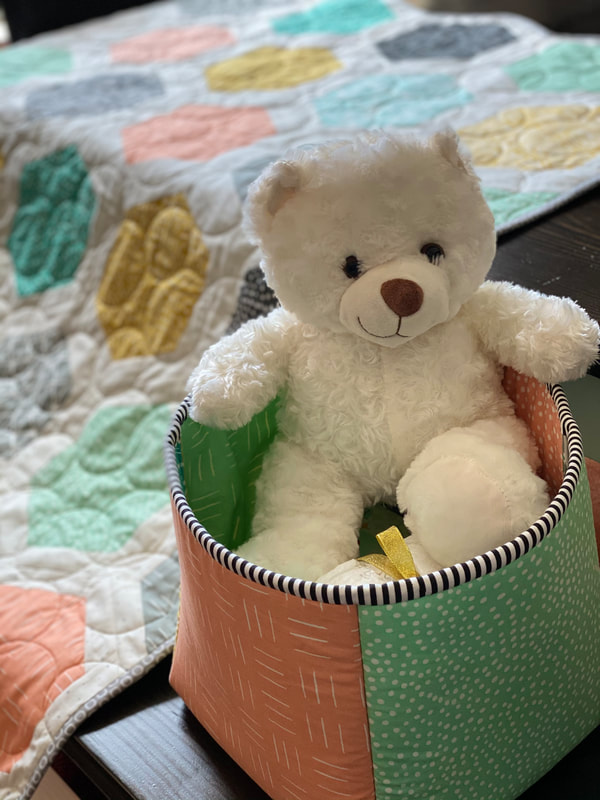
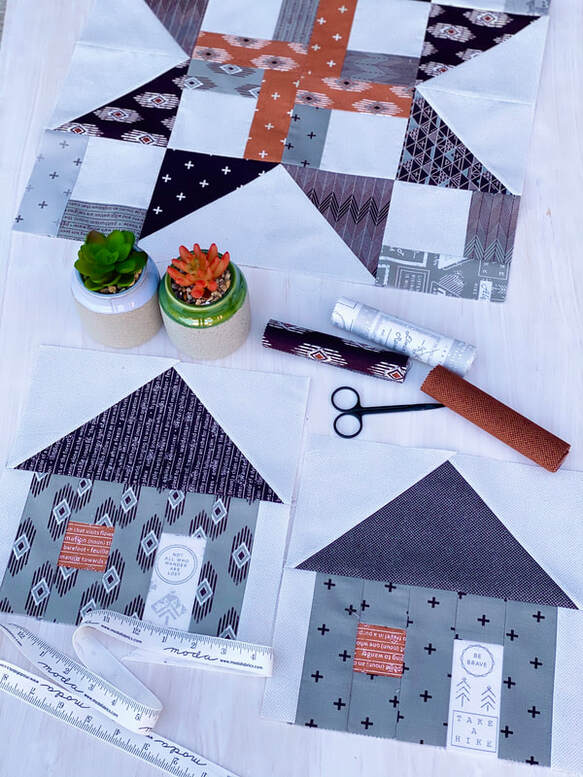
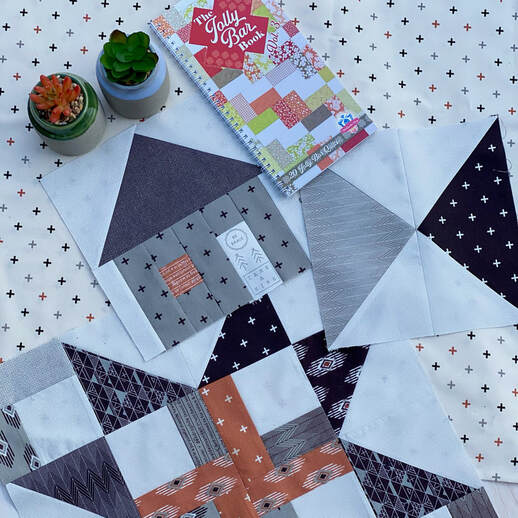
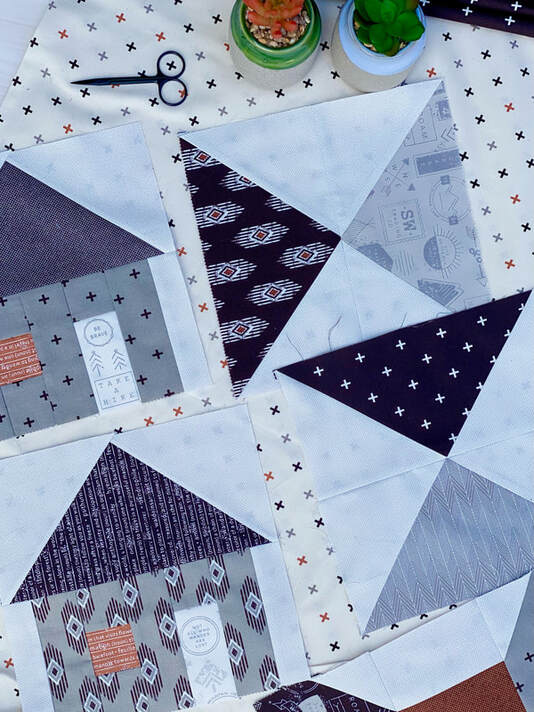
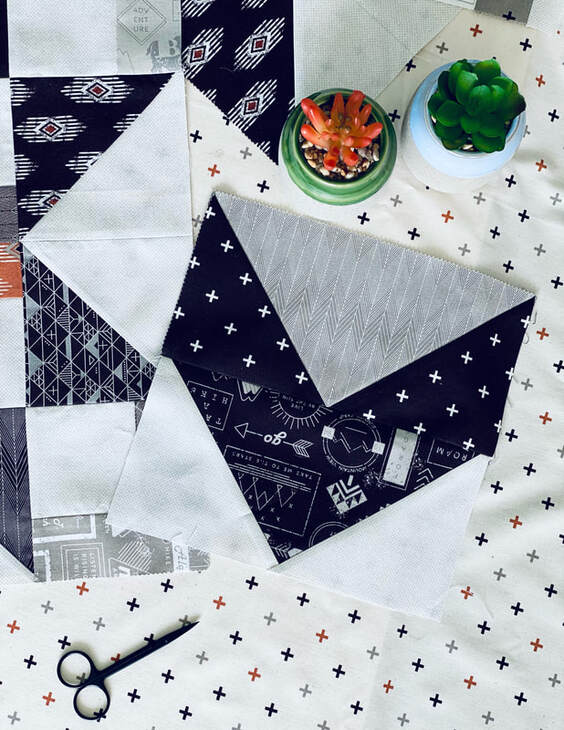
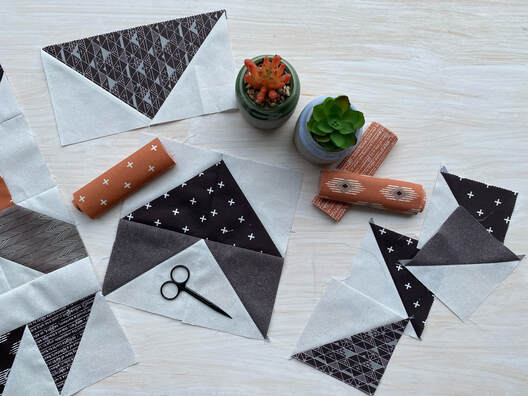
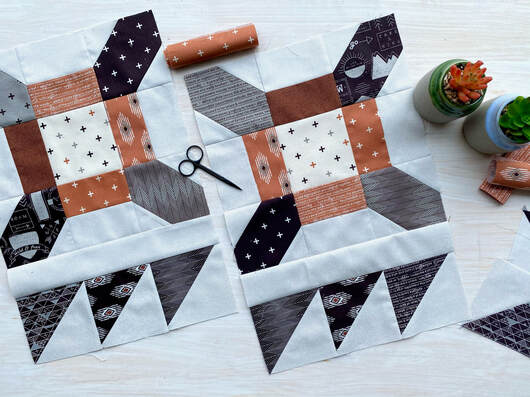
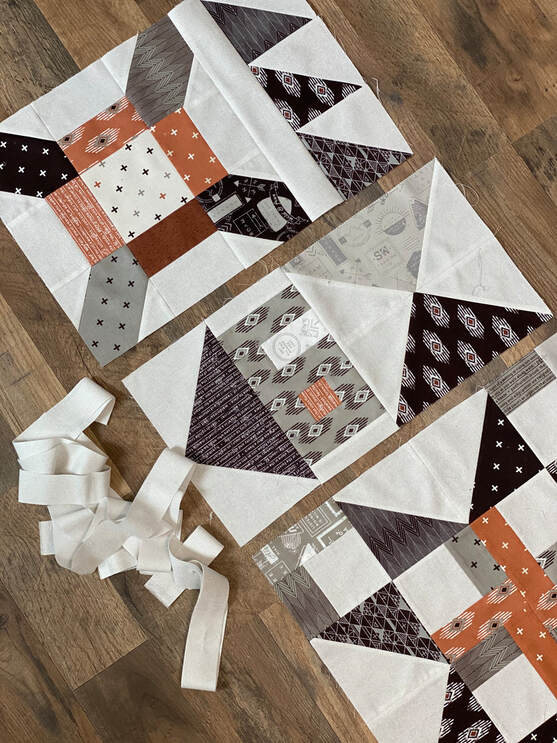
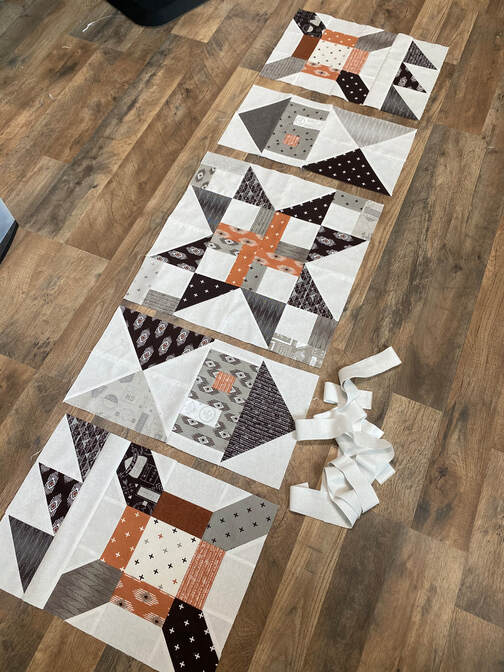
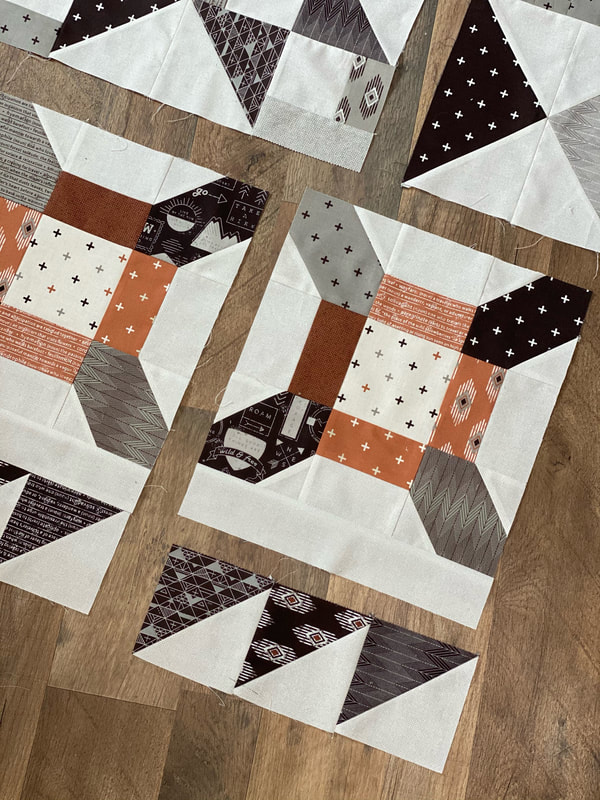
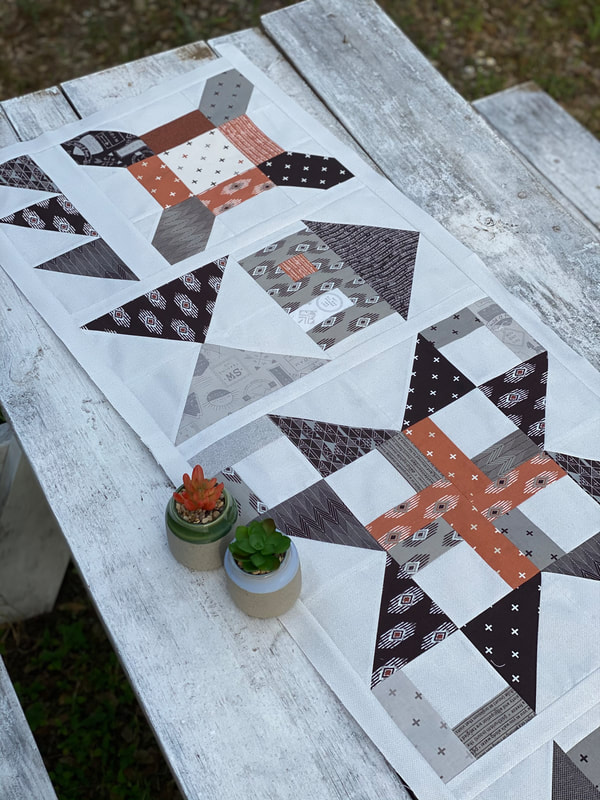
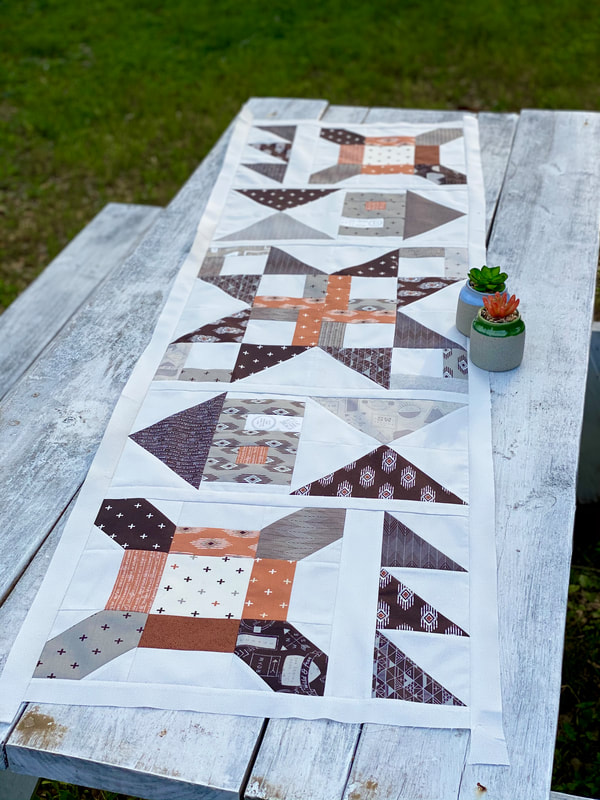
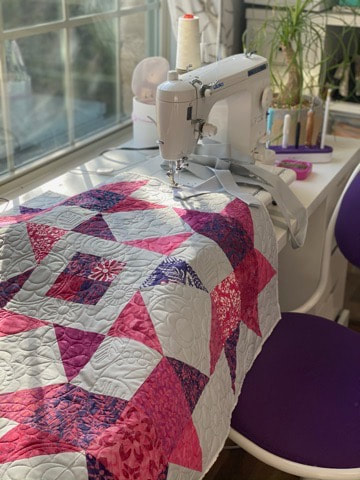
It was so much fun to go hang out in the FQS film room again, so I really hope y'all enjoy it! I made several samples to show all kinds of different ways to make them, the cool thing about this video is that it will show you how to cover any size book, not just the planner, the pictures below are showing the process of using 2" scrap pieces to cover a composition book. The possibilities are endless, so have lots of fun with it! Watch the full video on the Fat Quarter Shop YouTube channel with the link below!
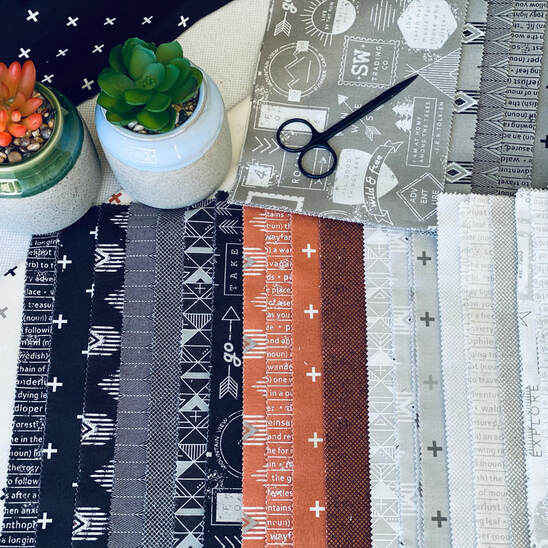
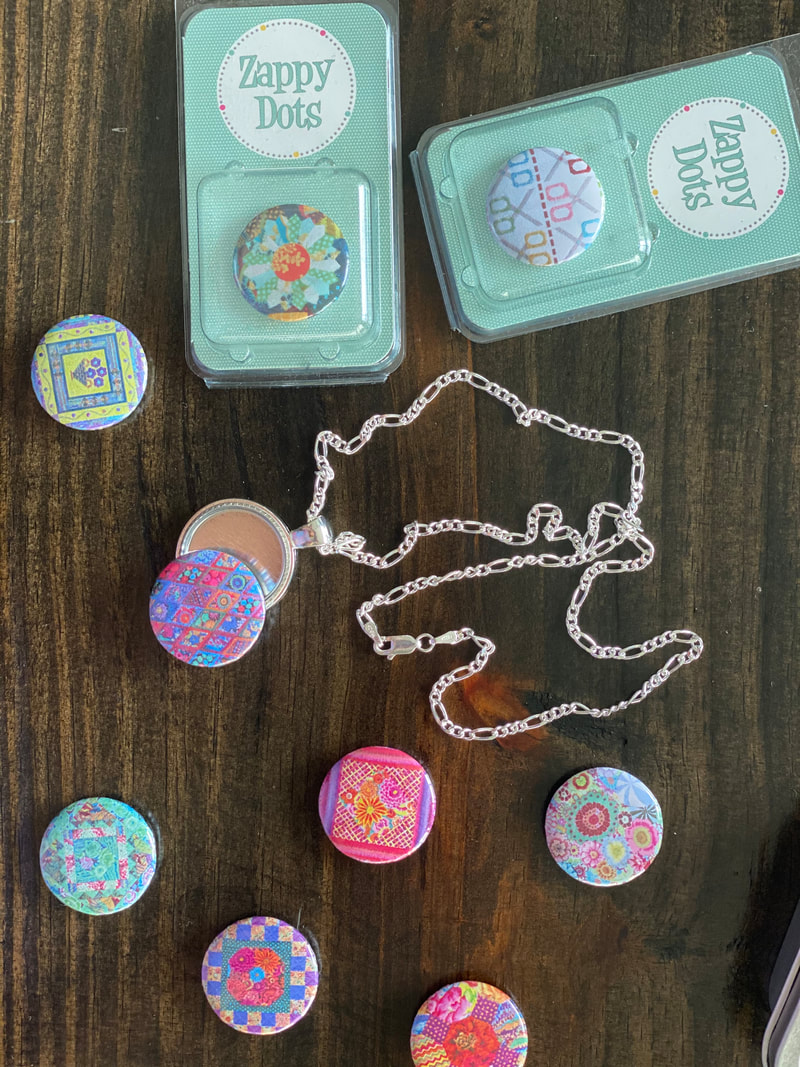
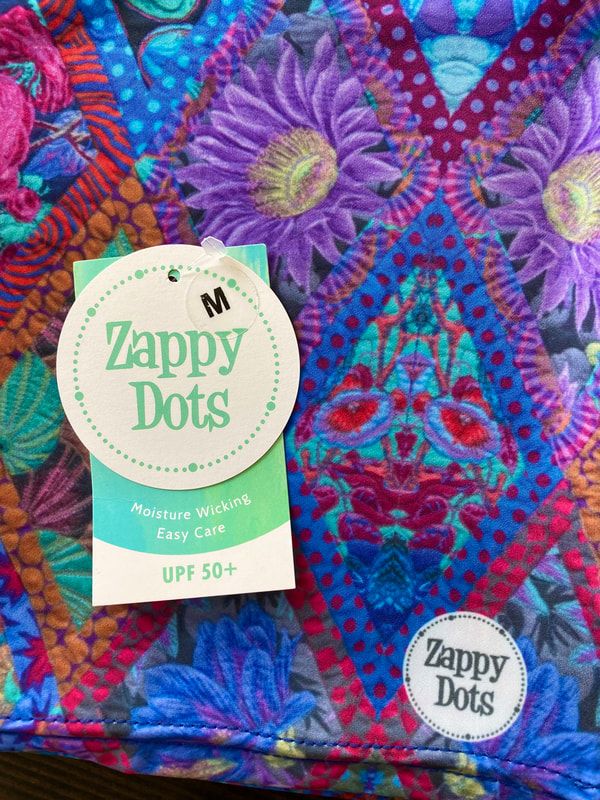
AND....to celebrate, in addition to the Fat Quarter Shop putting the Bee in my Bonnet planner ON SALE, (it’s 40% off right now so hurry) we both will also have some BIG GIVEAWAYS on our social media with gift cards and lots of fun Lori Holt patterns and notions for the two makers with the most creative planner cover!! Picture below showing all the good stuff I am giving away! Use the links below to come follow me and enter to win! Oh and make sure you post your completed planner cover pictures to social media using the hashtags #FQSPostYourPlanner #GinaTell
Instagram, Facebook and my new YouTube Channel, or click below for links. 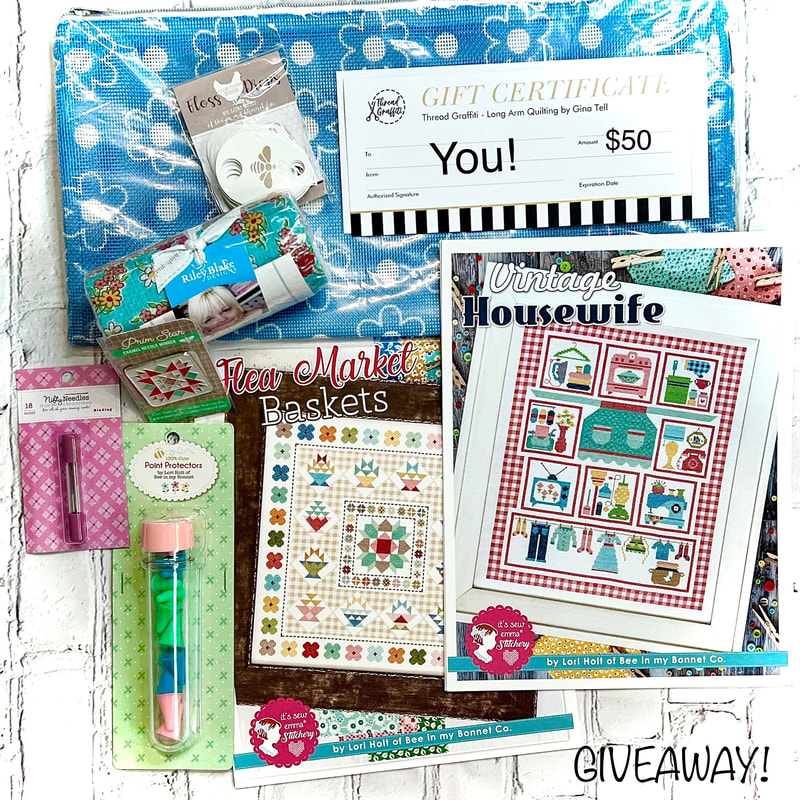
I would love for you to follow me on social media too,
lots more fun projects and videos coming soon! Happy Quilting! Gina Tell
At no extra cost to you, I earn a small profit on things you buy from my affiliate links,
and I promise to use it to make more fun content like this!
1 Comment
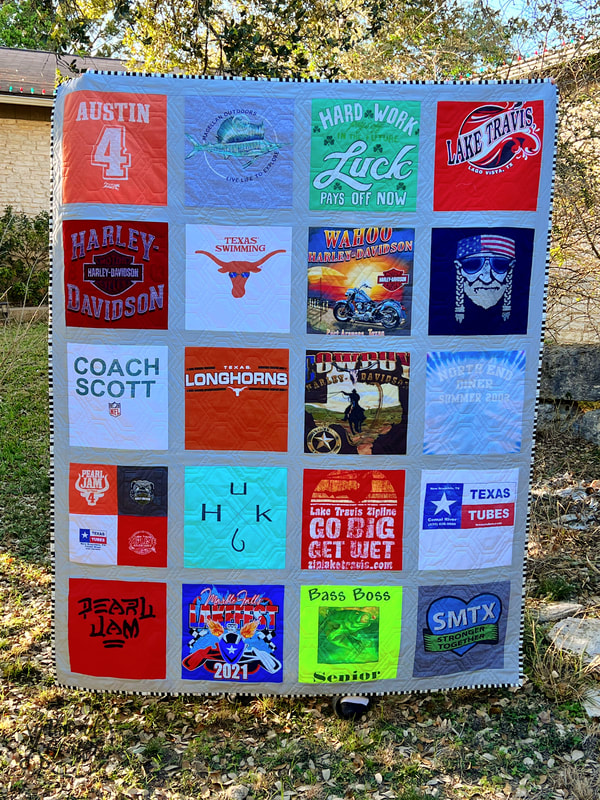
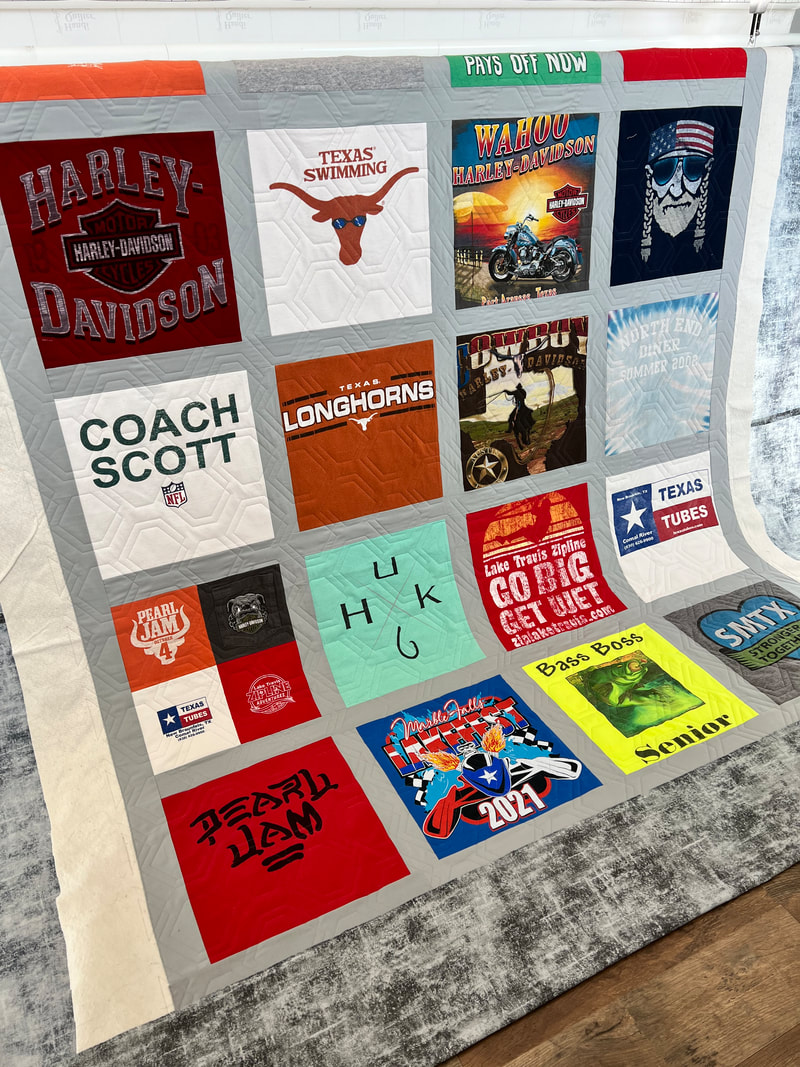
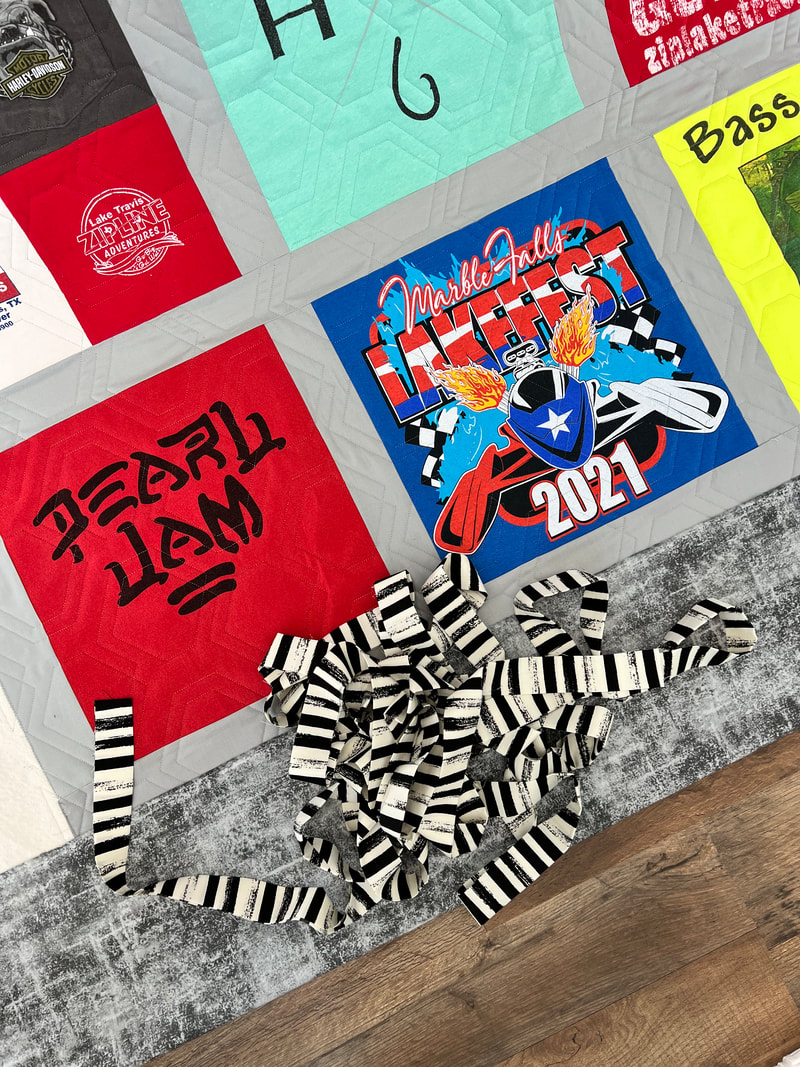
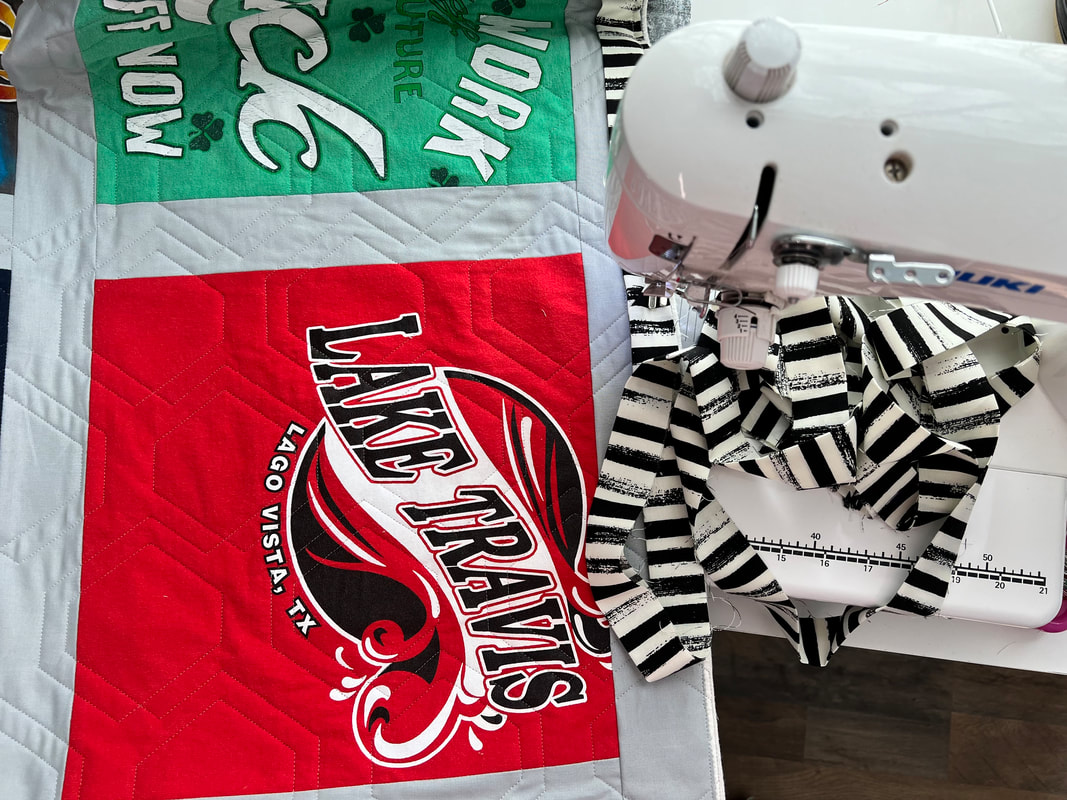
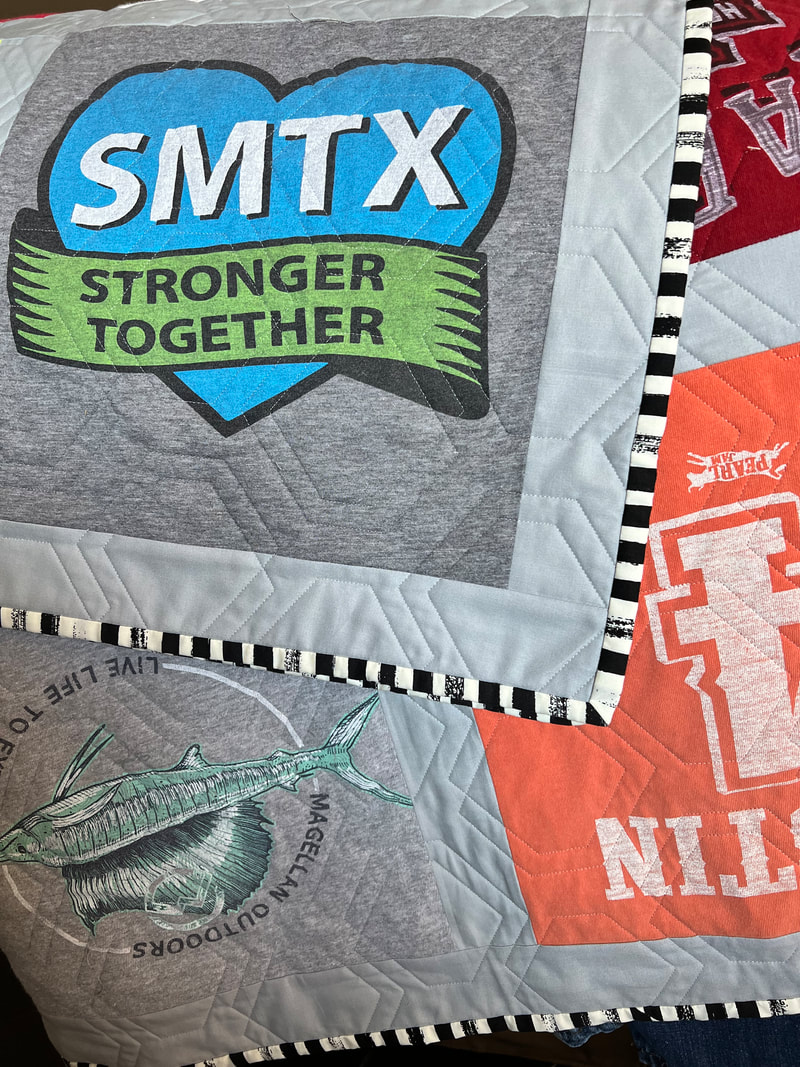
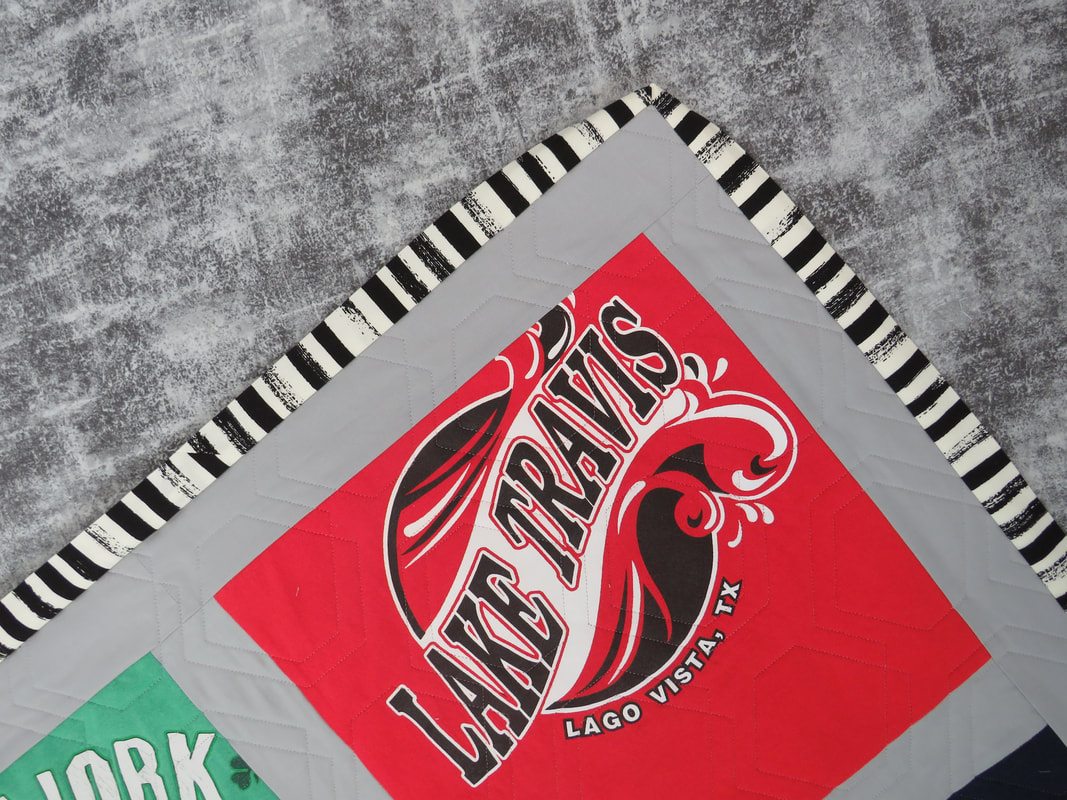
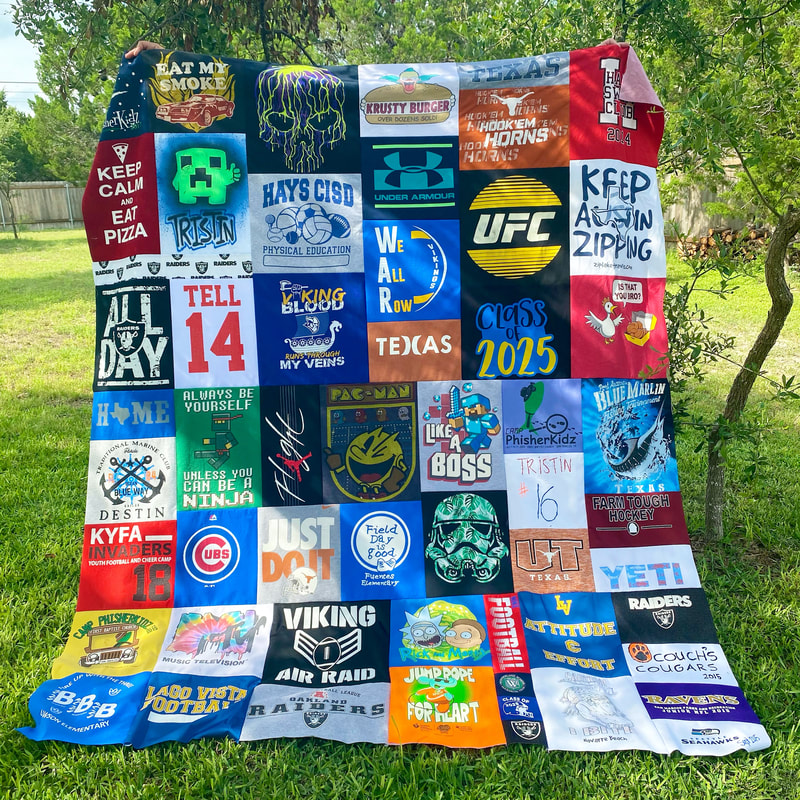
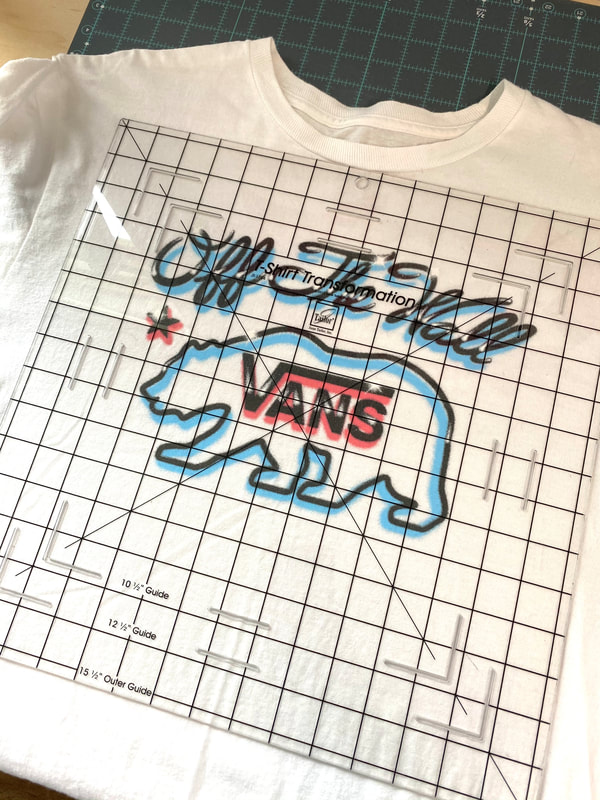
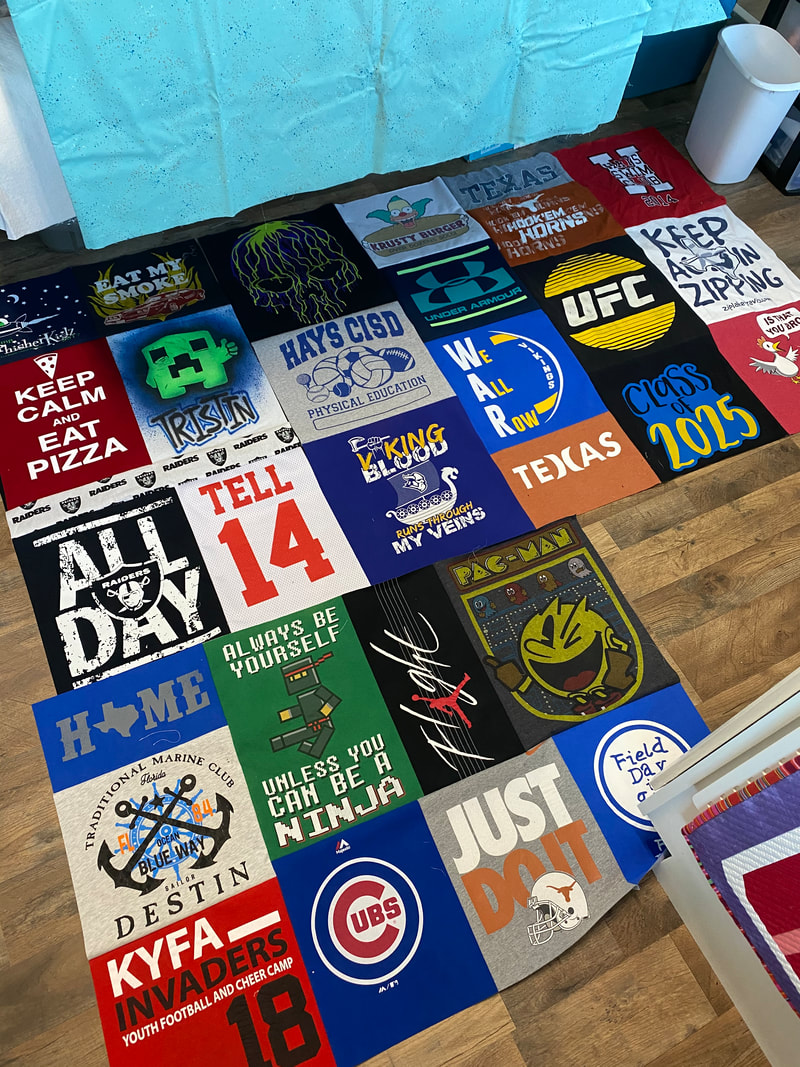
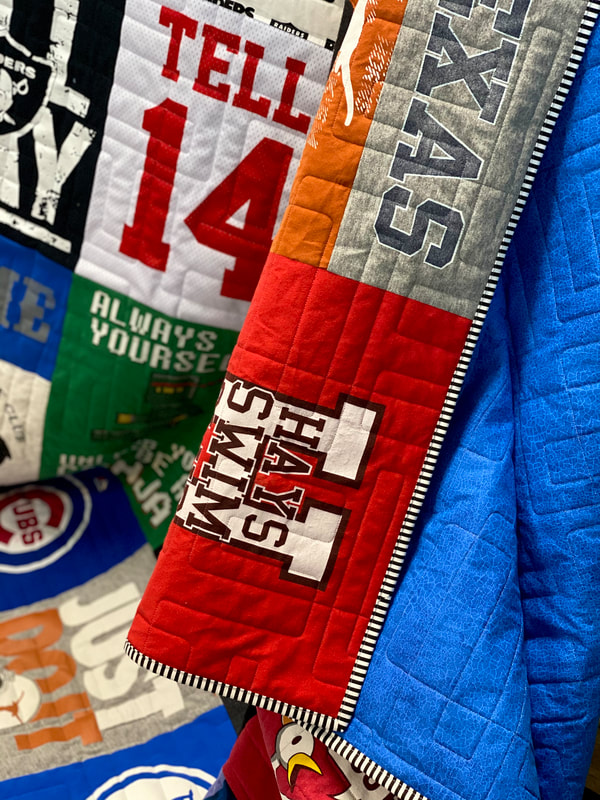
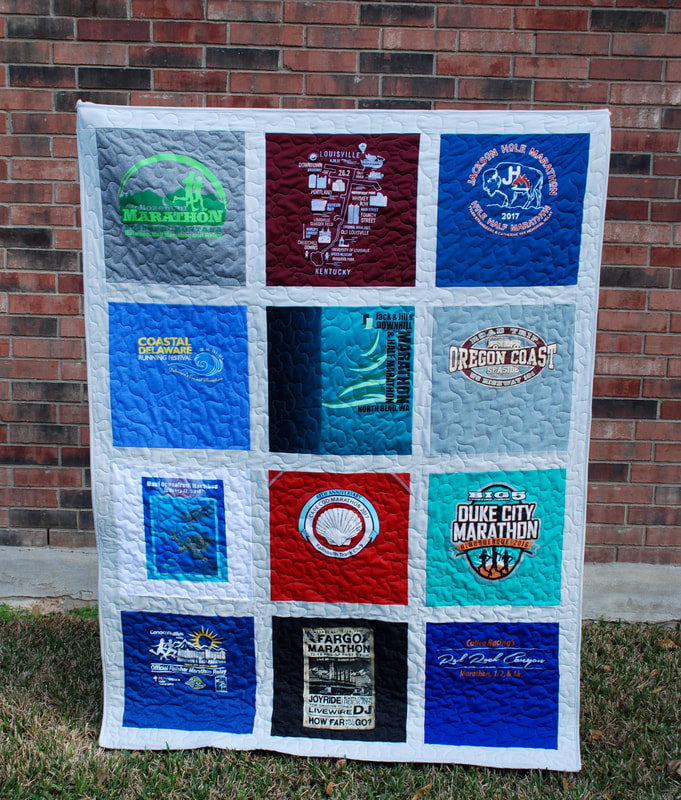
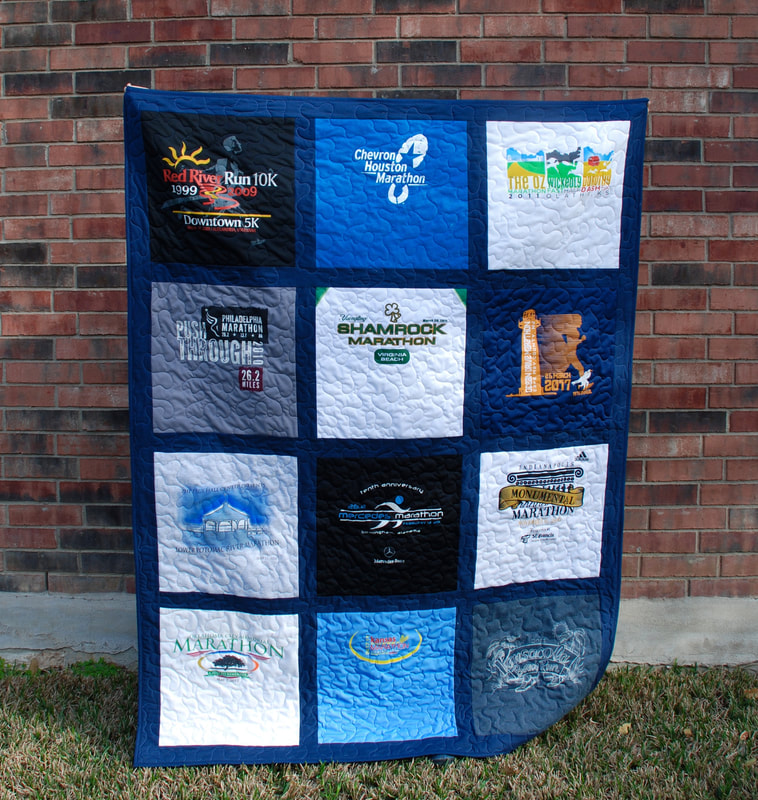
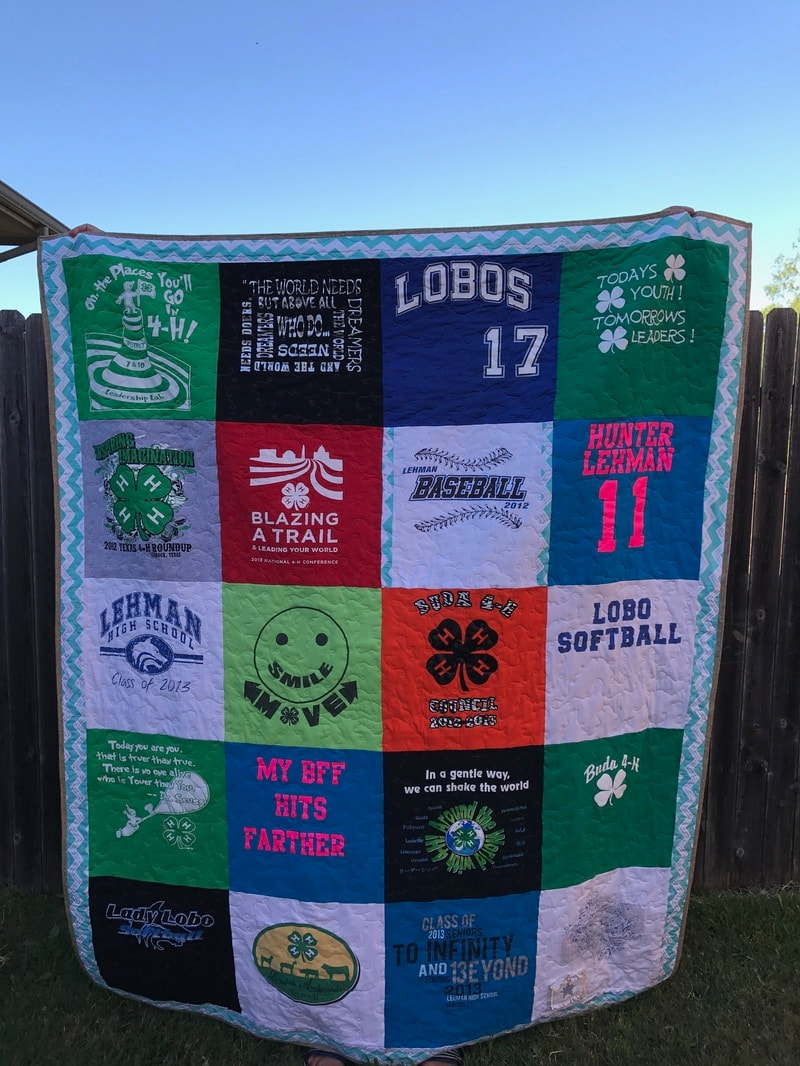
T-Shirt Quilts are a great way to display your memories,
|

AuthorHey Y'all, I'm Gina Tell! I live on Lake Travis just North of Austin Texas. I'm a full time long arm quilter and lover of all this art and outdoors!! 
|