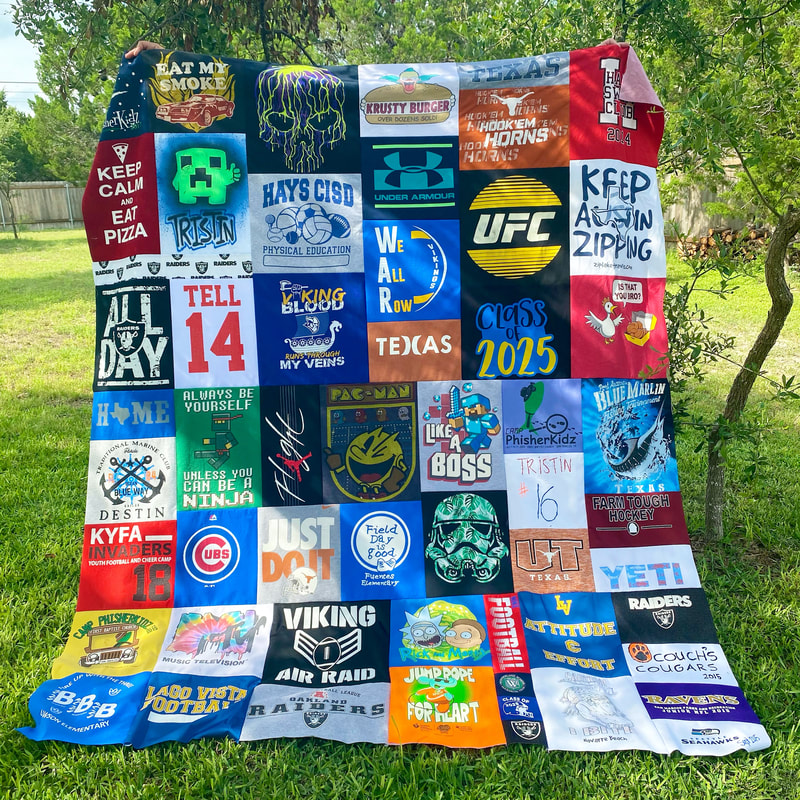
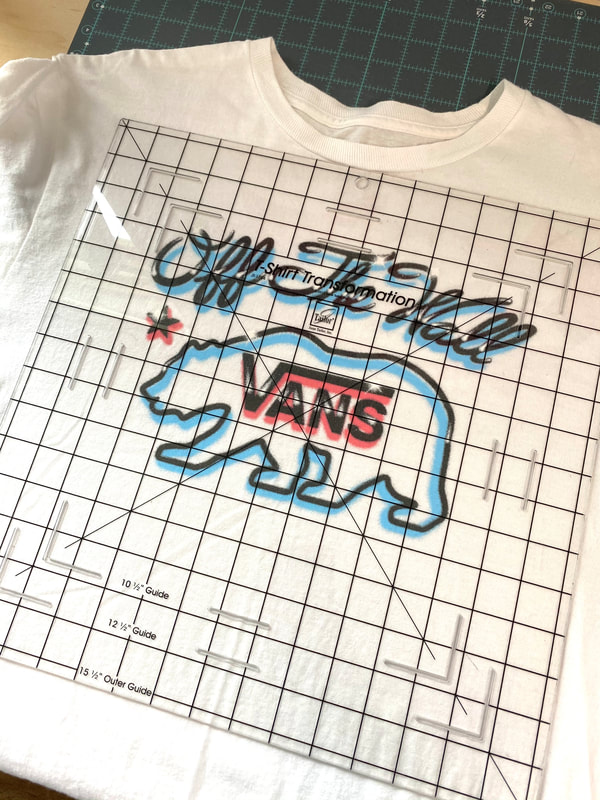
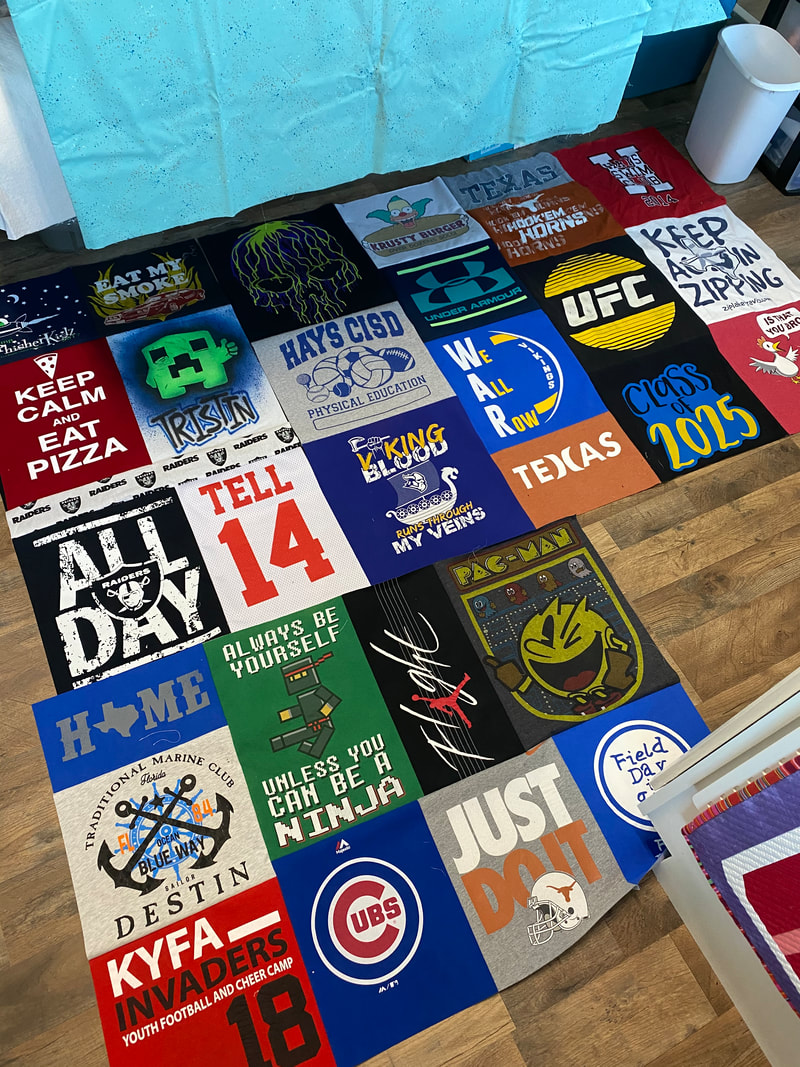
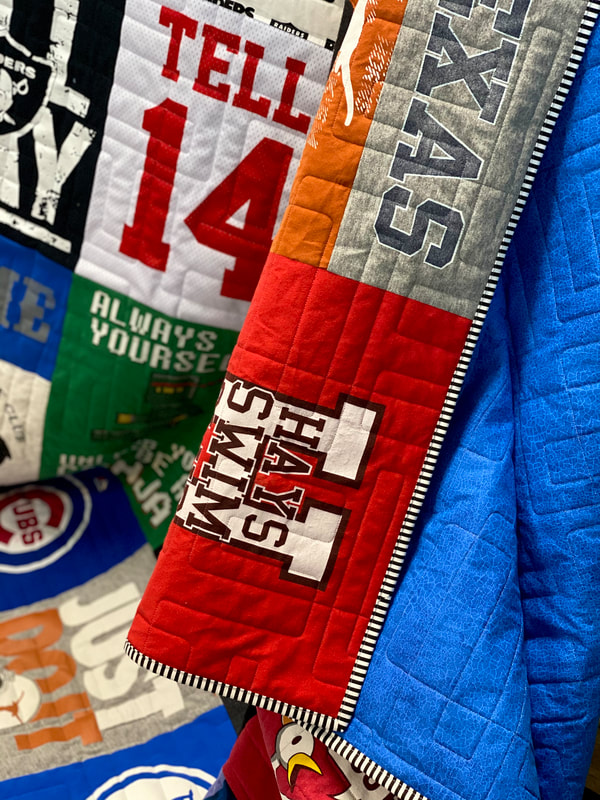
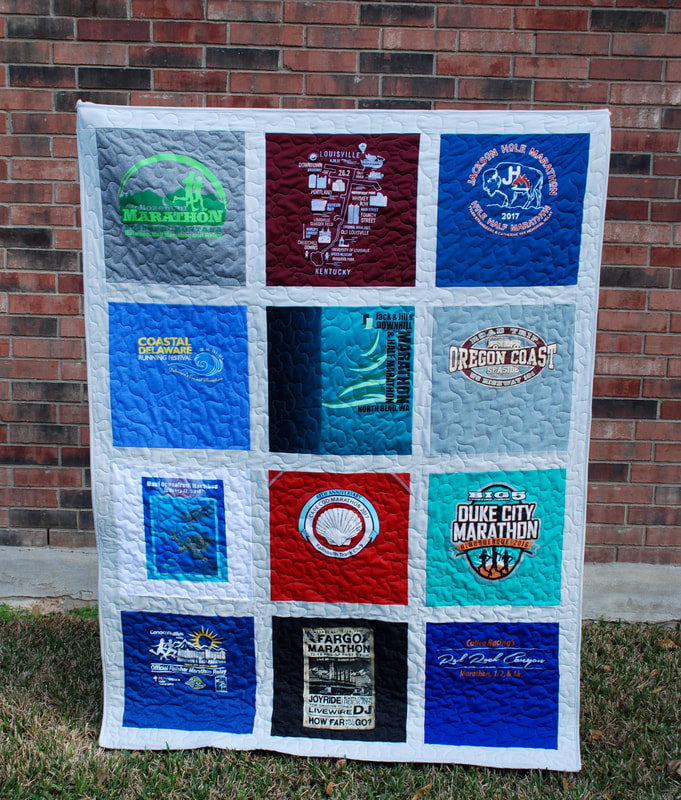
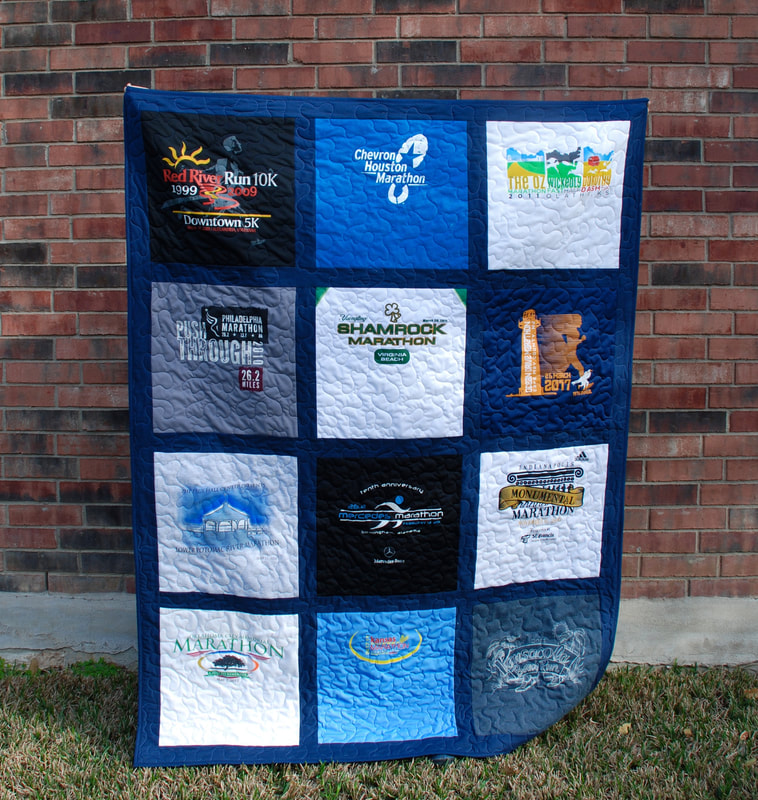
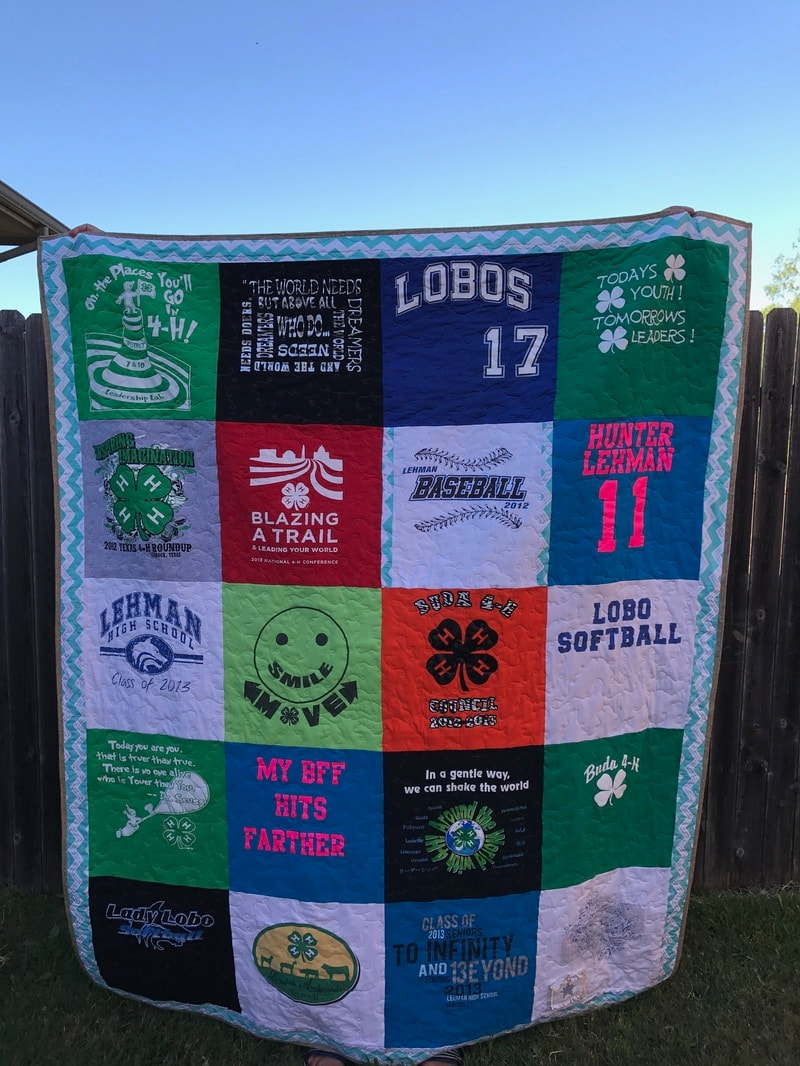
It's a great time to make a T-Shirt Quilt!Hey y'all, I'm back to share some tips on making a quilt using old t-shirts. T-Shirt quilts are a great way to clean out your closets and drawers, and still save all the memories that come with each shirt, and I'm going to show you what works best for me. Our son just graduated from 8th Grade, so I decided it was time to pull out all the shirts I have been saving through his childhood and make a quilt for him. I saved around 50 shirts for this one, so when I have that many I will always arrange them in a variable placement like the photo shown above, rather than in rows with sashing in between. *I'll share some previously made quilts below explaining that layout in a little more detail. Once I have decided what kind of layout I will be doing, the first thing I start is to cut the shirts up. At first this seems like a terrible idea, cutting into such precious shirts, but it makes lot of smiles in the end, I promise! **When you see green words, that means I linked the products I use. First: Have a good pair of scissors and a brand new rotary blade handy when you start this project, 50 shirts will dull a new blade! You can do this step a couple different ways, you can either take your scissors and cut from the shoulder seam of the shirt down to the bottom on both sides, or you can simply place a template on top of both layers of the shirt and cut with your rotary blade. If the shirt has things on both sides you want to use in the quilt then you will want to use the scissors and cut the front away from the back and then use the template to center the cut over both designs. I got this June Taylor template years ago, and it has held up well and works great, it also comes in a tshirt quilt kit if you want to try that route, or you can use the Creative Grids 15.5" for multiple quilty things... Next: Now that all the shirts are cut it's time to put some interfacing on the back of them. This step is not necessary, I have known people that do not use it, but I find it is MUCH easier to handle the shirts if they do not have all the stretch. The interfacing will add a layer to the back side of the shirts to make them heavier and sturdier so you can cut them square and get better results overall. There are a zillion different kinds of interfacing out on the market, I use Pellon 906F, I buy big rolls of it because I used to make a lot of t-shirt quilts, but you can also buy it by the yard at your local craft shop. The idea is to cut the interfacing just a tiny bit smaller than the shirt you are putting it on so you can avoid the extra adhesive around the edges that will get on your iron. I used an iron the first couple times I made a tshirt quilt and then decided I would invest in a heat press to save time, it is well worth it if you plan on making more than a few of them! Since I got mine so long ago, I can't share the exact model, but I will share a similar model that is the same size and should work very similarly. Check it out.... Here is a short video of the heat press in actions, I really love how fast it makes things! Ok, we are getting to the fun part now! The layout with 50 shirts has no right or wrong answer, you just make it work the best way you can, and just go with it. I usually try to put all the shirts in piles based on similar size, then you can sew them into sections. But first, I lay them all out on the floor and figure out what shirts I want in the middle. Remember if you are putting this on a bed, the shirts on the corners are going to hang over the side, so put the important ones in the middle. Below is a picture of mine, I ran out of floor space in one room so I moved around until I found the space, haha you just have to laugh and have fun with these. Once you get an idea of what layout you want then start sewing them into sections. If you look at my picture below, I sewed the red one on the top right to the white one below it, and then again to the red one under that, then I worked in the row to the left of it and then I added the third row from the left. So those 11 shirts are all sewn together, then I just continue to make quadrants. If you notice on the left side under the red pizza shirt, I needed a few inches to make that section long enough, so I added a 3" Raiders fabric in. Its just like a puzzle, you have to trim some down, and add some in sometimes. Don't be scared to make it work for you! Now that all your shirts are finally together, you will begin to feel like a ROCKSTAR, and it's ok if some of the sides are not exact, mine never are, even though you put that interfacing on them, there is still a little stretch. You can square the edges up after the quilting, just try to leave some blank space on the sides of the text so you don't cut off any important shirt parts in your trimming. When I quilt T-Shirt quilts, I always pick pretty simple panto designs, or I do simple free hand meander. With so much going on with the shirt text, I don't like to see really heavy quilting over the shirts. This time I picked out the Paradox digital design, it's perfect for anyone, and stitches out pretty fast. Here are a few pictures while it was on the long arm frame. People ask me all the time if I use batting, the answer is always yes. I have never made a quilt without batting. I use Pellon 80/20 batting for almost all my projects, I have been using it for years, and I love how it washes, and its great for snuggles! I buy my big rolls at a wholesale company now, but I used to get the rolls on Overstock, during big holiday weekends they always have great sales with free shipping! Woo Hoo! Once your quilting is done, it's time to trim and bind. I usually trim mine so there is about 1/8" of batting left all the way around, and I used 2.5" binding. If I am machine binding, I will use the walking foot to help with the weight and bulk, then I add the binding to the back, then fold over to the front so I can see my final stitch better. If I do hand binding I add it to the front, then fold over to the back. This time I did machine binding... Looking for fabric or notions? Check out The Fat Quarter Shop's huge selection If I have 12-20 shirts then I will usually place the shirts in rows all cut out the same size and add sashing in between. Here are a few examples of what I mean by that. These shirts were all cut 15.5" with the template I mentioned above, then 2.5" sashing in between, sometimes I add a border, sometimes I don't, just depends what I am looking for. If you are interested in how I made the quilts with the T-shirts and sashing, here I another video I did with Fat Quarter Shop, there are tons of options when making these wonderful memory quilts! I hope you are inspired to pull out some old shirts and make something that will last for years to come! I would love to hear your feedback, share your pictures on social and tag me, I love to see your projects! #ginatell #threadgraffiti #TShirtQuilt #memoryquilt
Happy Quilting!!
4 Comments
Sonja
1/18/2022 02:33:31 pm
Thank you! My daughter handed me a stack of t shirts from her sorority days and the designs are all sizes. The only instruction I could find was for t shirt cut to the same size! Your way makes so much sense!
Reply
Carol A Osborn
1/18/2022 02:39:30 pm
Great ideas!
Reply
Melanie Ireland
1/18/2022 04:17:49 pm
Your video came at the perfect time. I will be making a t shirt quilt for my niece and love all the ideas you shared. I’ve never attempted one of these before because I was intimidated by trying something new but you have made it so much fun. I can’t wait to get started. Thank you so much!!
Reply
Linda Ladner
11/25/2022 10:42:18 am
Thanks
Reply
Leave a Reply. |
AuthorHey Y'all, I'm Gina Tell! I live on Lake Travis just North of Austin Texas. I'm a full time long arm quilter and lover of all this art and outdoors!! |
