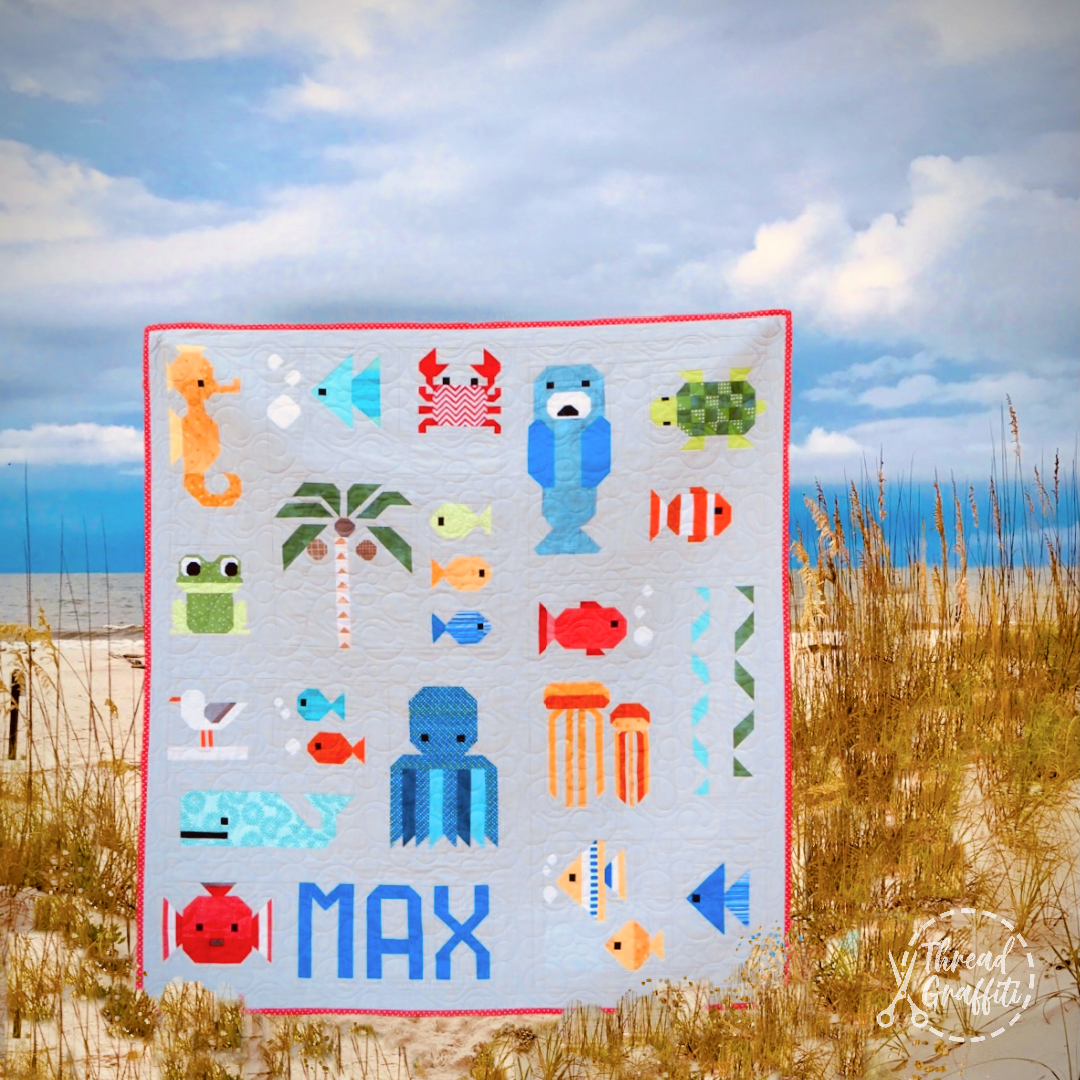
Today's post is all about one special new little boy... Max
I became Aunt Gina about 20 year ago, and it has always been one of my most favorite things! When I met my husband I was gifted 1 beautiful niece, and 2 adorable little nephews, and they were my world. I love them all so very much, and watching them grow up and become adults has been one of the dearest things to me! When they were small my husband and I lived in Texas and they all lived in the Midwest, so I looked forward to vacations down to the coast all year long. Sometimes we would stay in hotels, sometimes we would take RV's down and stay in the campgrounds on the beach, but no matter how we traveled, we had tons of laughs. Well.... earlier this year I learned that I was going to become GREAT Aunt Gina, because my oldest nephew is having a little boy! You know the first thing I thought of was quilts and blankets, little baby booties, booger suckers and stuffed animals, but mostly quilts!! ha ha So it got me thinking about fabric and patterns and I had no idea what to do first. Nothing seemed cute enough or original enough, I kept changing my mind because nothing really came from my heart if I was using another designers patterns.
One of my personal rules I follow as a maker is to never create the same thing twice, every handmade project I start has to have at least a little touch of me, and they always have a story behind them. Some of the stories are very deep, with a lot of meaning, most of the time the story is not super obvious from the outside, but if you ask me the meaning, you better pull up a chair because it wont be a short story. Quilts are my canvas, and this time it had to be very special!
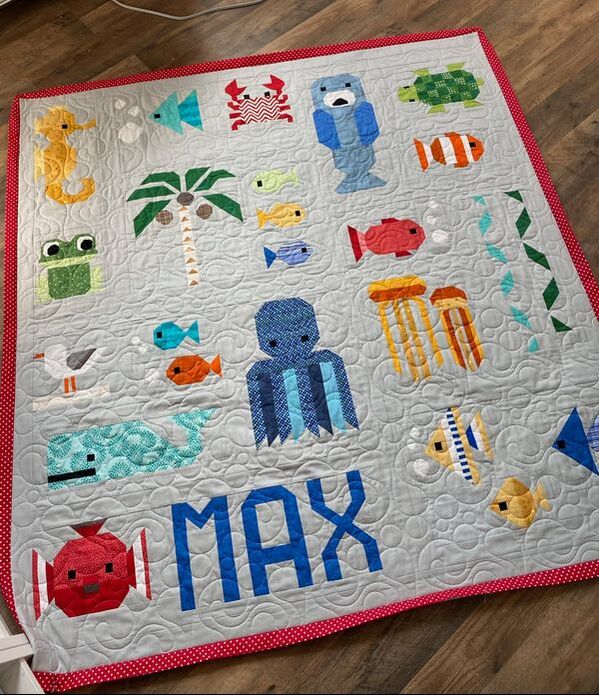
So it finally hit me, my most memorable times being Aunt Gina, were the times that I got to be a big kid with them. I love animals, sunshine and outdoors, but most of all, the beach! The times we all spent together in the sand were the best, no stress, just relaxing with the fish. So that's what I tried to create, in the form of a quilt. The kids would stay up late and we'd look for frogs at night with the flashlight, spend time in the aquarium, and throw food to the seagulls, it was the perfect time under the palm trees! Being Aunt Gina is the best, and I hope that someday I can share those same memories with baby Max as he grows up!
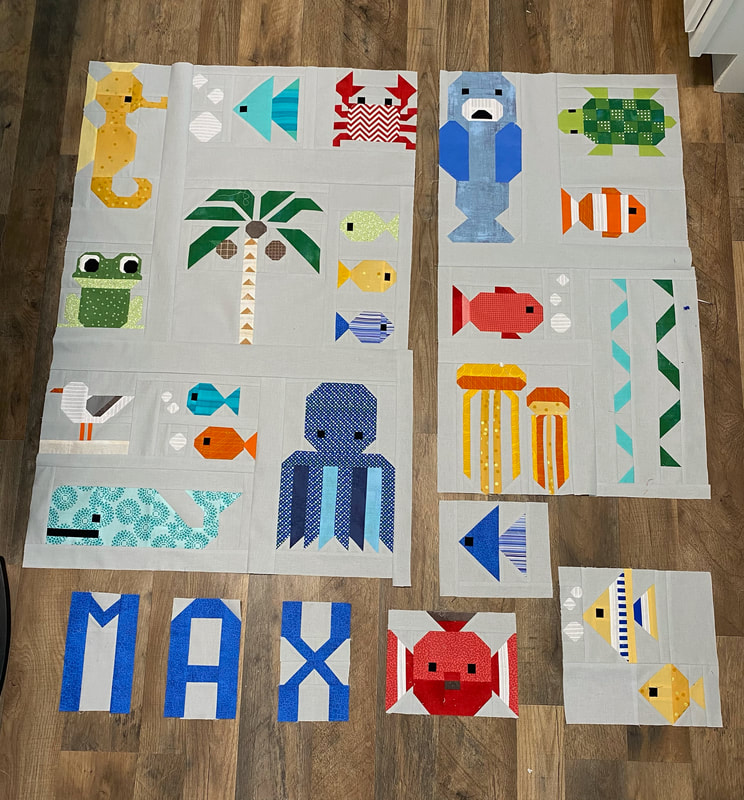
I used fabric from my stash to create this beachy-love quilt using a variety of block patterns from great designers, and a few I created myself, and then I did the layout with no pattern, on the floor in my studio, late into the night one weekend. If you see green words that means I linked what I used.
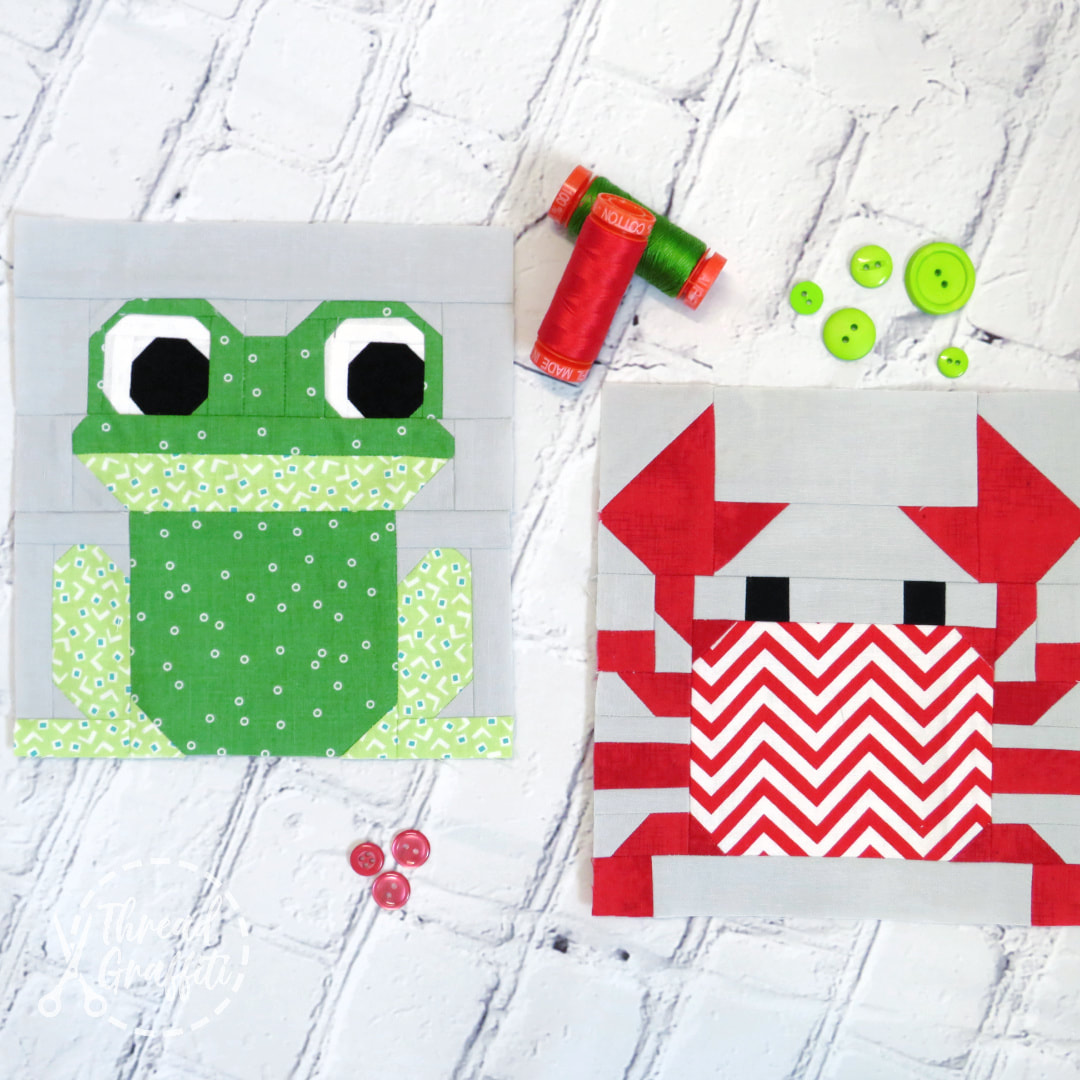
These two blocks, along with a few others, came from a couple of my favorite quilt block designers. Ellis and Higgs & Burlap an Blossoms. I always check both of them out when I am looking for individual block patterns!
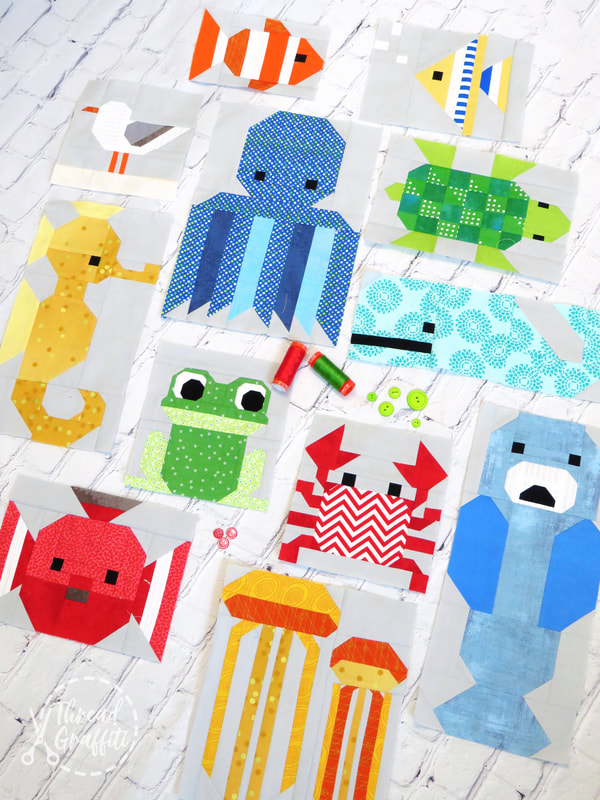
I also got several of the block patterns from Elizabeth Hartman's Awesome Ocean Pattern, then I made some simple patterns for the fish, bubbles, and kelp to fill in. Oh and the letters came from the Pillow Talk book that I have in my library by Laundry Basket Designs. Here's a late night pic from the floor of my studio while I was trying to come up with the layout...
Once I finally got the top all put together, I loaded it to the long arm, and added some bubble texture, I picked out Naomi's Bubble Bath digital pantograph, and I was really pleased with it. Little back story, I first put yellow binding on this one, and after I got it on I didn't like it, so I pulled it all off and added red polka dot. I am such a dork LOL But I liked it much better!
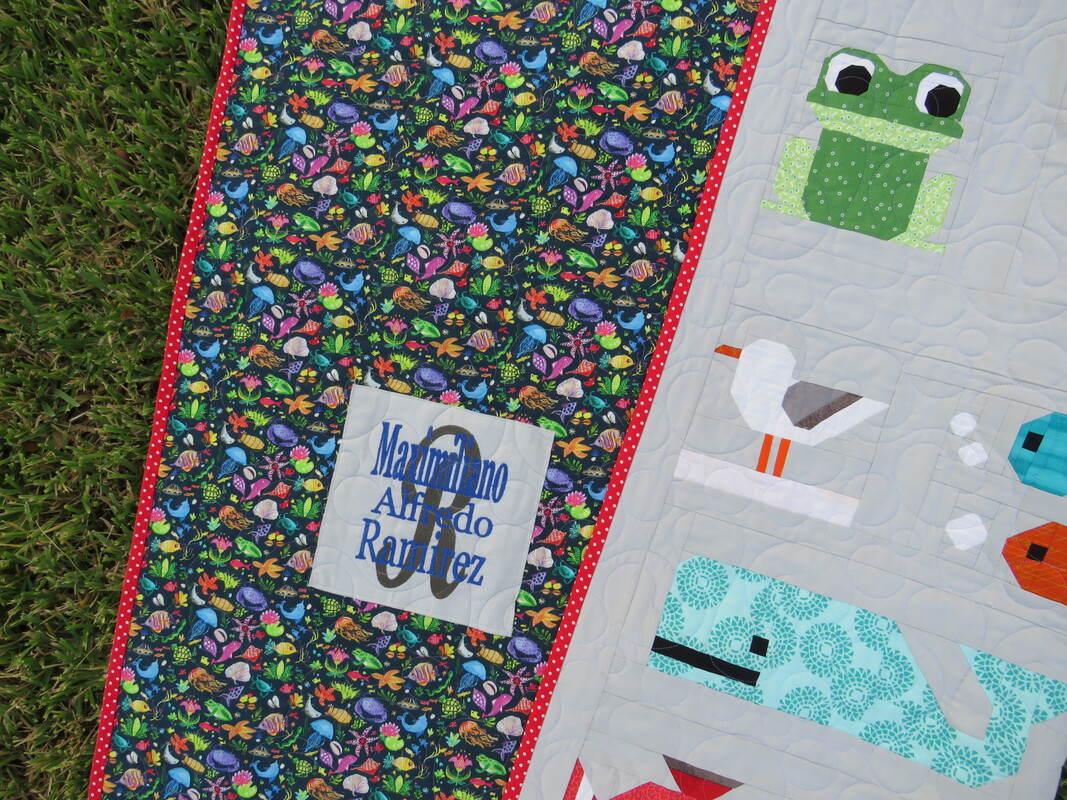
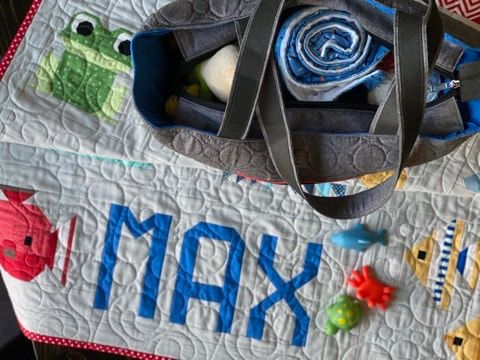
I decided not to put minky on the backing, even though it's so soft and snuggly, I always feel like cotton backing is more traditional and might last longer, so I picked out this Tree of Life yardage. But, I did make a small minky throw blanket to stuff in the diaper bag for the cold car rides, stay tuned, that's coming up soon below...
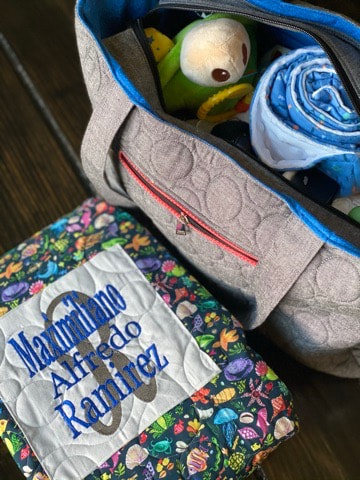
I have an old Brother embroidery machine, so I had to break it out to add his full official name to the back side, isn't it cute?
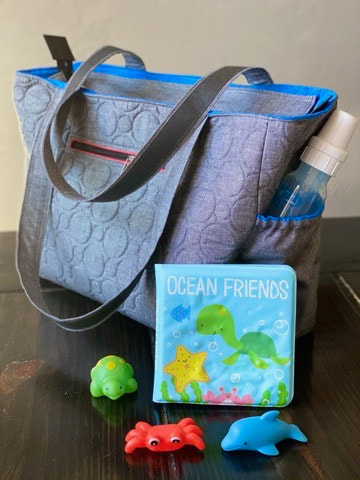
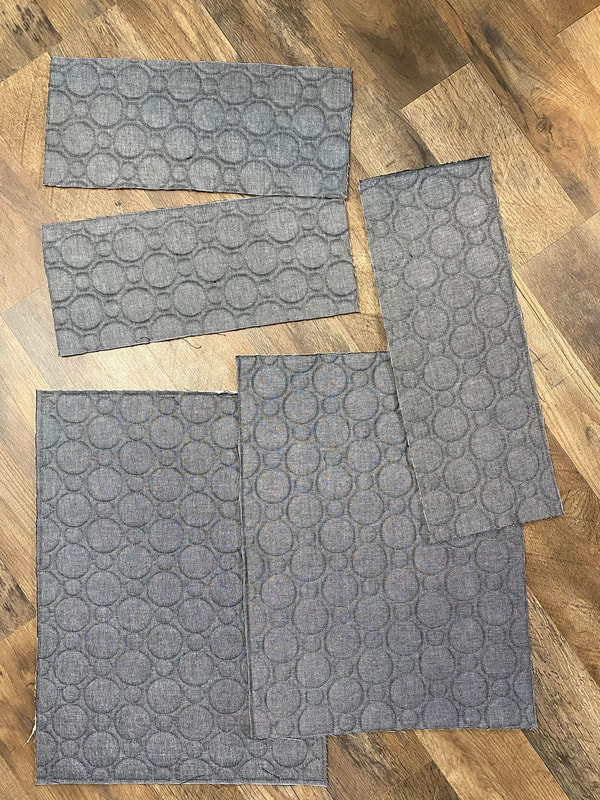
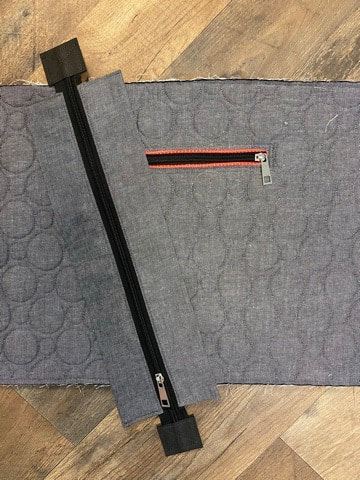
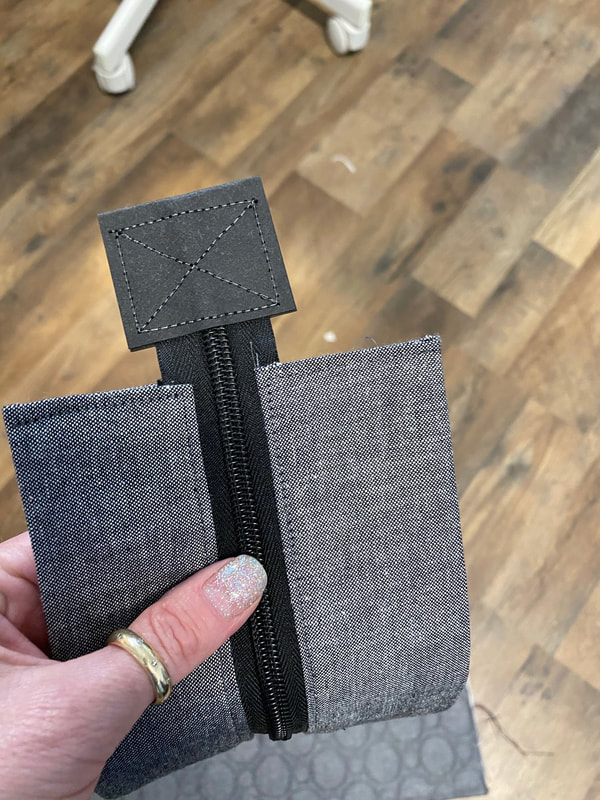
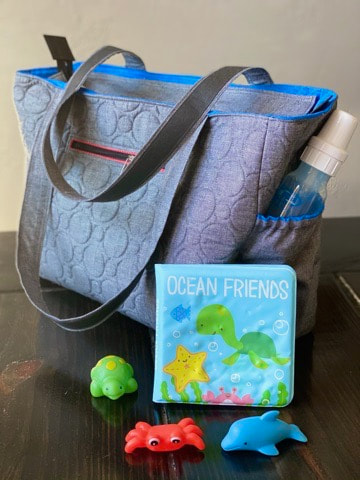
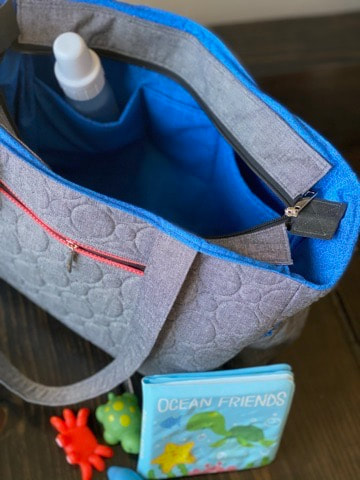
Now lets talk diaper bags. This bag pattern is something I came up with years ago as I was in a big bag making phase, it's super simple, and I like that, I get frustrated with big long bag patterns, they are not for me. I put a yard of Moda Cross Weave on the long arm, quilted it with the Cobblestone digital pantograph and then cut the side pieces, and bottom, it makes it so simple. Oh and I used the black Kraft-Tex paper for the straps and zipper tab, it's a fun product, comes in several colors & it feels like a thick paper, but you can wash it and it holds up like fabric, and after some handling it looks a little like worn leather. There is afun book with several Kraft-Tex bag ideas too, check it out! 
Thanks for stopping in to see a little bit of me "behind the seams!"
It sure was fun to make all of it while thinking of all the memories of being Aunt Gina, feel free to comment with your thoughts or questions. Follow me on Instagram for all kinds of great weekly posts, or click below to visit our favorite online quilting shop! Happy Quilting!
2 Comments
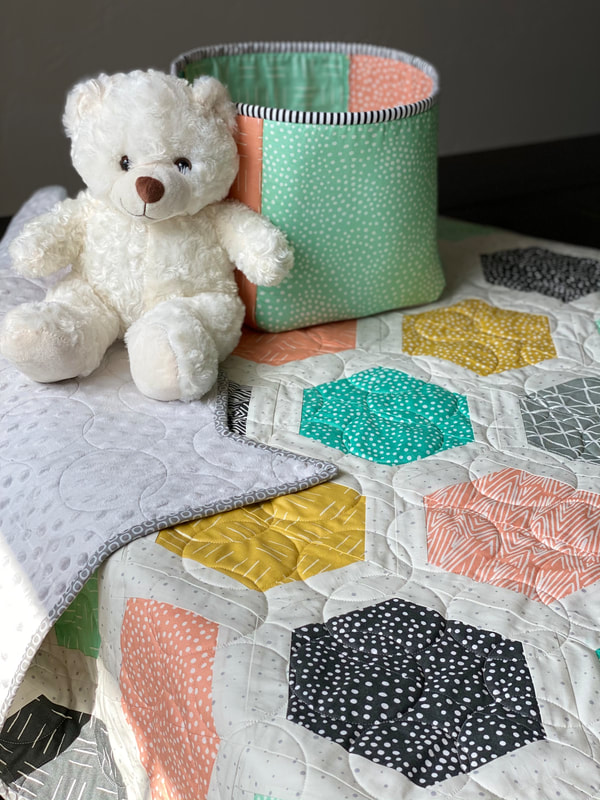
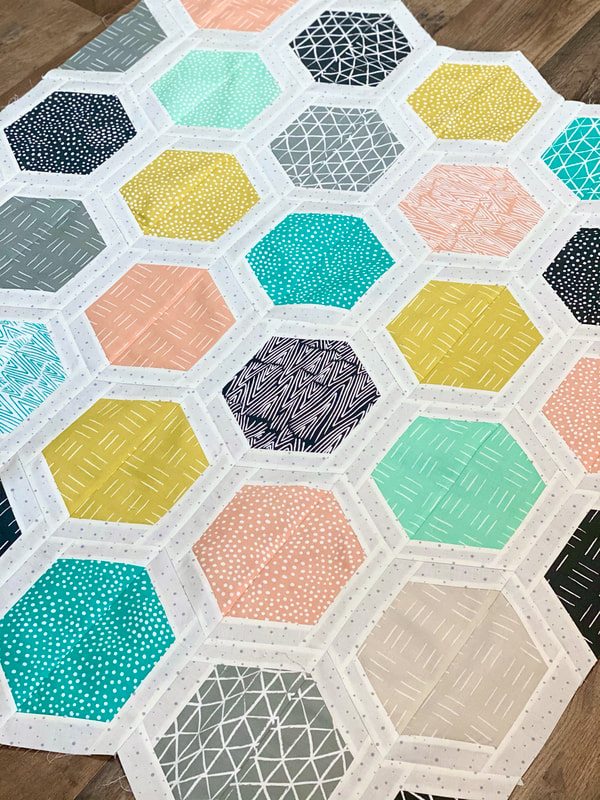
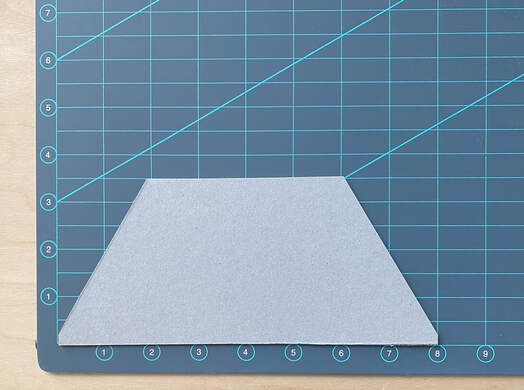
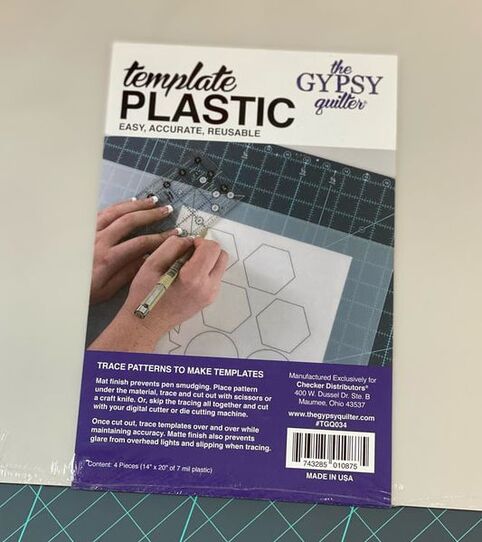
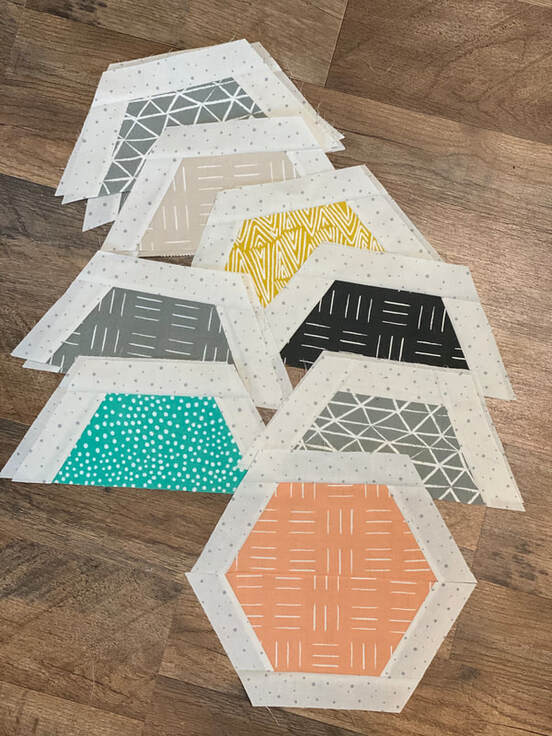
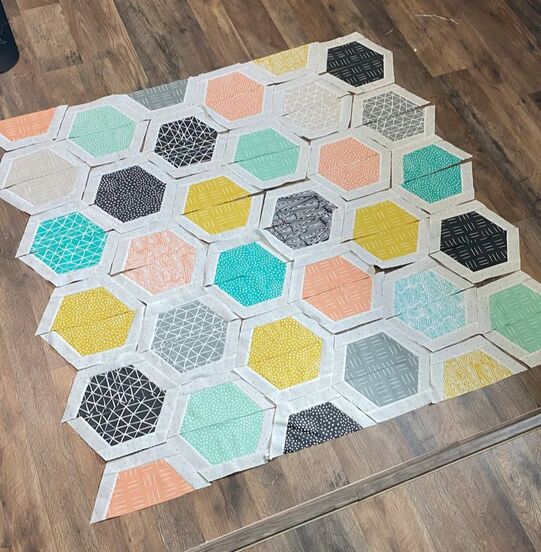
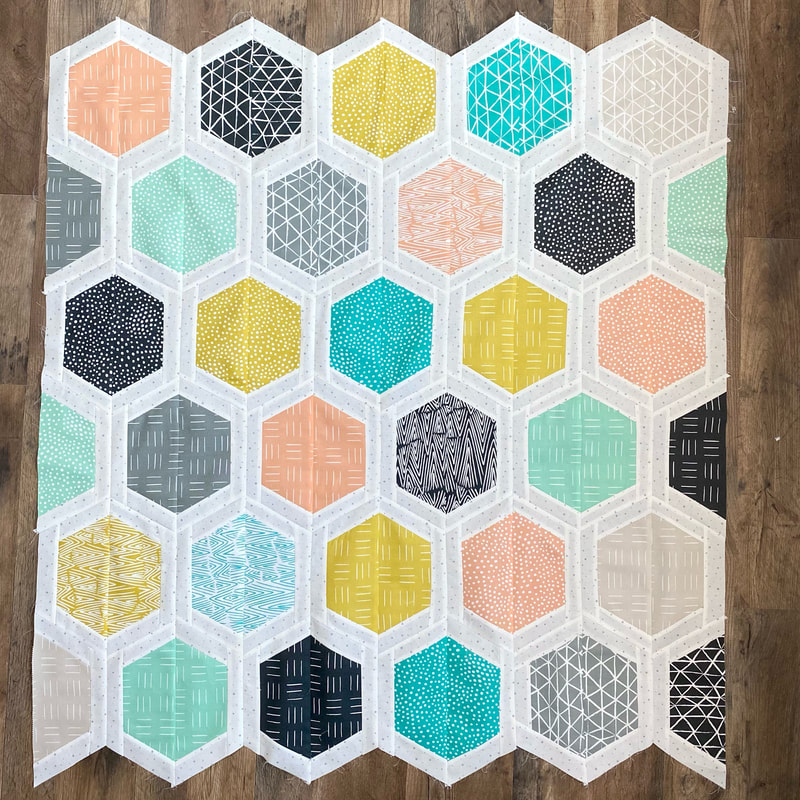
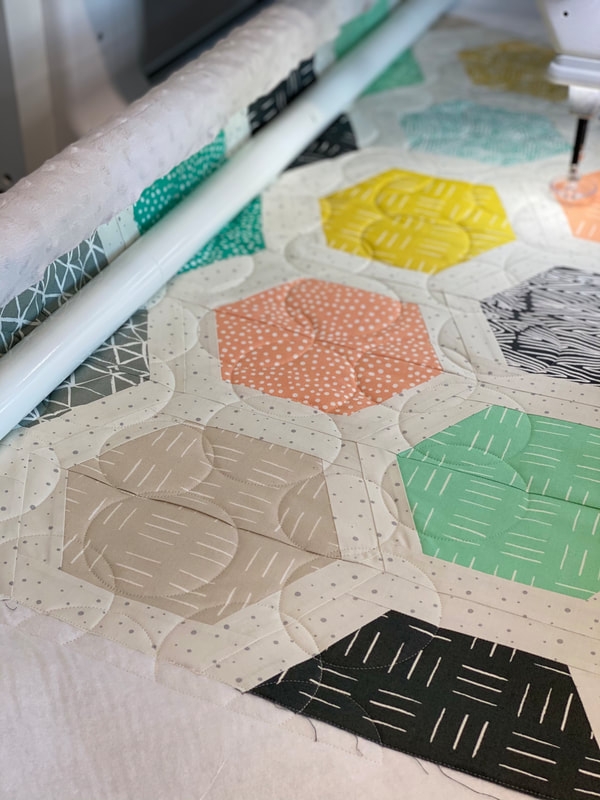
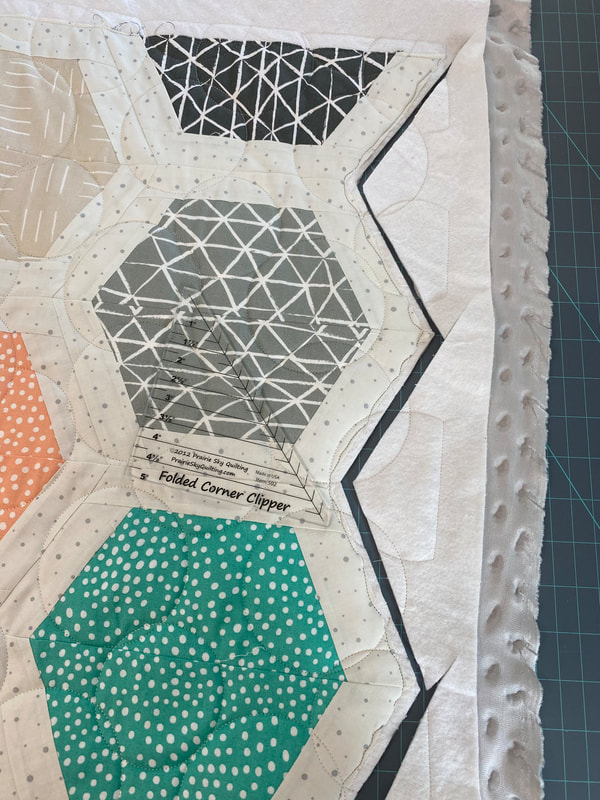
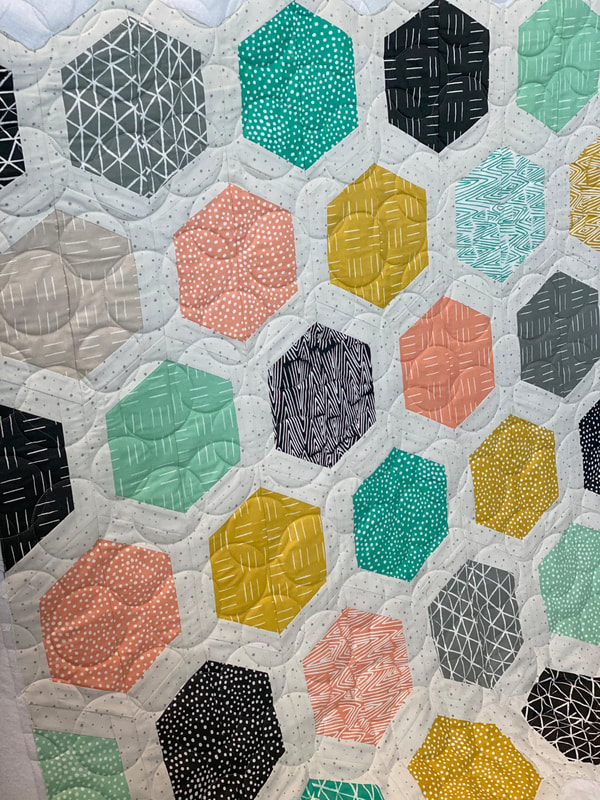
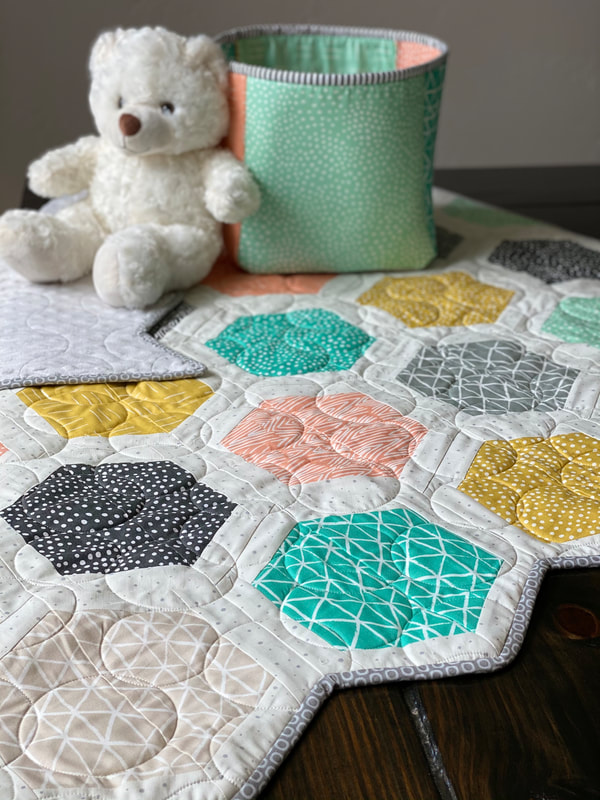
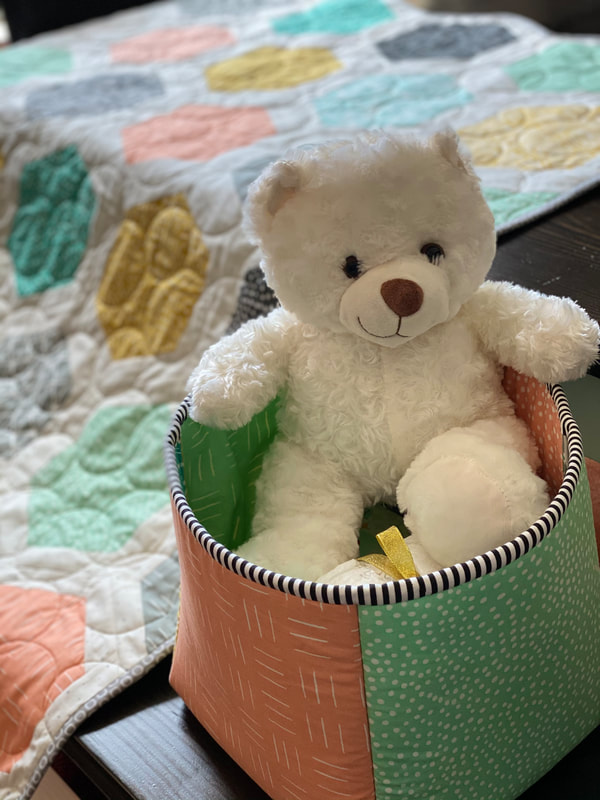
Hey y'all! I'm just hopping on to share a quick tutorial for you. Just a little something I made here for a baby gift recently, and it was so fun and easy I thought maybe someone else might like to try it! It's a simple half hexie, with borders!!! Here's how it all works....First, I decided I didn't want to use my 5" half hexie, or a 10" half hexie ruler, one was too small and the other too big, so I made one with template plastic. You can also Google printable half hexies and just scale them down as you print them so they are around the size that you want, and then use the print out to cut the template plastic, there is no wrong way to do it. I picked out 8" (that's what you see in the pic above) and here is how I made it. I just pulled out a piece of cardboard, from a cereal box, and I cut it out based on the measurements on my cutting mat, then I took that over to the template plastic and made the final cut. Here is the exact template plastic that I purchased, and I really liked it! Then to make things fast and simple, I purchased a layer cake, this is a 10" precut and it is perfect for this size template, you will even have extra to put in your scrap bins or use it for a pieced backing. I used Paintbox Haze for my background fabric because I had an entire bolt I previously purchased, but you can use any light background, or even a grey would be great too, my very favorite is Zen Grey, or here are some great low volume backgrounds to pick from. Oh an my favorite thread is Aurifil chalk, I buy the big cones and they last a really long time, Fat Quarter Shop has thread on sale right now too, so you might want to stock up! The fabric cutting is super simple, this is a great beginner pattern, so don't get worried, you got this! A.) Cut 2 of your Half Hexie template shapes from each layer cake piece (I only used the dark fabric and left the lighter ones for my scrap bin) Background fabric will go on 3 sides of each of your template pieces, you'll need to cut 1.5" strips from your yardage, then subcut into 5" and 7" B.) each half hexie will need 2- 1.5x5" for the sides C.) and 1- 1.5"x7" piece on top. First sew the two side pieces on and trim off extra to be the same as the template, then sew the top piece on and trim extra, video below will explain in more detail. (Wondering what machine I'm using? Link below to my exact Juki model, I have had this machine for about 12 years now, I LOVE it!!!) I usually arrange my blocks on the floor or you can use a design wall, then stack each row in the order you picked, or order some design boards, the are great to take blocks from the floor to the sewing machine and zoom, zoom, sew your rows, then attach all the rows. After several layouts on the floor I ended up doing 10 rows with 6 half hexie in each row so I cut 120 of 1.5"x5" pieces and 60 of the 1.5"x7" pieces, but you can make yours as small or as large as you'd like. You can also skip the bordered portion and just sew all the half hexies together in rows, you'll have a quilt finished in a weekend if you skip it. Just have fun! I was thinking this would be adorable to throw over a car seat with minky on the back. Ta Da, it's all together, and I decided I am going to make bias binding so I will leave the angles on the top and the bottom, but you can just cut the top and bottom to make it square all the way around, tons of options! Video below with instructions on how I cut bias binding... Next up, it's my favorite part... Quilting!! I picked out Bubbles Original digital quilting panto, because I love bubble quilting on baby quilts, plus this one has miny on the back and I didn't want the quilting to be too dense, so it would still be snuggly. After I pulled it off the long arm, I used my favorite folded corner ruler to trim the curved edges, it's great I use it for all kinds of things, you need one! I also decided to make a little fabric box to match. I saw one in a magazine recently and it gave me the idea to use 10 of the leftover layer cakes pieces along with some Soft and Stable so I could deliver the gift to the shower in a little box that could be used later for toys. I also love to use Soft and Stable on diaper bags and other bags, its easy to load on my long arm, and get great textures for the bag panels. If you enjoyed this fun idea, please comment and let me know, if you decide to make it, please share it on social using #ginashalfhexies so I can find them in a search. Don't forget to check out the bias binding video below... At no extra cost to you, I earn a small profit on things you buy from my affiliate links, I promise to use it to make more fun tutorials like this!
Thank you!! Happy Quilting, Gina Tell |
AuthorHey Y'all, I'm Gina Tell! I live on Lake Travis just North of Austin Texas. I'm a full time long arm quilter and lover of all this art and outdoors!! |
