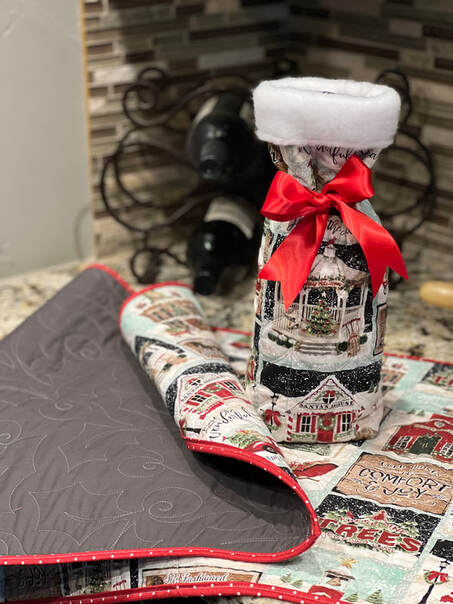
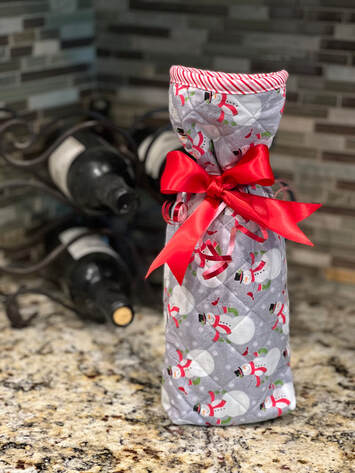
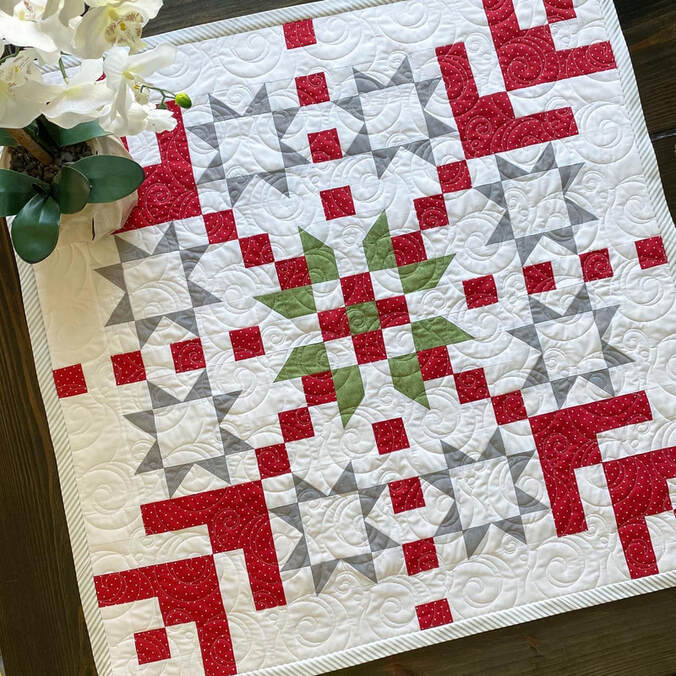
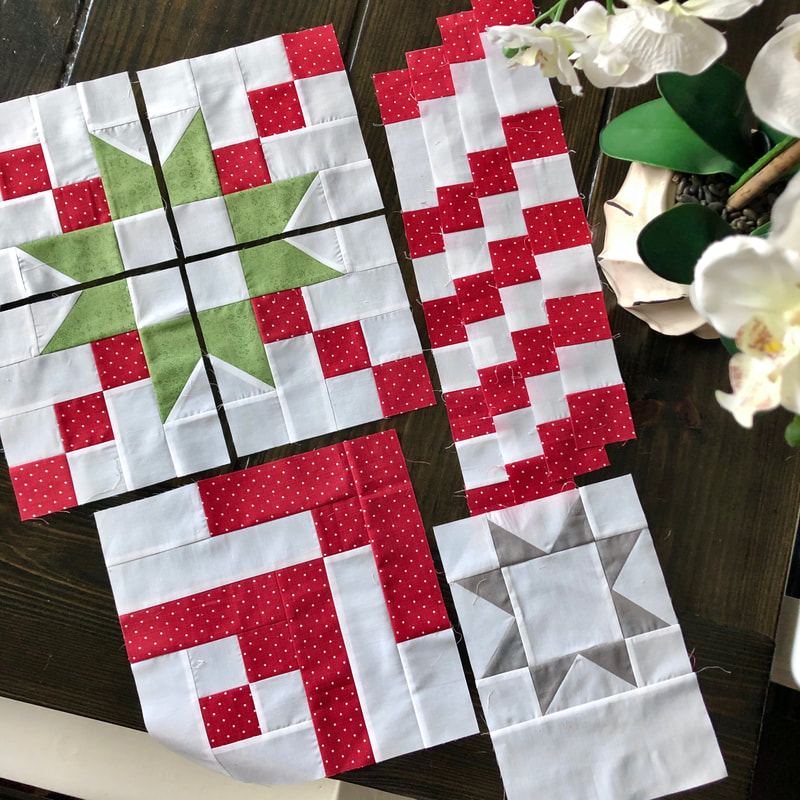
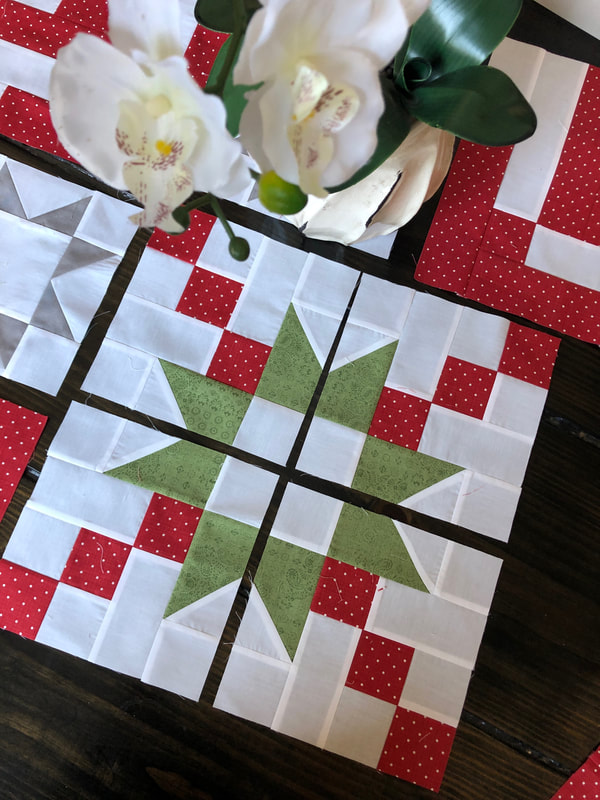
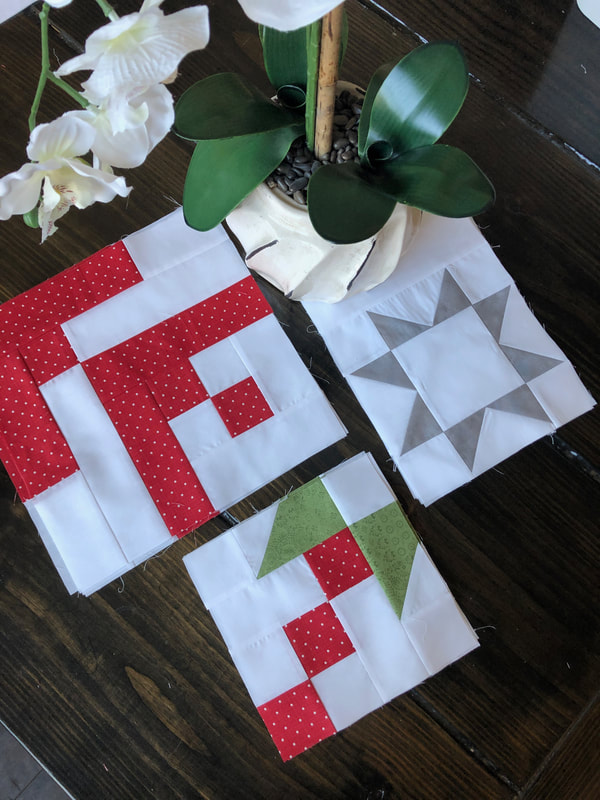
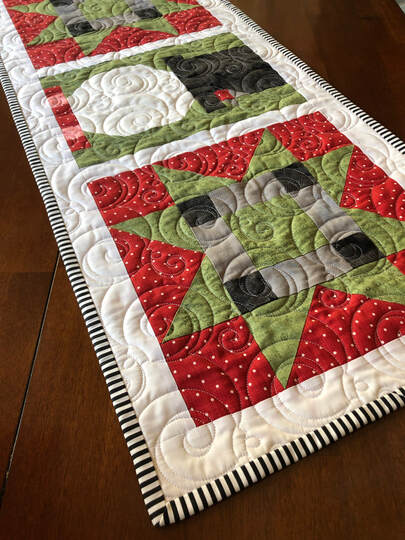
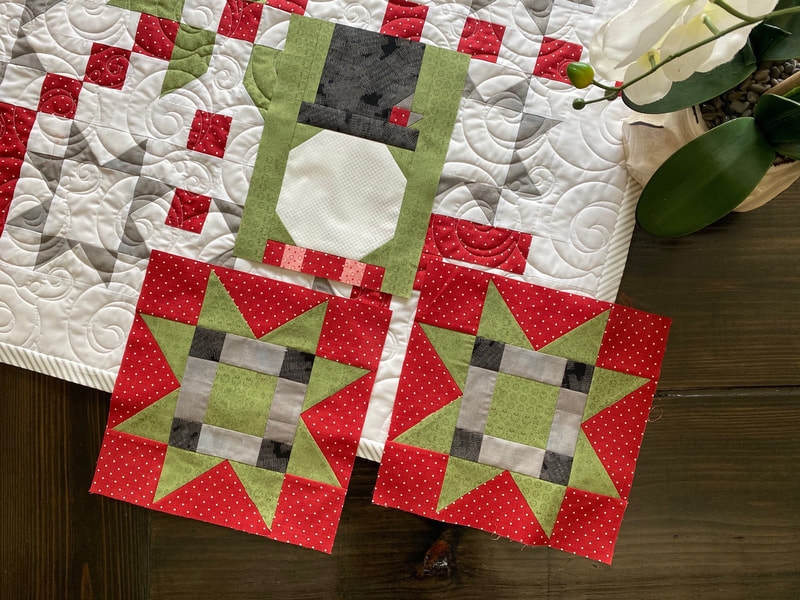
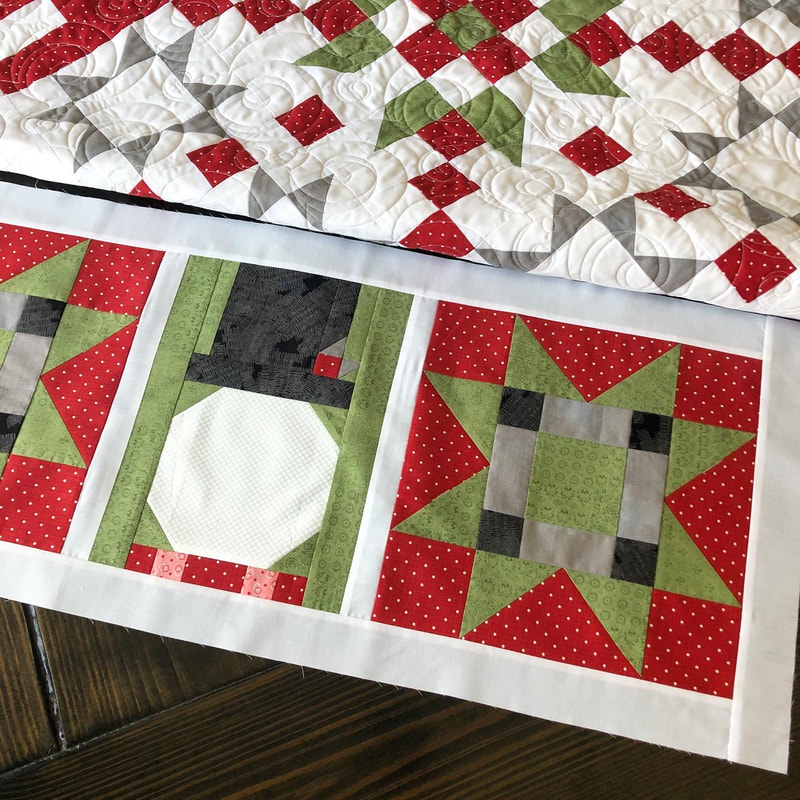
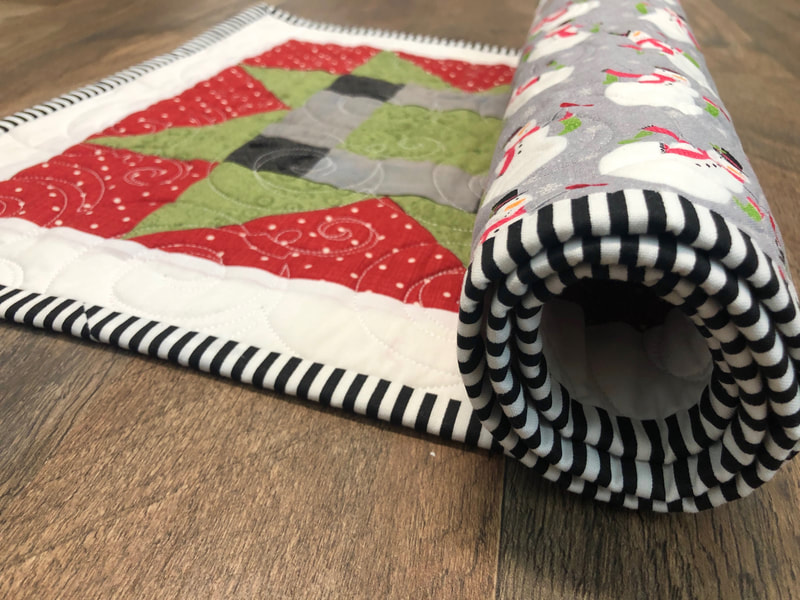
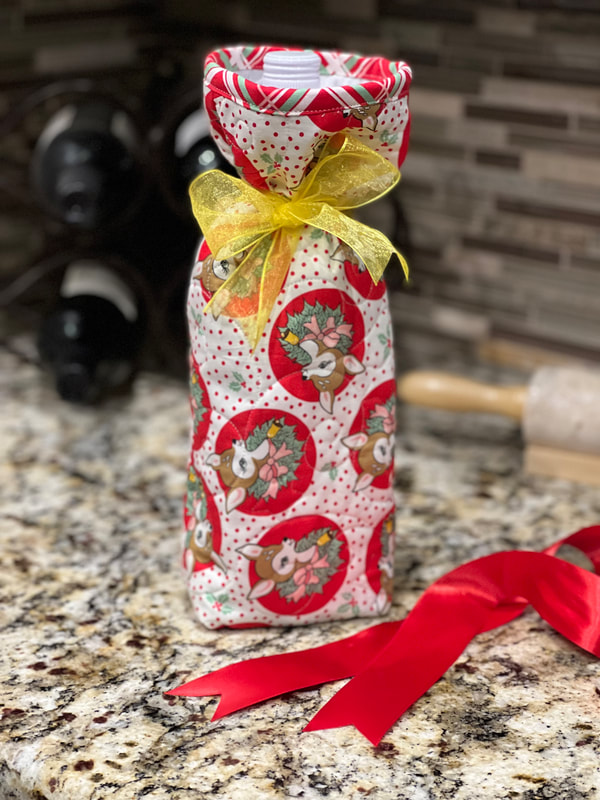
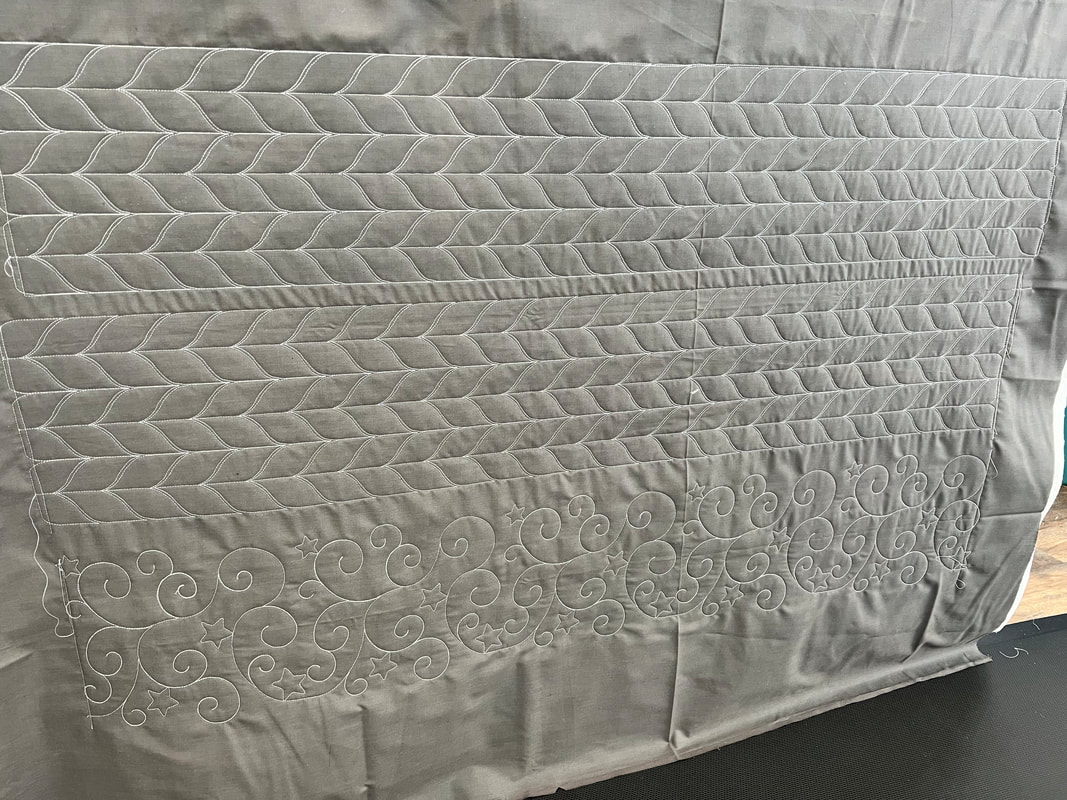
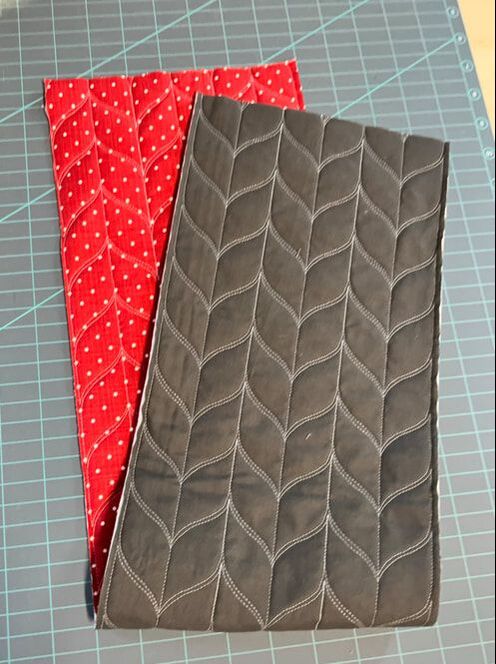
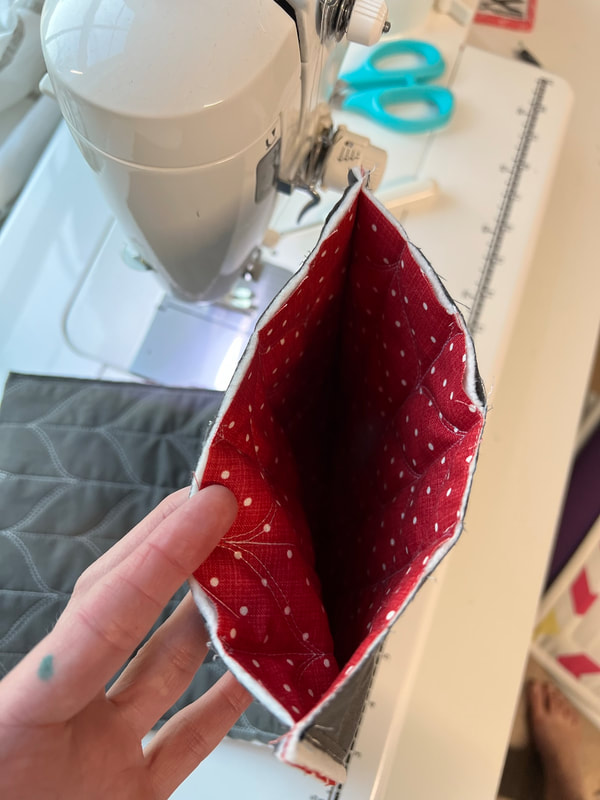
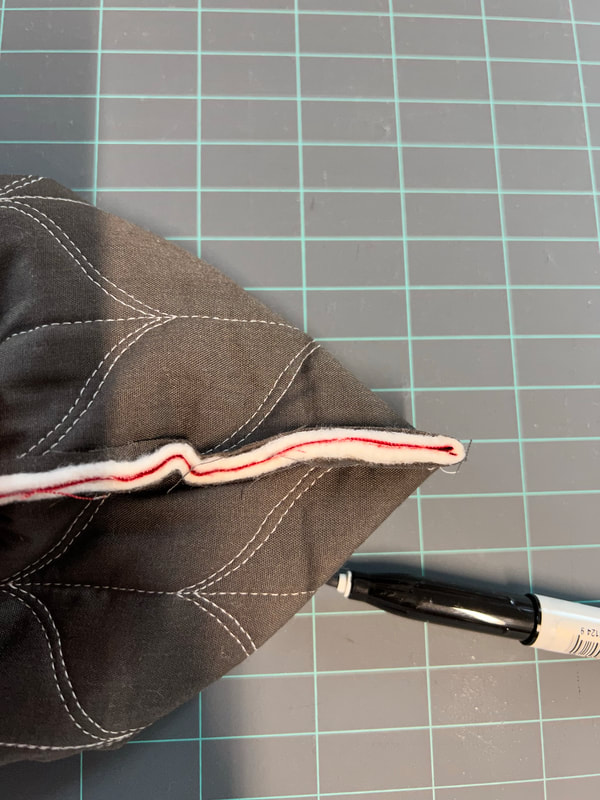
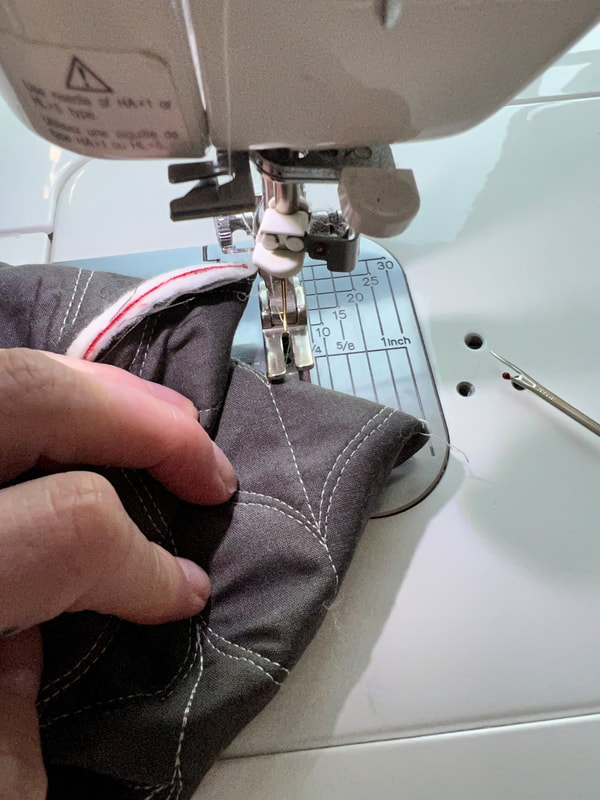
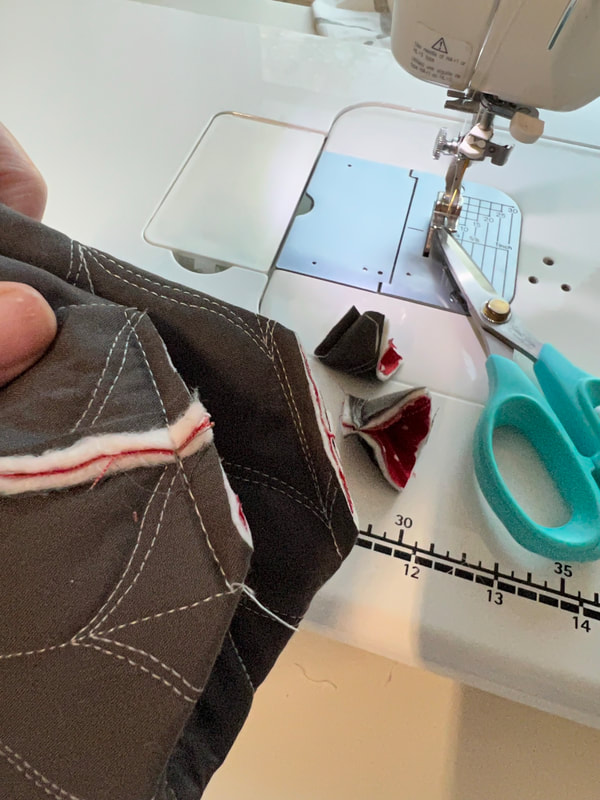
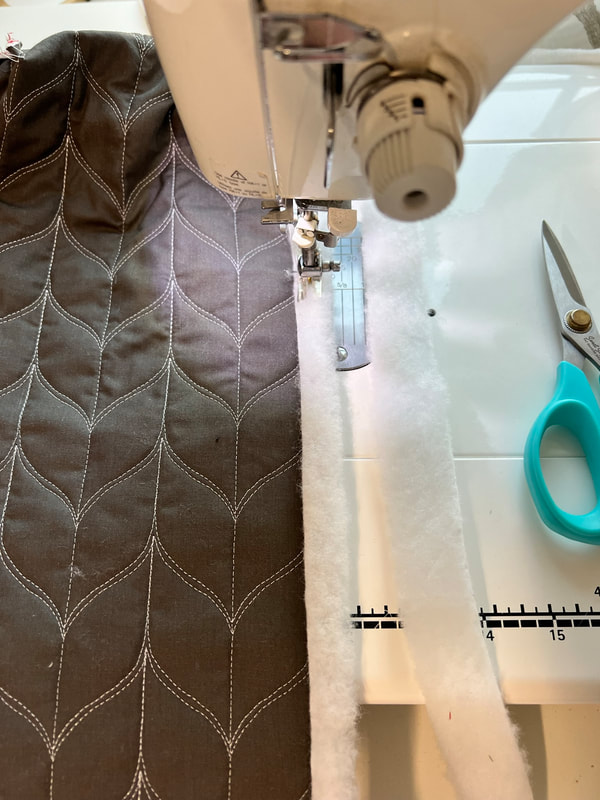
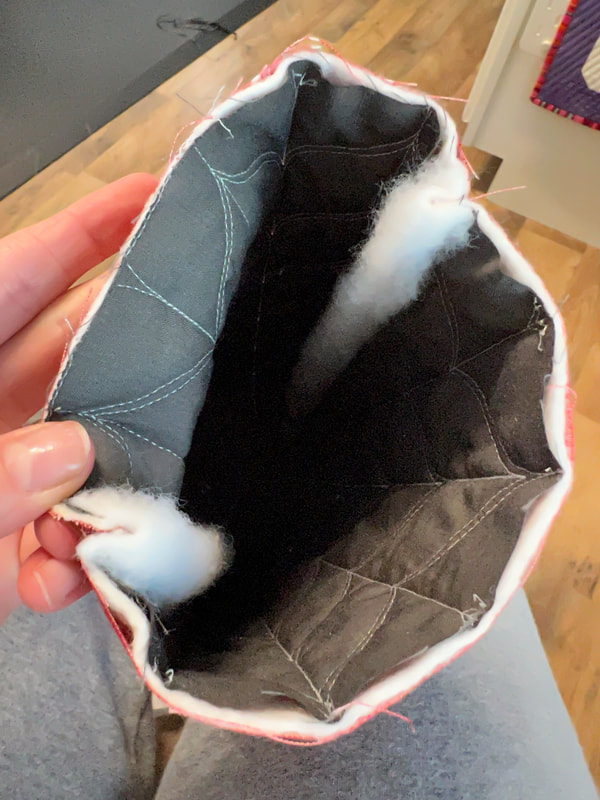
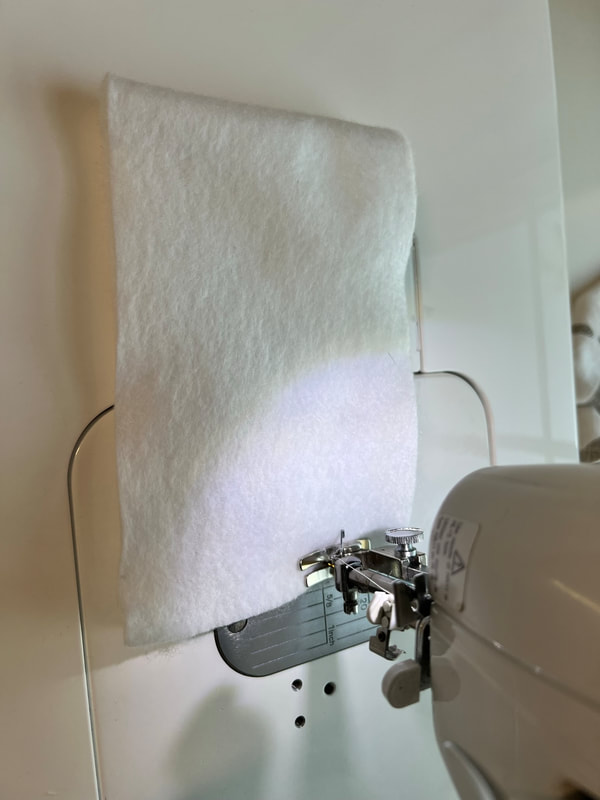
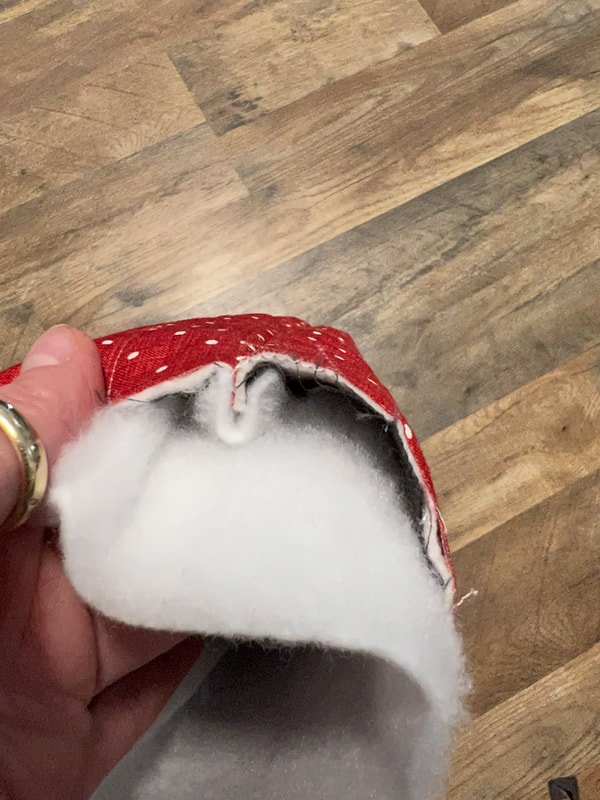
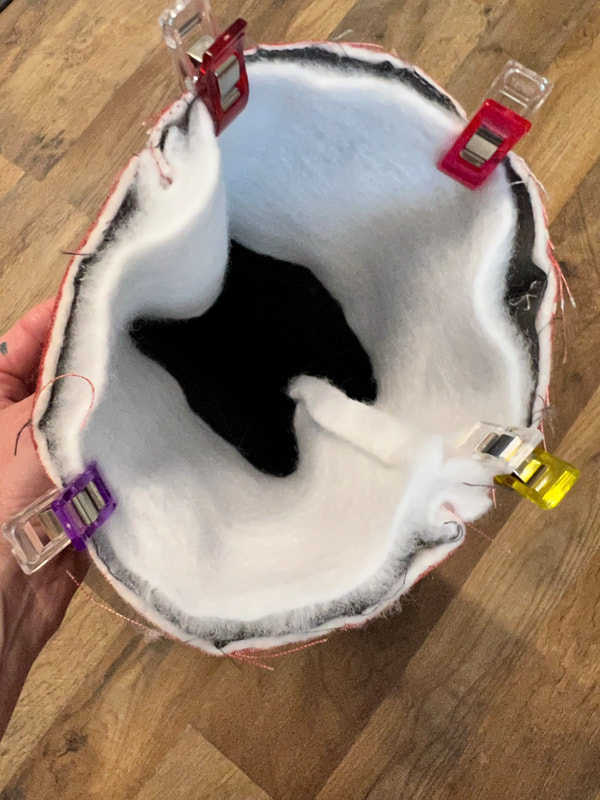
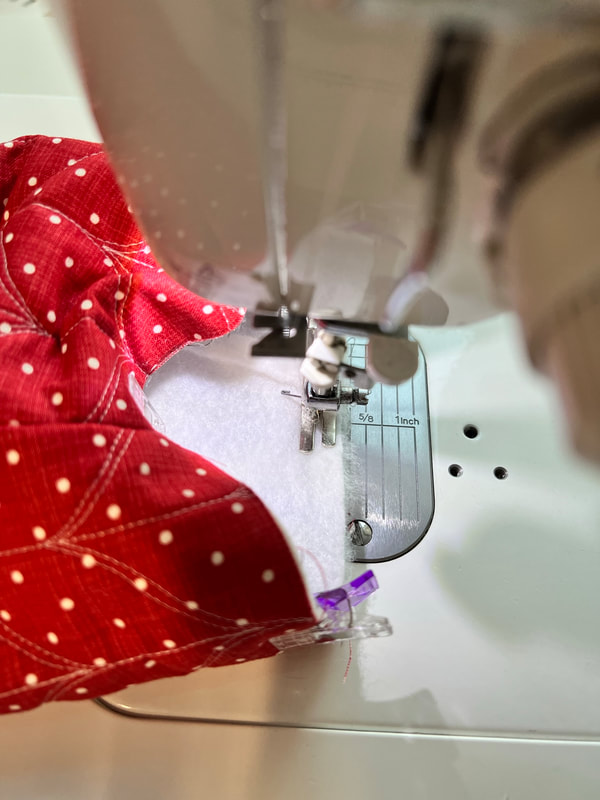
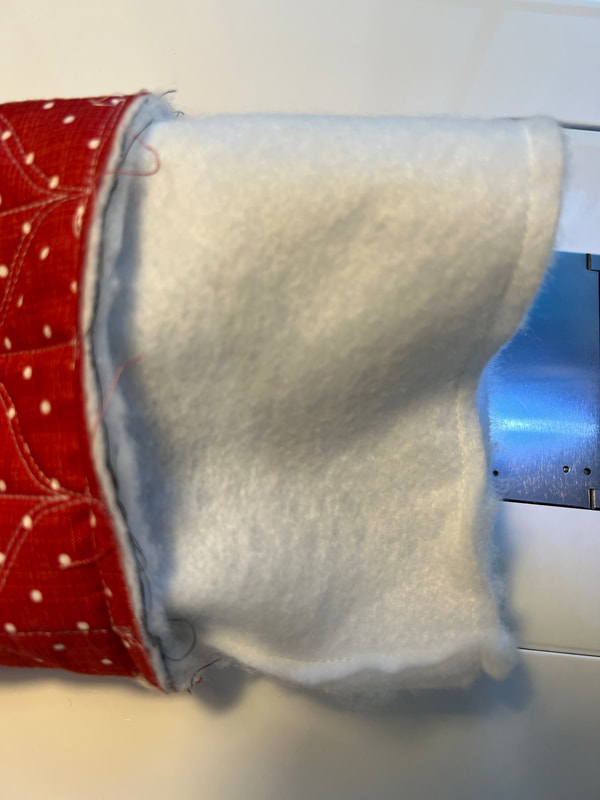
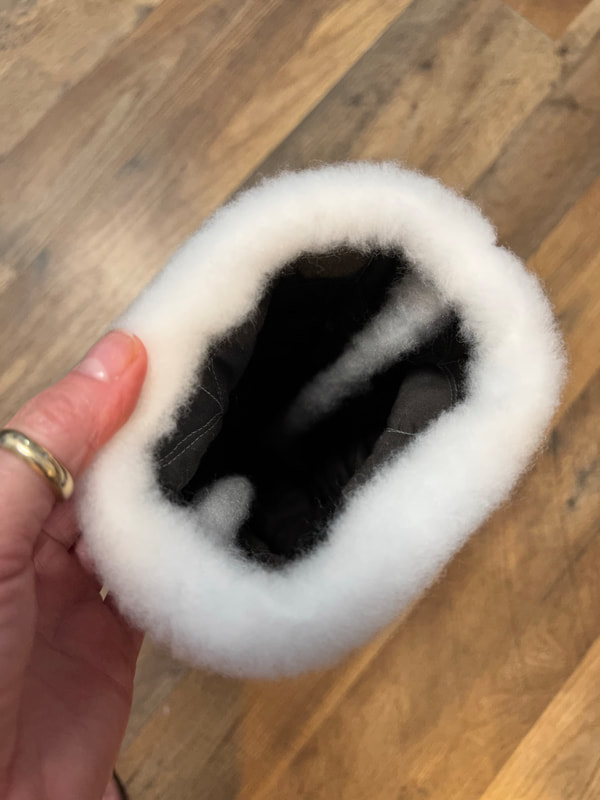
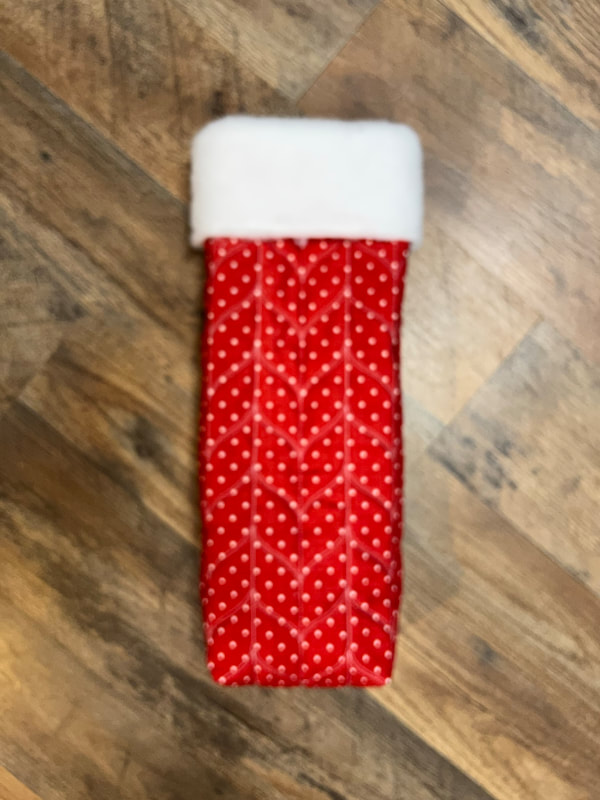
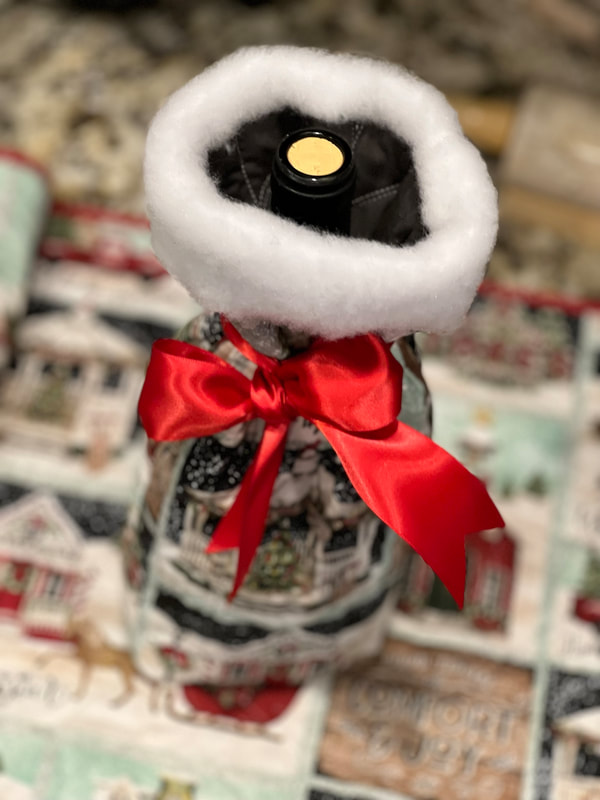
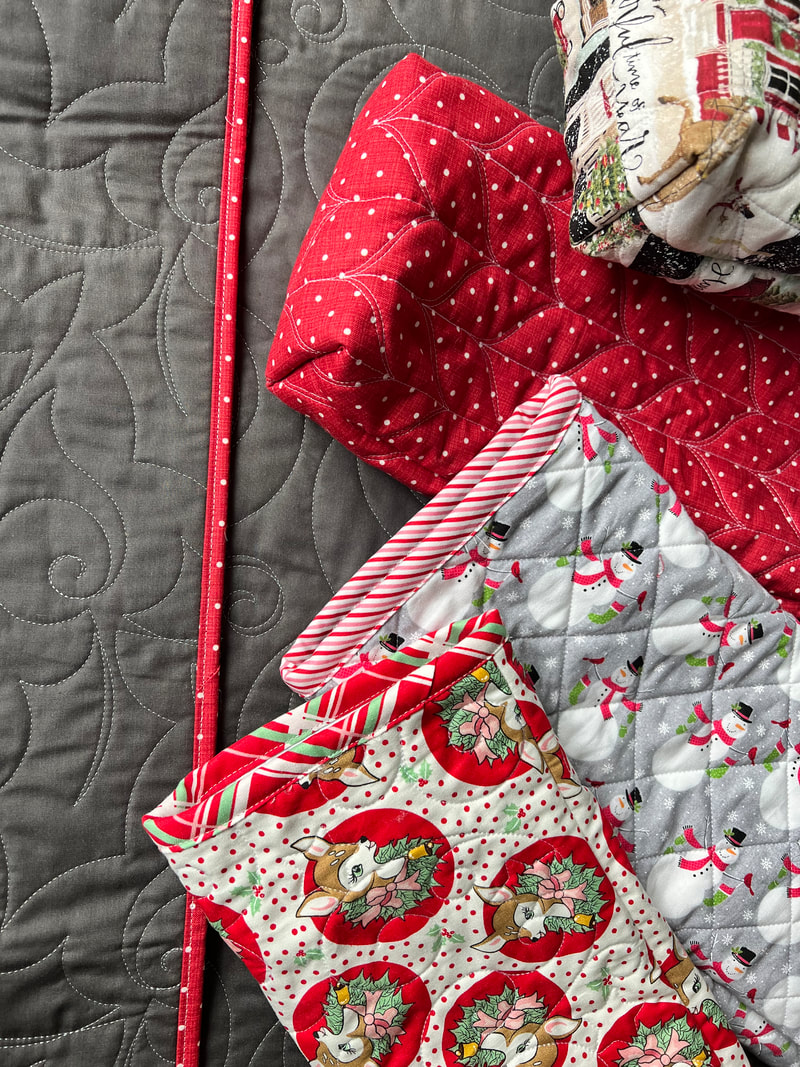
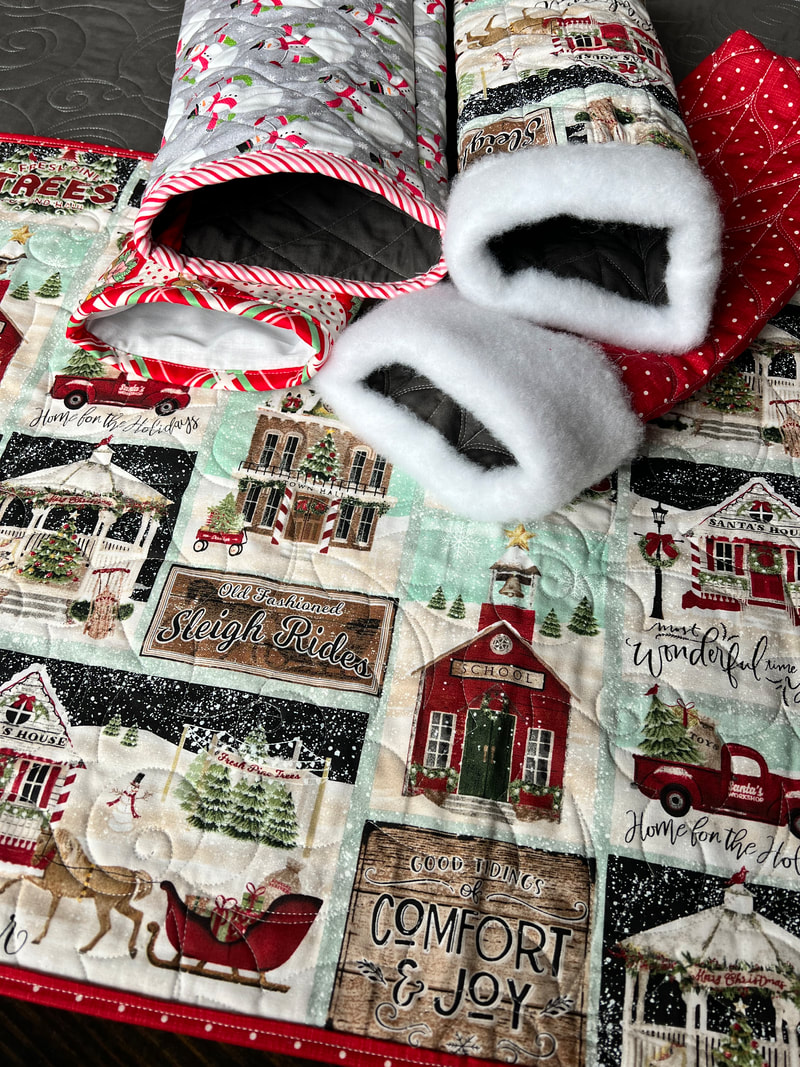
Wine gift bags make great gifts for friends!I'm updating an old blog I made in 2021 to share. Come make some quilted wine totes with me! My husband has a white elephant holiday party at work each year, so I am always thinking of new gift ideas to make. This year I have been much more into wine tasting than previous years because we have a lot of beautiful wineries near our home. I am not a big drinker, never have been, but a nice glass of wine while sitting outside in the Texas Hill Country with my hubby can really be relaxing and fun. We usually buy a bottle or two to take home and I thought it would be really nice to give some local wine as gifts this year to some of our friends close by. Well you can't give a bottle of wine without a cute little gift bag, right? So this is what I came up with.... I guess I should back up and tell you how this started.... It's no secret all crafty people love Hobby Lobby, the store has everything, and I could spend hours in there, and hundreds of dollars too. So as I was walking around the other day I found some cute holiday fabric on sale for $6 per yard, it was so cute so I got a couple yards. I decided to cut some of it into small table runners and quilt it on my long arm and then add a quick machine binding that I had in my stash and poof, it's adorable. Then came the idea for wine bags. I just recently made Christmas stockings for a friend out of state and I had some white fluffy stocking fabric left over, I thought oh how cute would that be on the top of the wine gift bag? I also use it as a binding on the inside of the bag to cover the raw edges, it made a fluffy protector for the wine, it was easy and adorable. I actually made one, and couldn't stop, I started pulling out fabric left overs from my stash and going a little crazy, I am going to need more wine drinking friends LOL! This fabric was leftover from my Jelly Snowflake quilt I made a couple years ago, it was a FREE Christmas in July project hosted by the Fat Quarter Shop so I got this for the backing. I just did a simple crosshatch quilting, added a quick binding, and tied a bow. If you are wondering about the Jelly Snowflake pattern, I will link it here, and show photos below. Oh and Jelly Rolls are on sale right now, check them all out! Oh and while we are talking holiday gifts, check out this adorable Mr. Frosty table runner I made to match my Jelly Snowflake. The pattern is also FREE made by Christopher Thompson aka. "The Tattooed Quilter" and really, really cute! Click the green above for his blog post with the pattern! Ok, sorry I got sidetracked with all the fun holiday stuff, now lets talk about how to make the wine gift bags... Since I have a long arm, I cut out one big piece of backing and loaded it to the frame, used some leftover batting and then placed each piece of fabric I had cut out for the wine bags on top. I cut my main bag piece 7"x30" and did simple quilting, below is what it looks like from the back side for 3 bags. If you don't have a long arm, this is a great time to practice FMQ or straight line quilting on your standard machine. Trim each one down so you have a 7x30" piece, you can actually get away with probably 25" if you want the top of the wine bottle to show (insert personal preference here) Ok, now fold it so the right sides are together on the inside and sew both sides, the bottom is your fold so you wont have to sew that part, see pic below... Now lets square off the bottom. That means I marked 1" in from each side of the bottom with a frixon pen (pic 1 below), and then stitched down the line (pic 2 below), then cut off the excess (pic 3 below) I used a 1" strip of the white fluffy santa fabric to cover the inside seam, (pic below) I just folded it over the raw edge and stitched it down, very simple & it looks cute, and it will add some extra cushion for your wine bottle. Or you can do a few other things here. You can leave it alone and let the raw edges show, you can use a serger to put a serged edge on it, you can make matching cotton binding, or you can make a quick liner to put in it. If you pick the liner option you will want to cut it just a tiny bit smaller than your exterior cut (6.75x30) Flip it so you can see your work, it's cute! Lets make the fluffy part for the top now... Cut a 3x12" piece of fluff, with good sides facing together sew the fluffy white Santa fabric on the short side (pic above). Then make sure your bag is right side out, & put your fluffy piece inside the bag top with the fluffy side facing in like the first pic below, then use clover pins to hold it in place, take it to the machine and stitch down... Then fold it over the top of the bag and poof you made an adorable bag! I like to put my wine bottle inside and then tie a ribbon around the top to tighten. Or you can stick a handle strap on it in this last step. If you don't want to use the white Santa fluff on the top, you can also just add binding. I made mine 2" and stitched it down with the machine, I didn't have time for hand biding, but if you do that would be really great too. Don't worry about being perfect either, they are adorable handmade gifts even if your stitches are not perfect! Just have fun with them, and do what works best for you! They are just too cute! Make sure you share them on your social media and tag me so I can see what you made #ginatell #threadgraffiti #ginaswinebag I would also love for you to subscribe to my NEW YouTube channel I just started, I have 2 new videos if you have time to watch. Happy Holidays and Lots of Love, Gina
0 Comments
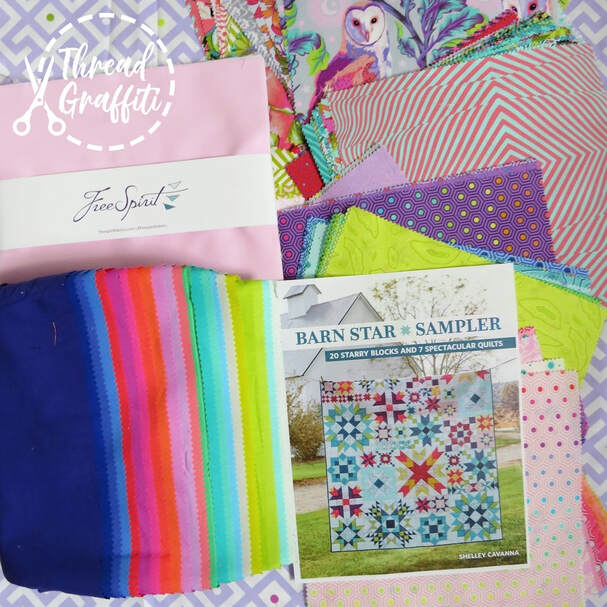
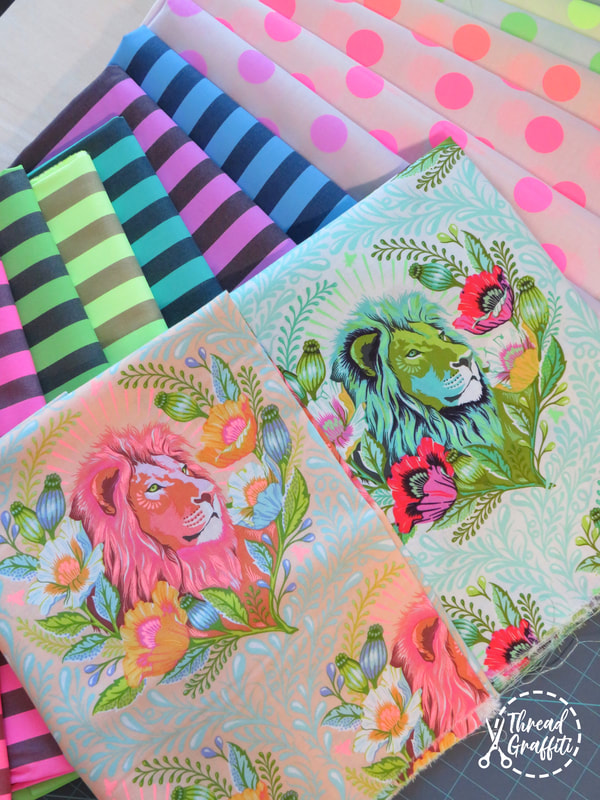
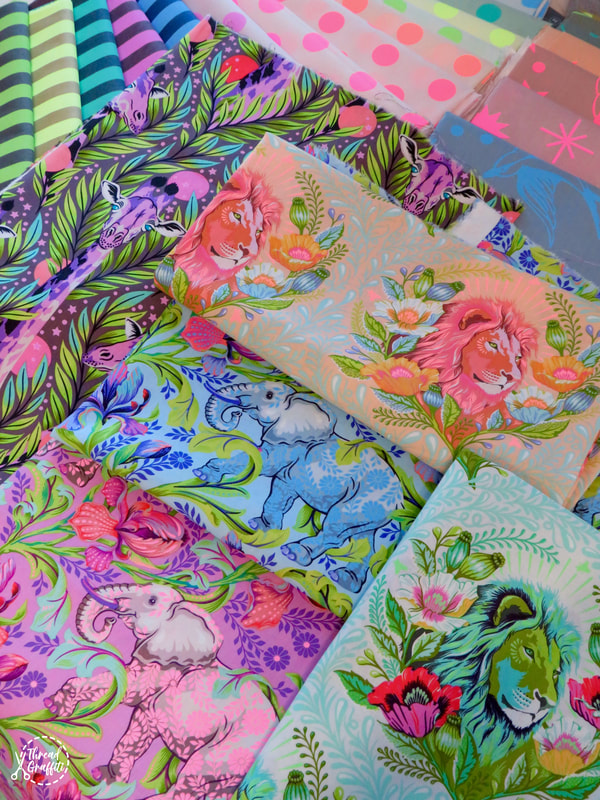
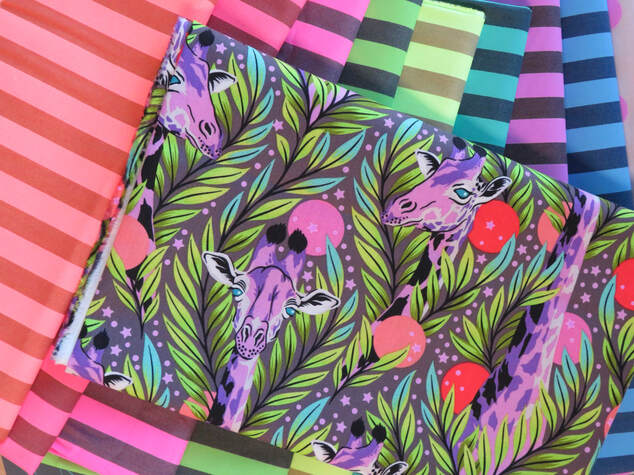
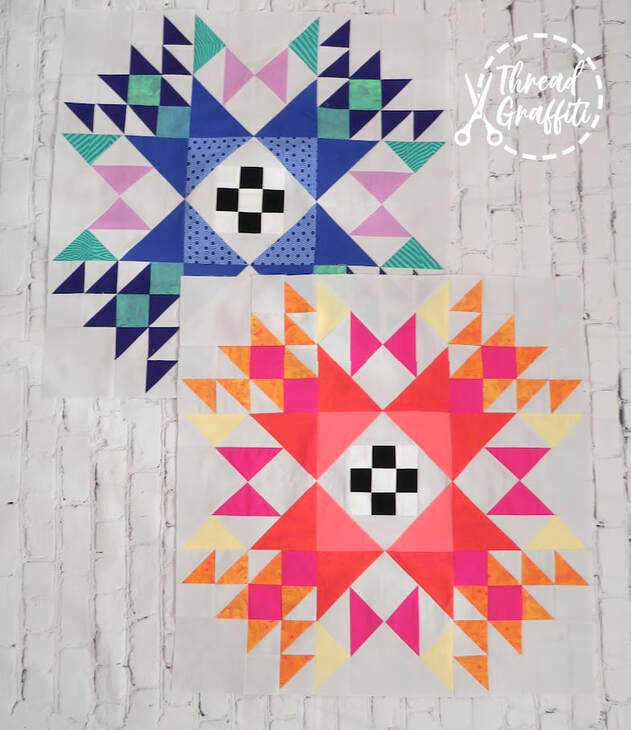
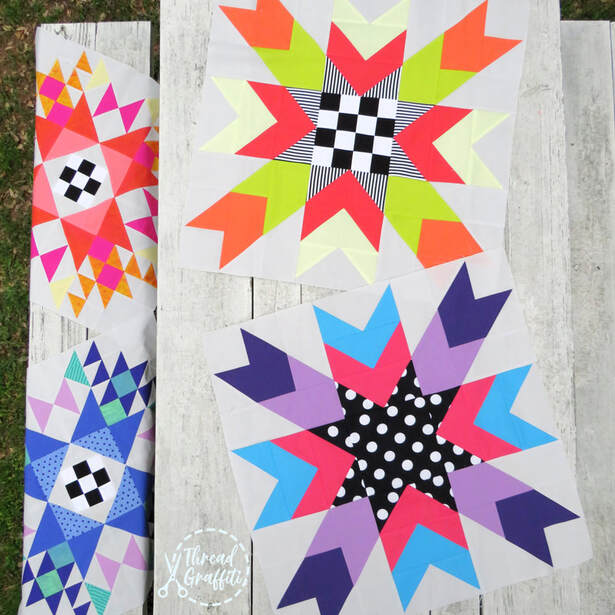
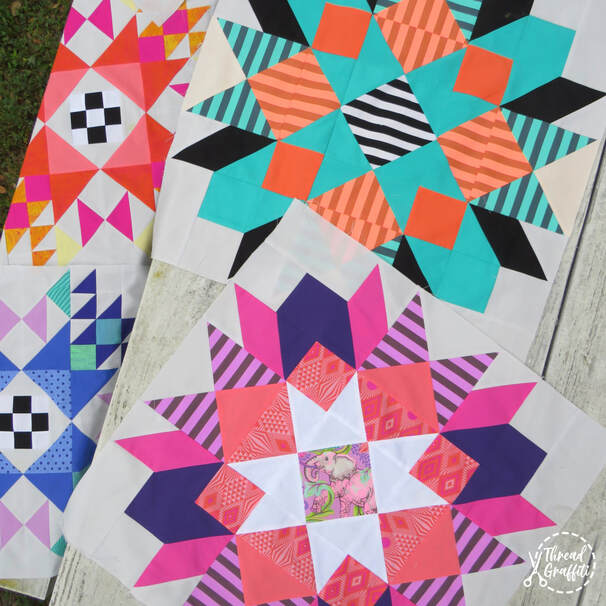
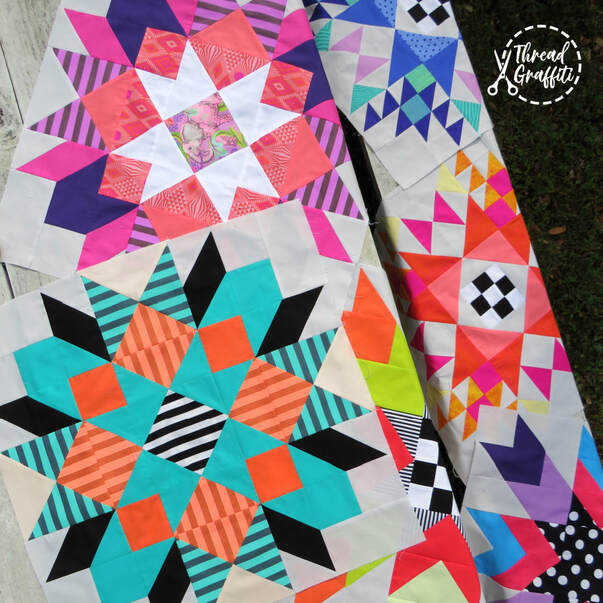
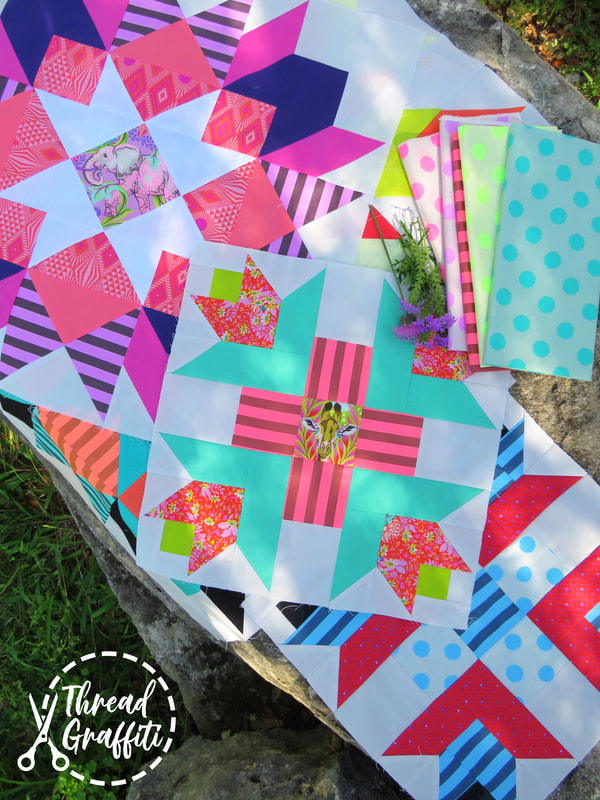
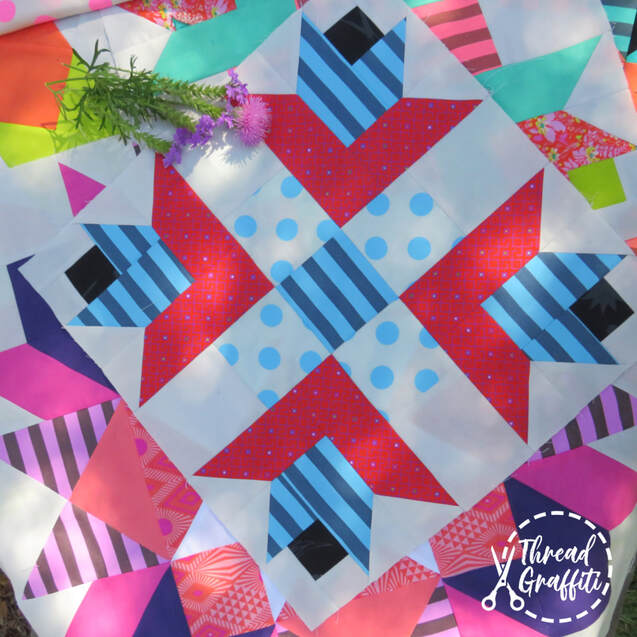
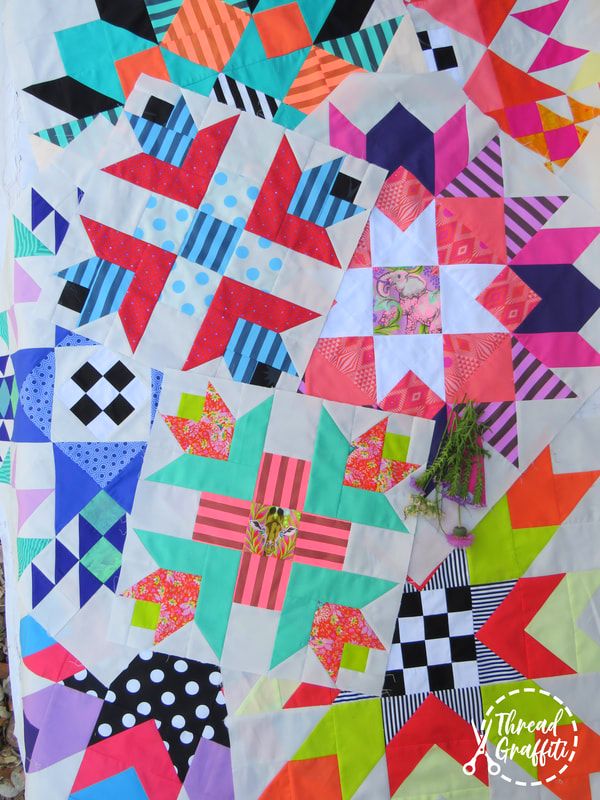
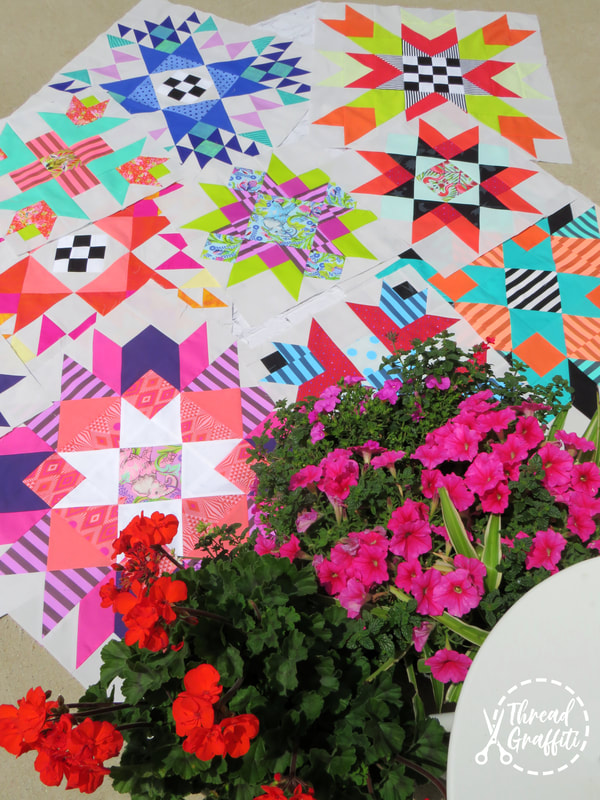
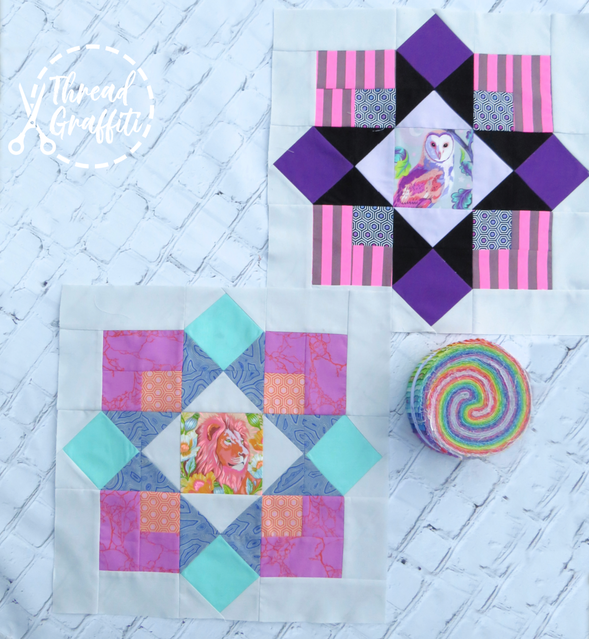
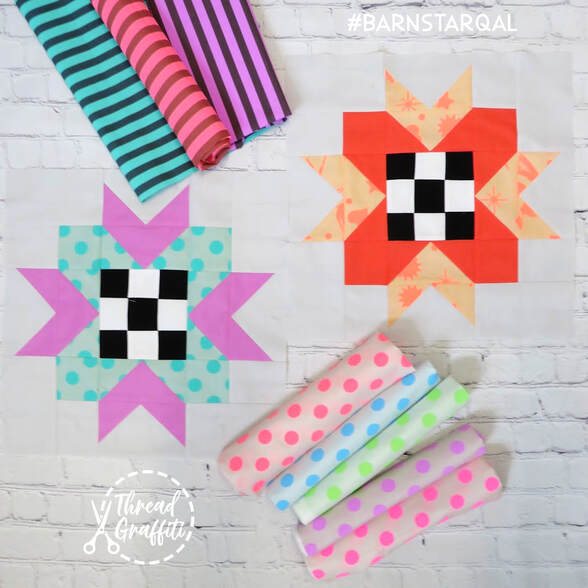
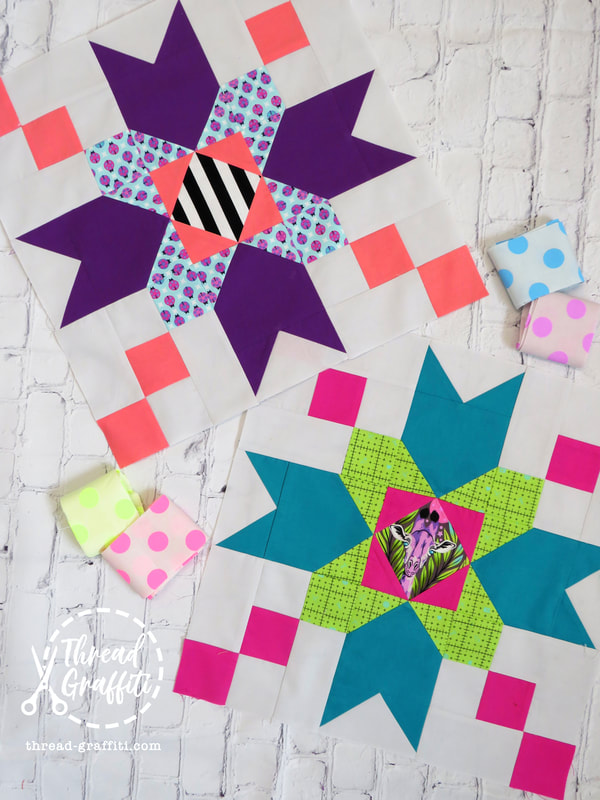
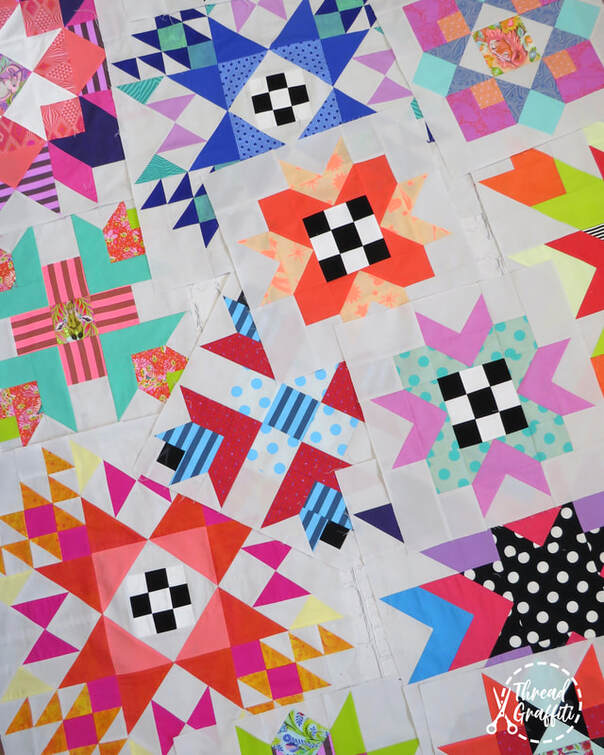
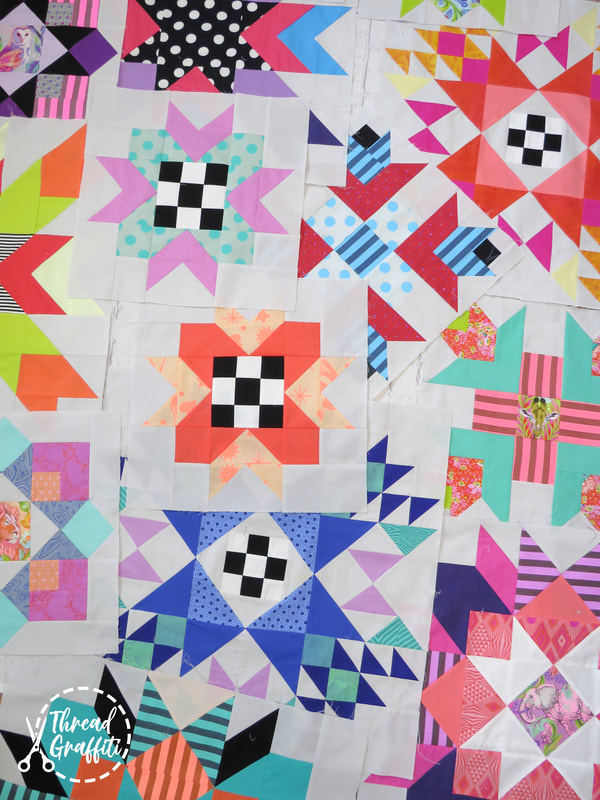
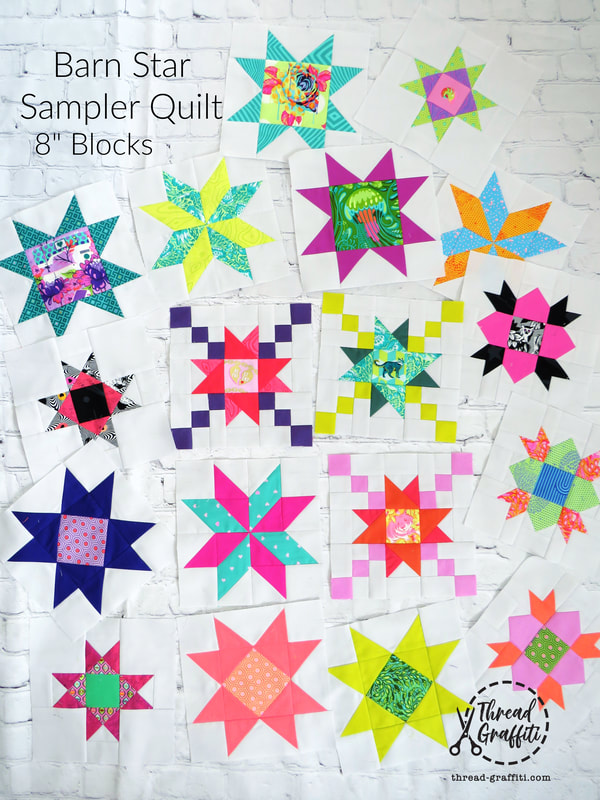
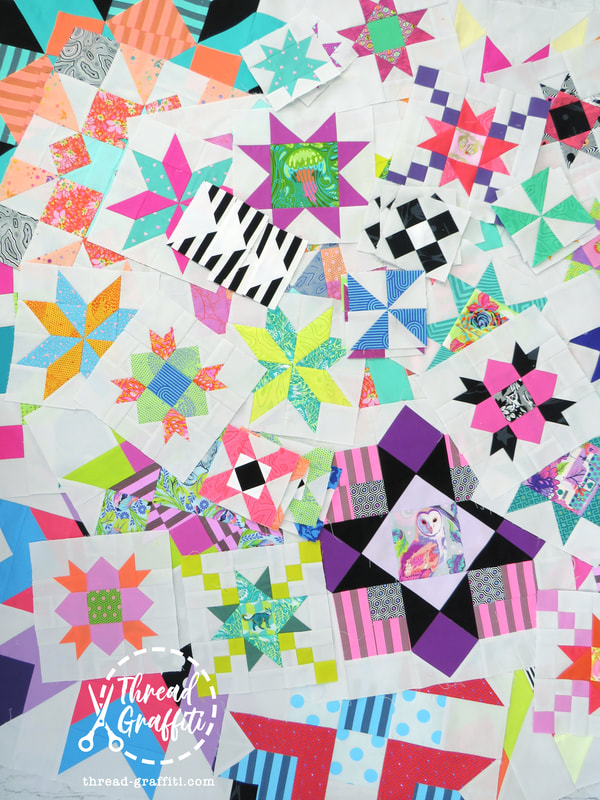
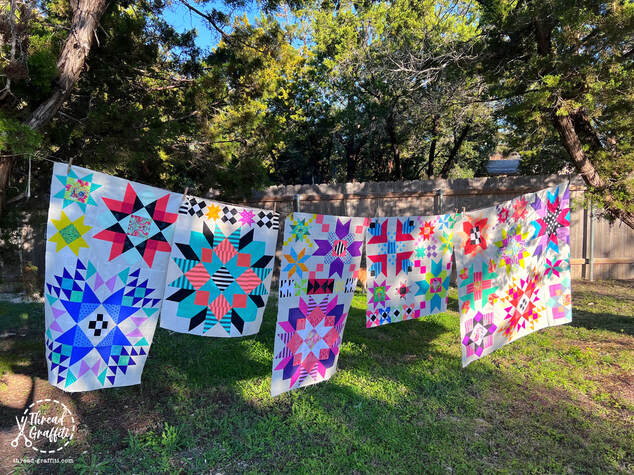
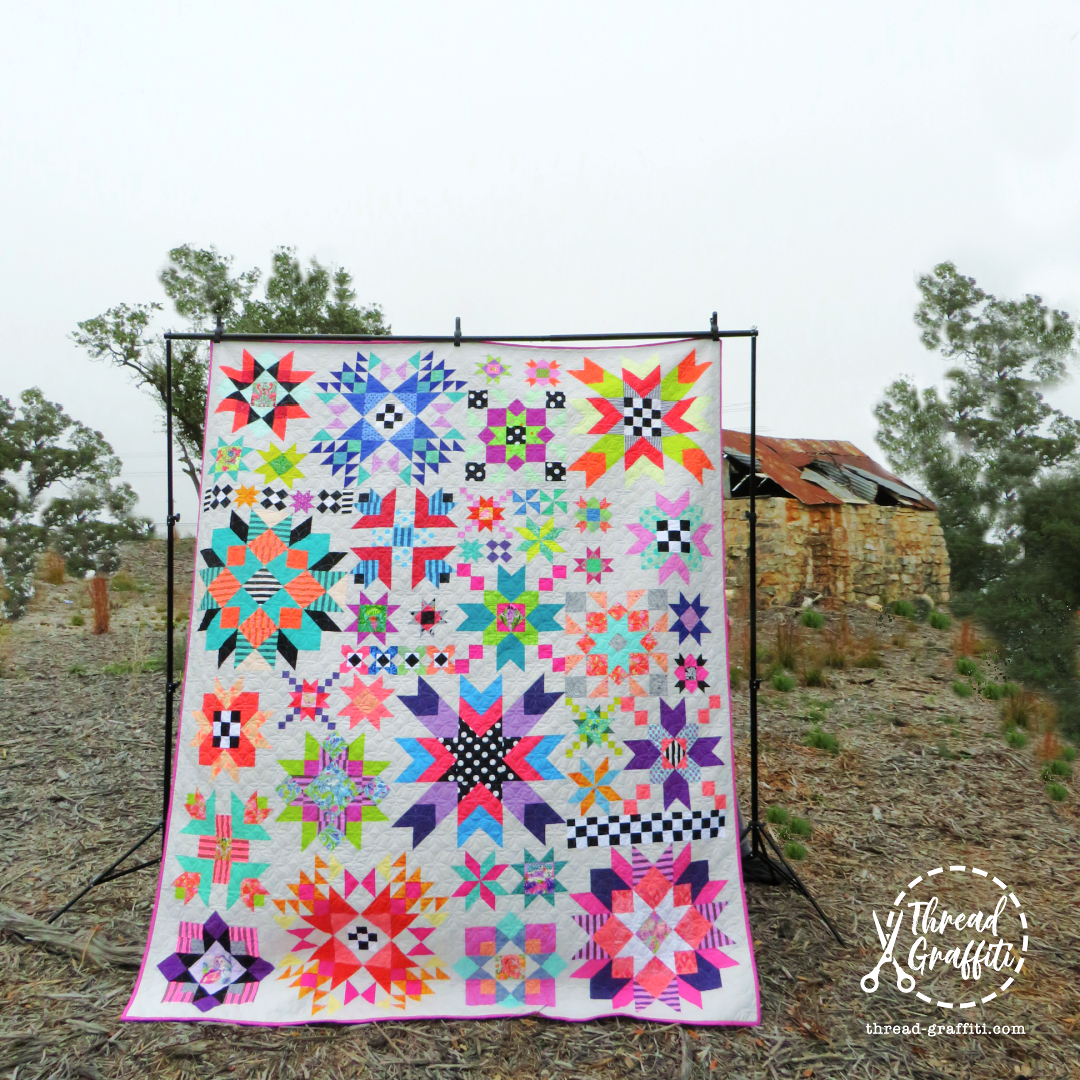
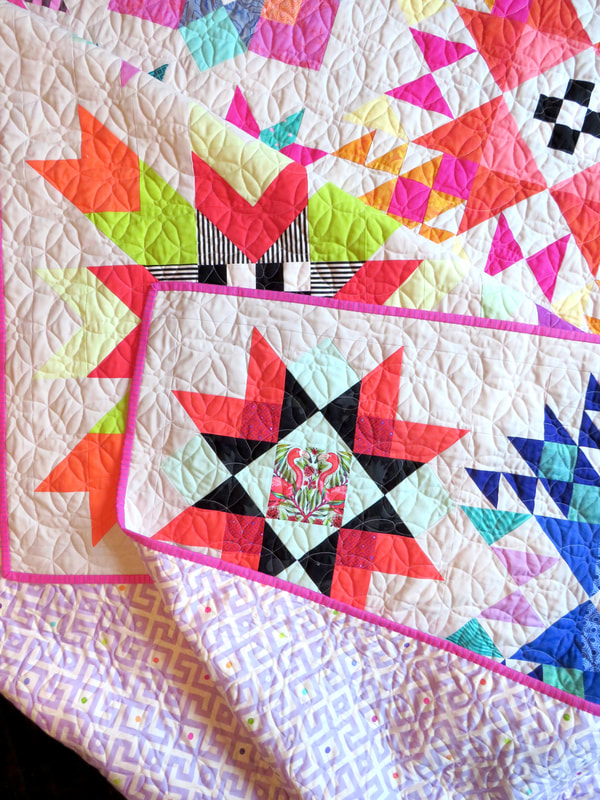
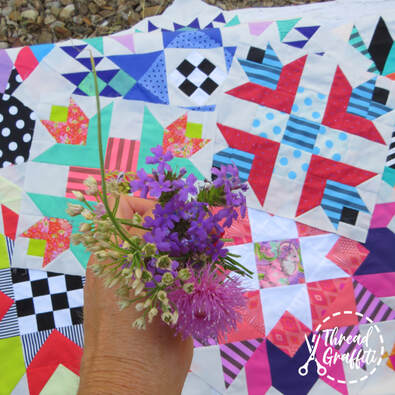
I have had this Barn Star Sampler quilt on my to-do list in my mind since I first saw it, so I was really excited when Fat Quarter Shop asked me to join in and sew along with them! The Barn Star Sampler Quilt book was designed by Shelley Cavanna and it has sold like crazy, so the hard copy books have been on backorder, but should be available in March, in the meantime you can still buy the EBook and sew along with us, that's what I am doing. I just printed my book out and put it into a binder, or you can cut and sew right from the screen of your favorite device. Now let's talk about the fun stuff... Tula Pink FABRIC!! This sampler pattern is just so fun, I felt like it was totally necessary to use Tula Pink fabrics to give it that bold and modern look I always love! So I have pulled a variety of Tula Pink fabrics from my stash (I love Tula solids!) Plus, I just got my sample fabric from Free Spirit the NEW Everglow is as amazing as I had imagined! It's a neon rainbow Y'all!! Tap the image above to reserve your bundle, it will begin shipping early April! Plus Besties by Tula Pink will release in the Fall and I hope I can all some of that in too. Here are my blocks for January, February and March we made 2 blocks from the first 3 patterns in the book, I am totally in love with them! These blocks are huge, and such fun to make, I shared a couple reels to my Instagram with my bad hair #behindtheseams while I did the sewing on block two. I decided to use a black and white feature in the centers, because I am planning to incorporate some black and white within the rest of the quilt later, Oh... I used Kona Dove for the background and then a variety of Tula prints and solids. Throughout the year, we'll been sewing all the Barn Star Sampler Quilt blocks in the same order as they appear in the book, but you can piece them in any way. This Queen-sized quilt finishes at 80.5" x 100.5" and is written for traditional piecing techniques, but if you would like to use foundation papers, Fat Quarter Shop has created a collection of Triangles on a Roll for you to use. As we near the end of 2023 we are finishing our Barn Star Sampler, here are the last of my blocks before I start sewing all of them together then we will be ready for longarm quilting, I am so excited to see this one finished! The end is here, the calendar says December 15th, 2023 and it’s Barn Star Quilt Along Day!! That means we finally share out finished quilt!! I’m not sure I have ever made a quilt that took me an entire year to finish. Sure, I have started them and tucked them away for a year or so and then finished them, but never have I made a block or two each month for this long, it sure was fun!! Also, notice my Texas barn in my background, it has no door just stone steps to look inside, I believe it’s some kind of cellar from many years ago, the walls are prob 24” thick with stone and mud. Me and the teenagers went out on a walk near our house in the #texashillcountry to get this picture, it’s always fun when they hang out with me! I decided to use the Propel Pantograph by my friend Jess from the Longarm League, this quilt finished at 80x100 so it stitched out forever, but it was perfect, great panto! I shared some of these blocks on the YouTube video below, tap to watch... Quilt Along Schedule I'll be following this FQS schedule when I share my blocks to social media. There won’t be a tutorial for these blocks, as all of the instructions are in the book, but I will have YouTube tutorials for the quilting, trimming and binding portion later in the year! Month/Blocks/Date January Make two of Block 1- January 27 February Make two of Block 2 - February 24 March Make two of Block 3 - March 31 April Make two of Block 4 - April 28 May Make two of Block 5 - May 26 June Make two of Block 6 - June 30 July Make two of Block 7 - July 28 August Make two of Block 8 - August 25 September Make two of Block 9 - September 29 October Make three of Blocks 10-15 - October 27 November Make four of Blocks 16-20 - November 17 December Backing and Finishing December 15 I can't wait for the finishing, it's my favorite part! Who’s Sewing Along? You can follow all the makers on social media for inspiration and tips.
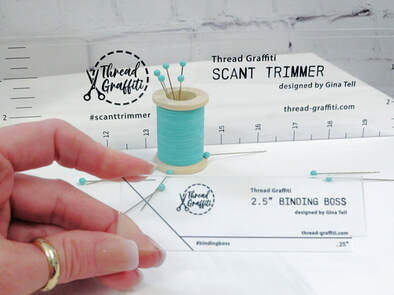 Thanks for stopping by my blog, I would love for you to check out my new online store while you are here, I have a brand new ruler design that I just released to help you get perfect binding and if you have a pile of quilt tops laying around you really should consider getting them quilted, I love long arm quilting! Keep up with my progress by following @gina_tell_threadgraffiti on Instagram and don’t forget to use #BarnStarSamplerQAL to share your progress on social media, so we don’t miss seeing your quilts! Happy quilting!
Gina Blog Posts may contain Affiliate Links - thanks for your support. |
AuthorHey Y'all, I'm Gina Tell! I live on Lake Travis just North of Austin Texas. I'm a full time long arm quilter and lover of all this art and outdoors!! |
