|
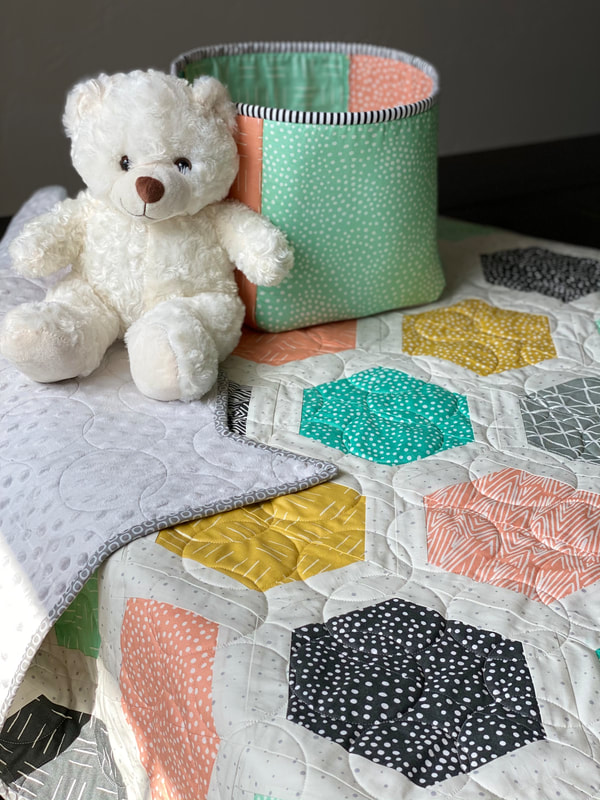
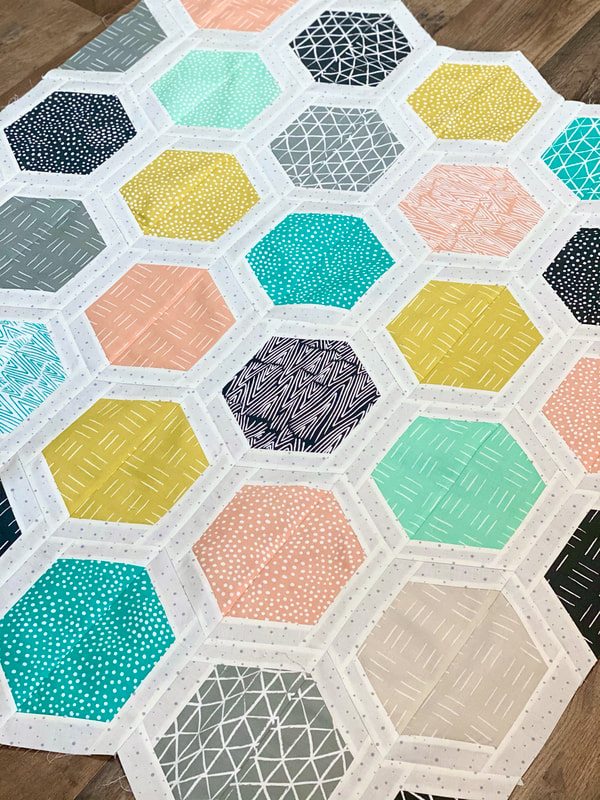
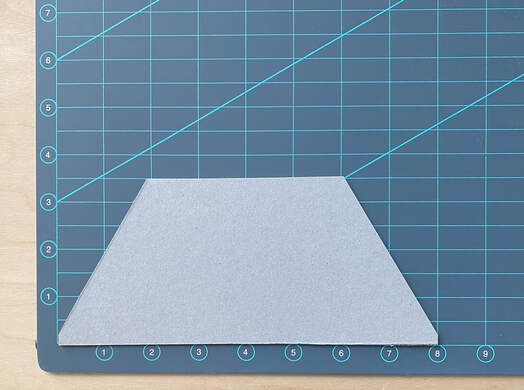
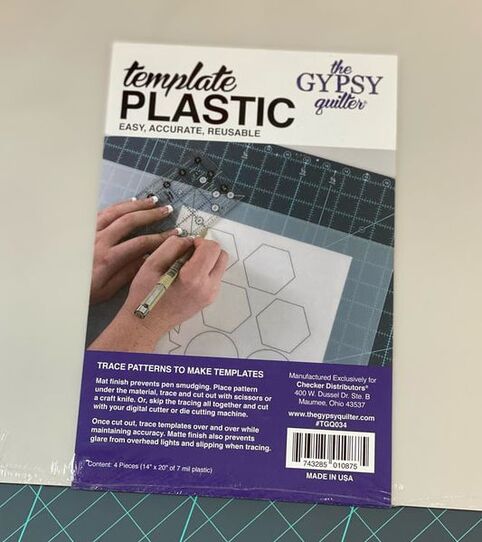
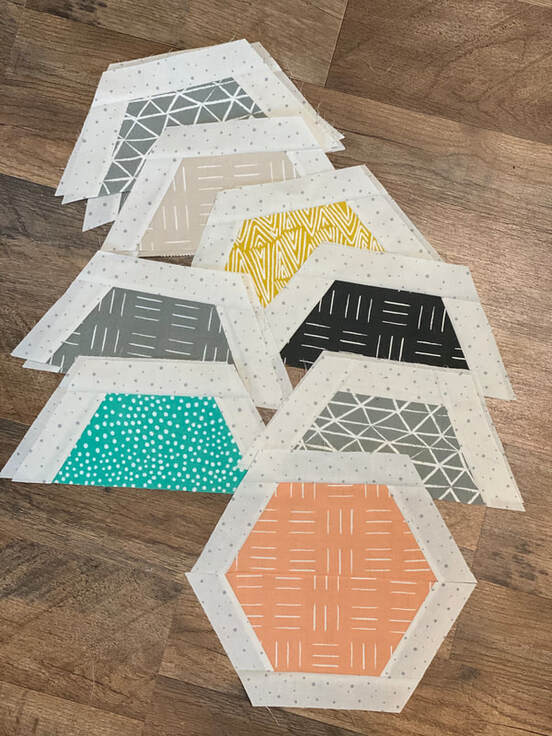
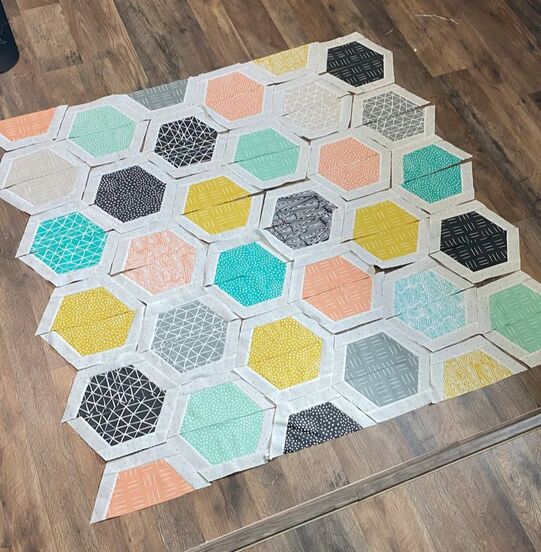
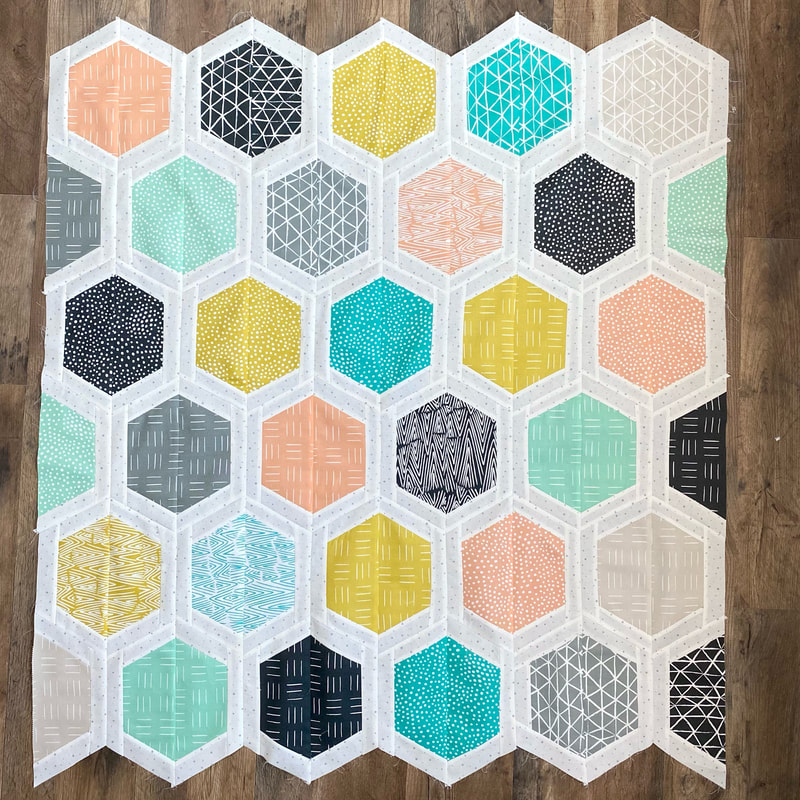
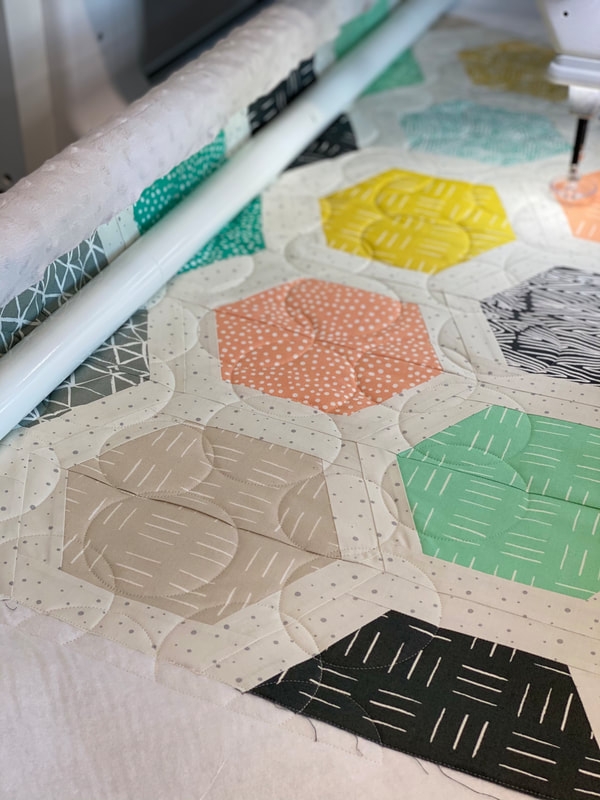
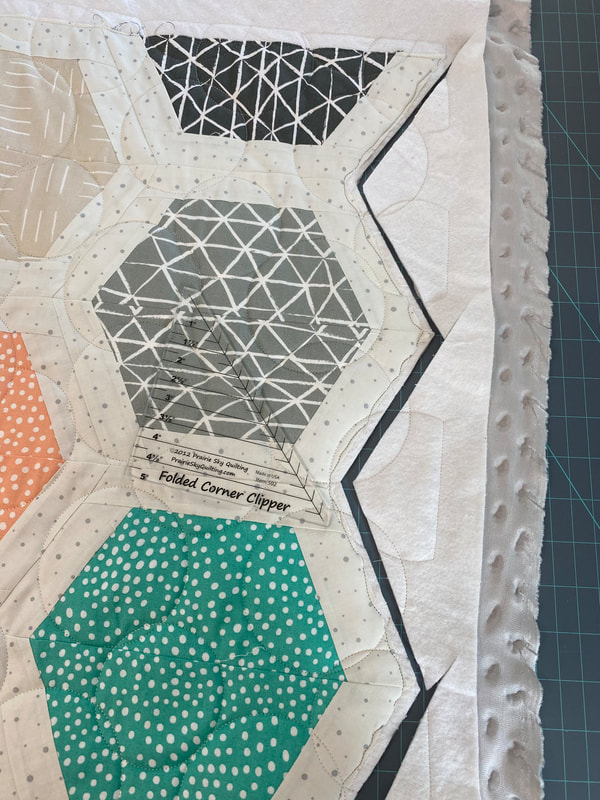
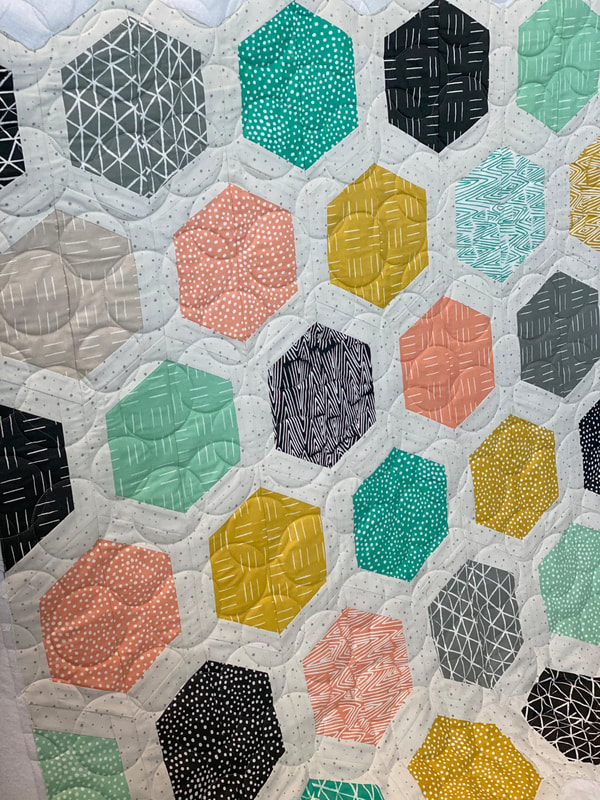
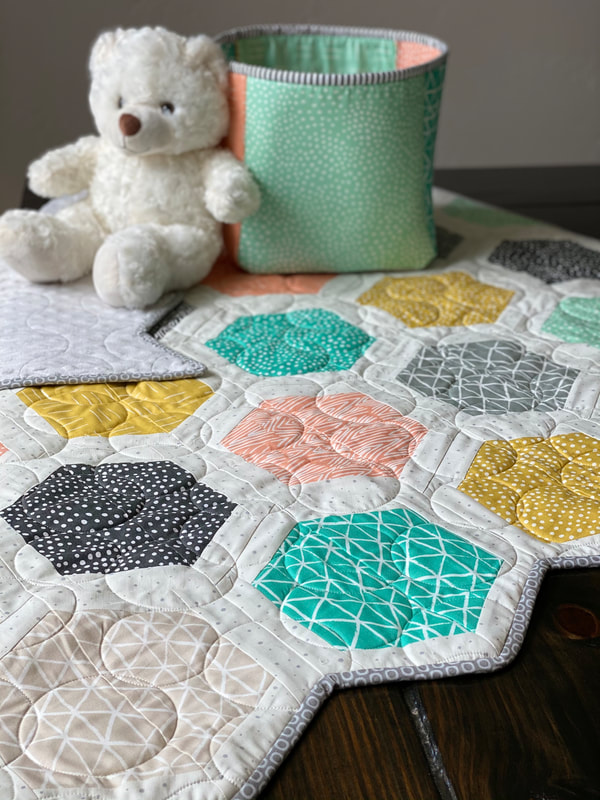
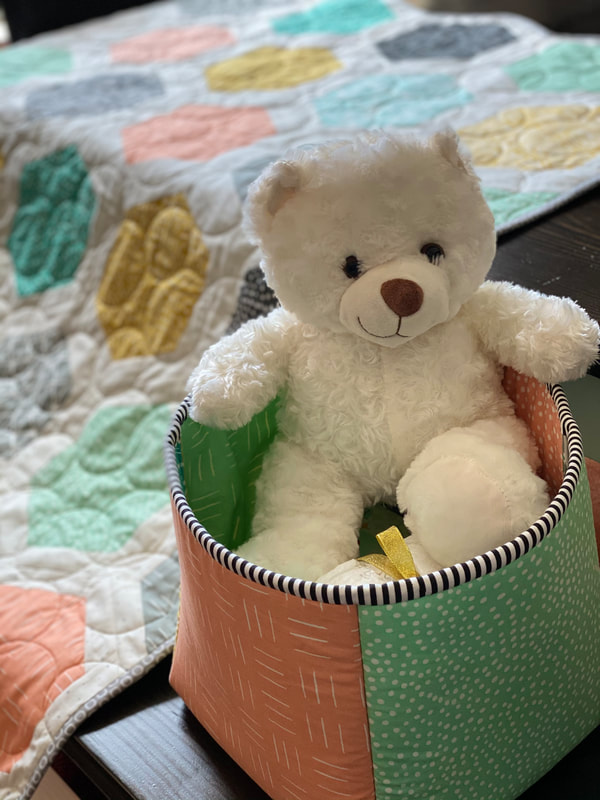
Hey y'all! I'm just hopping on to share a quick tutorial for you. Just a little something I made here for a baby gift recently, and it was so fun and easy I thought maybe someone else might like to try it! It's a simple half hexie, with borders!!! Here's how it all works....First, I decided I didn't want to use my 5" half hexie, or a 10" half hexie ruler, one was too small and the other too big, so I made one with template plastic. You can also Google printable half hexies and just scale them down as you print them so they are around the size that you want, and then use the print out to cut the template plastic, there is no wrong way to do it. I picked out 8" (that's what you see in the pic above) and here is how I made it. I just pulled out a piece of cardboard, from a cereal box, and I cut it out based on the measurements on my cutting mat, then I took that over to the template plastic and made the final cut. Here is the exact template plastic that I purchased, and I really liked it! Then to make things fast and simple, I purchased a layer cake, this is a 10" precut and it is perfect for this size template, you will even have extra to put in your scrap bins or use it for a pieced backing. I used Paintbox Haze for my background fabric because I had an entire bolt I previously purchased, but you can use any light background, or even a grey would be great too, my very favorite is Zen Grey, or here are some great low volume backgrounds to pick from. Oh an my favorite thread is Aurifil chalk, I buy the big cones and they last a really long time, Fat Quarter Shop has thread on sale right now too, so you might want to stock up! The fabric cutting is super simple, this is a great beginner pattern, so don't get worried, you got this! A.) Cut 2 of your Half Hexie template shapes from each layer cake piece (I only used the dark fabric and left the lighter ones for my scrap bin) Background fabric will go on 3 sides of each of your template pieces, you'll need to cut 1.5" strips from your yardage, then subcut into 5" and 7" B.) each half hexie will need 2- 1.5x5" for the sides C.) and 1- 1.5"x7" piece on top. First sew the two side pieces on and trim off extra to be the same as the template, then sew the top piece on and trim extra, video below will explain in more detail. (Wondering what machine I'm using? Link below to my exact Juki model, I have had this machine for about 12 years now, I LOVE it!!!) I usually arrange my blocks on the floor or you can use a design wall, then stack each row in the order you picked, or order some design boards, the are great to take blocks from the floor to the sewing machine and zoom, zoom, sew your rows, then attach all the rows. After several layouts on the floor I ended up doing 10 rows with 6 half hexie in each row so I cut 120 of 1.5"x5" pieces and 60 of the 1.5"x7" pieces, but you can make yours as small or as large as you'd like. You can also skip the bordered portion and just sew all the half hexies together in rows, you'll have a quilt finished in a weekend if you skip it. Just have fun! I was thinking this would be adorable to throw over a car seat with minky on the back. Ta Da, it's all together, and I decided I am going to make bias binding so I will leave the angles on the top and the bottom, but you can just cut the top and bottom to make it square all the way around, tons of options! Video below with instructions on how I cut bias binding... Next up, it's my favorite part... Quilting!! I picked out Bubbles Original digital quilting panto, because I love bubble quilting on baby quilts, plus this one has miny on the back and I didn't want the quilting to be too dense, so it would still be snuggly. After I pulled it off the long arm, I used my favorite folded corner ruler to trim the curved edges, it's great I use it for all kinds of things, you need one! I also decided to make a little fabric box to match. I saw one in a magazine recently and it gave me the idea to use 10 of the leftover layer cakes pieces along with some Soft and Stable so I could deliver the gift to the shower in a little box that could be used later for toys. I also love to use Soft and Stable on diaper bags and other bags, its easy to load on my long arm, and get great textures for the bag panels. If you enjoyed this fun idea, please comment and let me know, if you decide to make it, please share it on social using #ginashalfhexies so I can find them in a search. Don't forget to check out the bias binding video below... At no extra cost to you, I earn a small profit on things you buy from my affiliate links, I promise to use it to make more fun tutorials like this!
Thank you!! Happy Quilting, Gina Tell
8 Comments
Peach
8/1/2021 01:38:29 am
I love half hex quilts, I can't wait to try this one!
Reply
Betty
8/1/2021 06:28:05 am
Beautiful quilt ❤️❤️. Great instructions! Hope you continue to blog, as I love your style.
Reply
Lisa McQ
8/1/2021 03:40:33 pm
Love this and definitely going to add it to my bucket list. Thanks for the inspiration!
Reply
JOANNA SHOEMAKER
8/6/2021 11:06:33 am
What a cute quilt top. How did you sew the pieces together. Did you have to sew them as a "V" block or did you have another trick for piecing them togehter?
Reply
Gina
8/7/2021 10:30:35 am
I just sewed each piece together in rows like standard quilting, then sewed each row together making sure your block layout will create full hexies.
Reply
Elizabeth
1/17/2022 11:19:56 am
This is so cute! I love it! Thank you for the tutorial!
Reply
Judy
1/19/2022 01:53:30 pm
Super cute. Hexies are my favorite shape.
Reply
Leave a Reply. |
AuthorHey Y'all, I'm Gina Tell! I live on Lake Travis just North of Austin Texas. I'm a full time long arm quilter and lover of all this art and outdoors!! |
