|
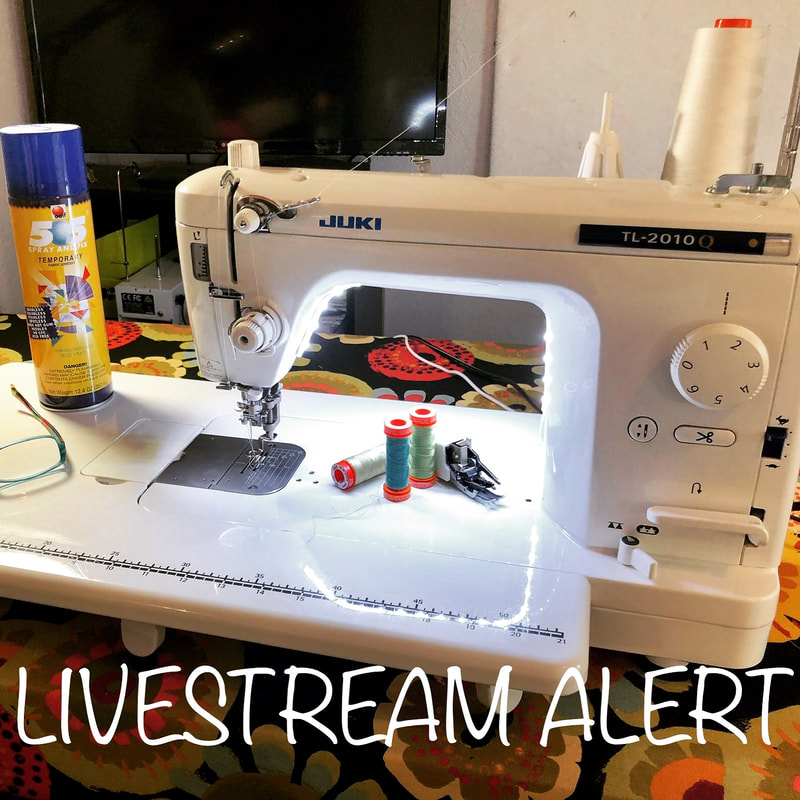
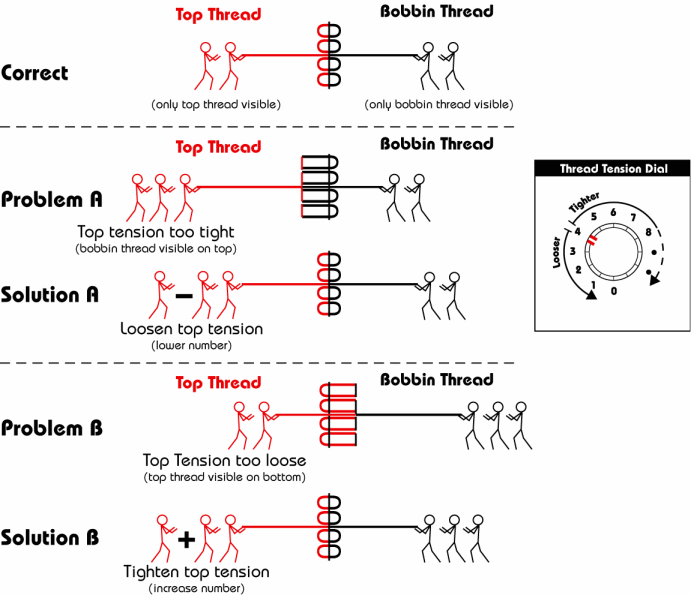
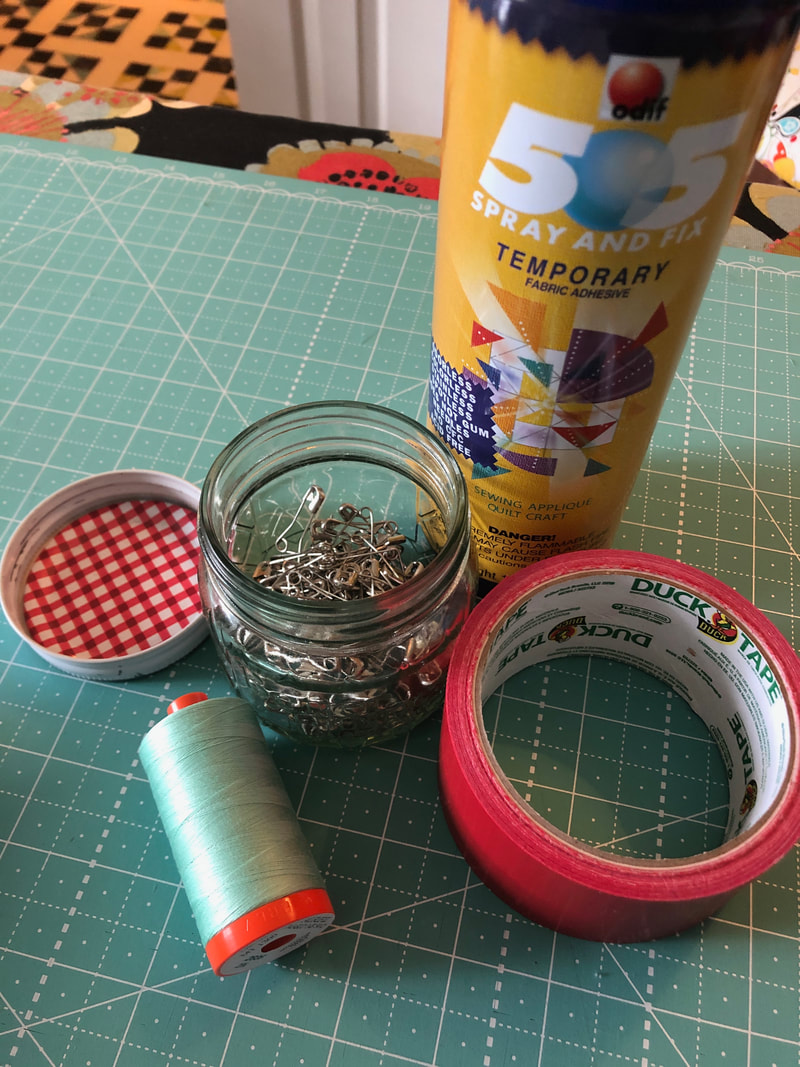
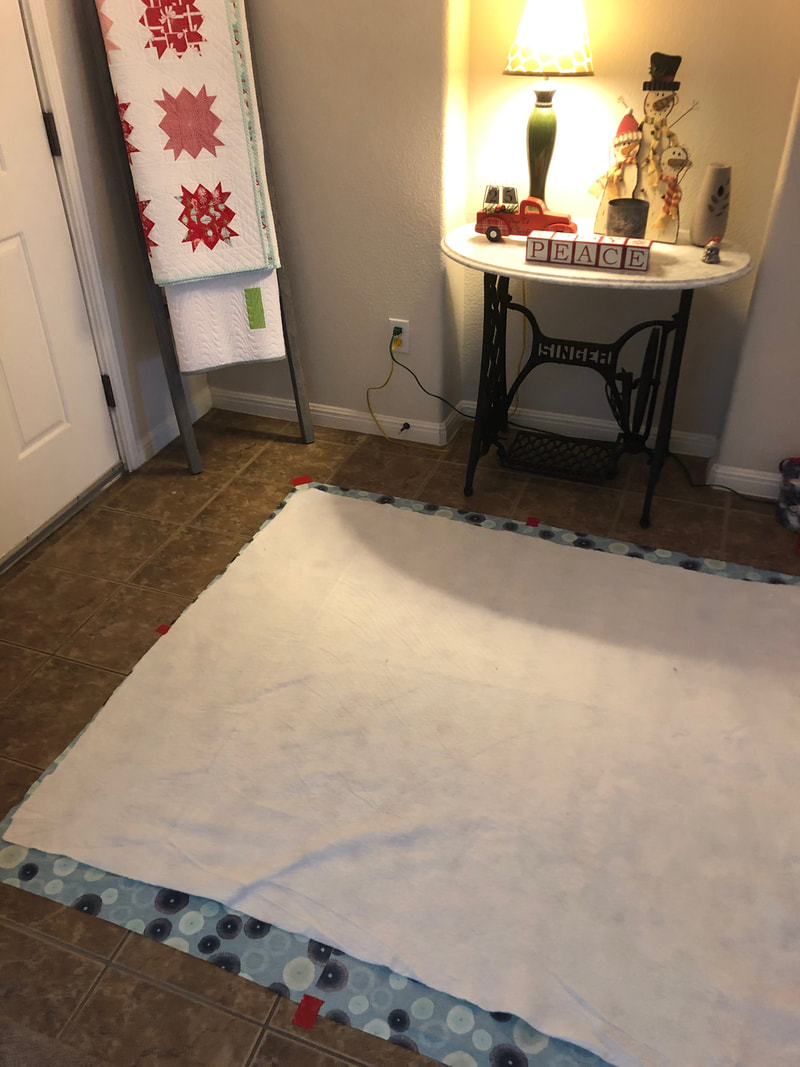
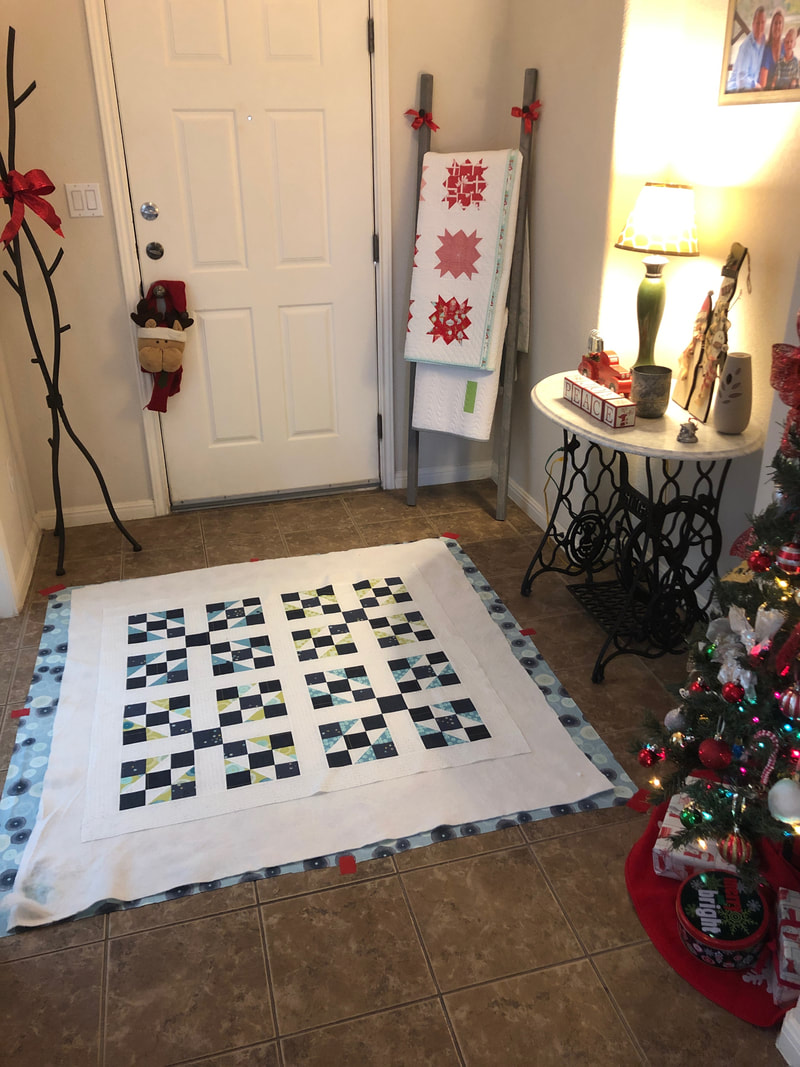
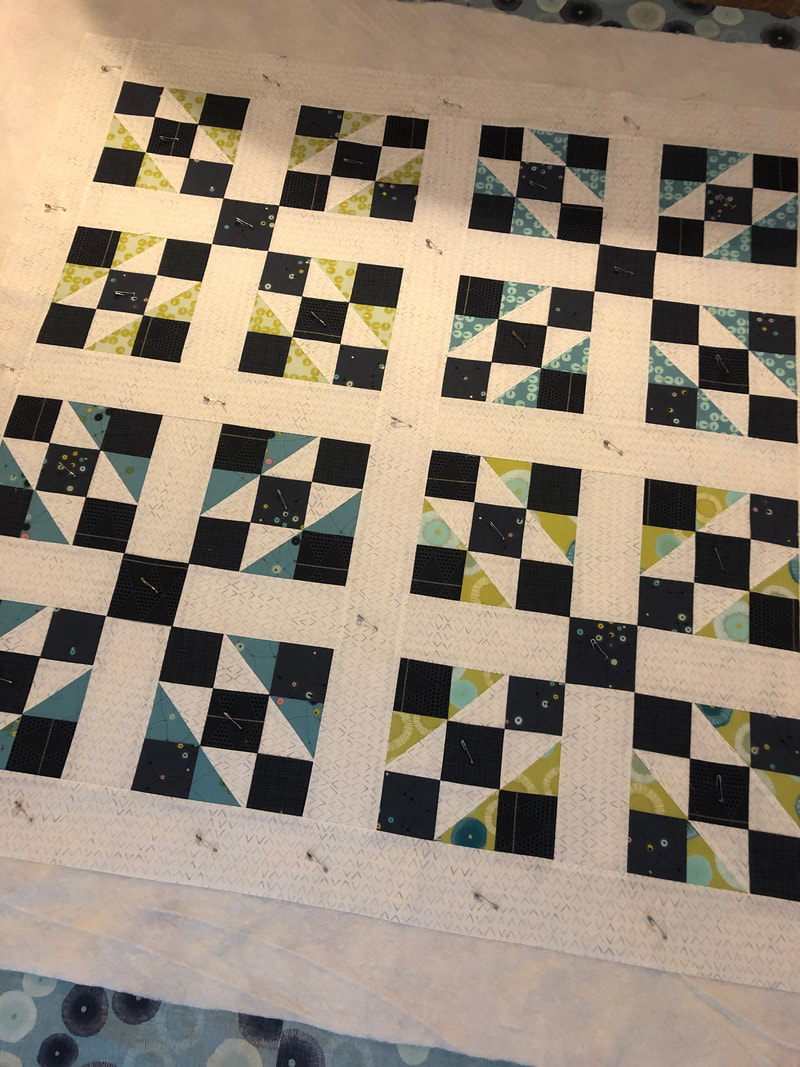
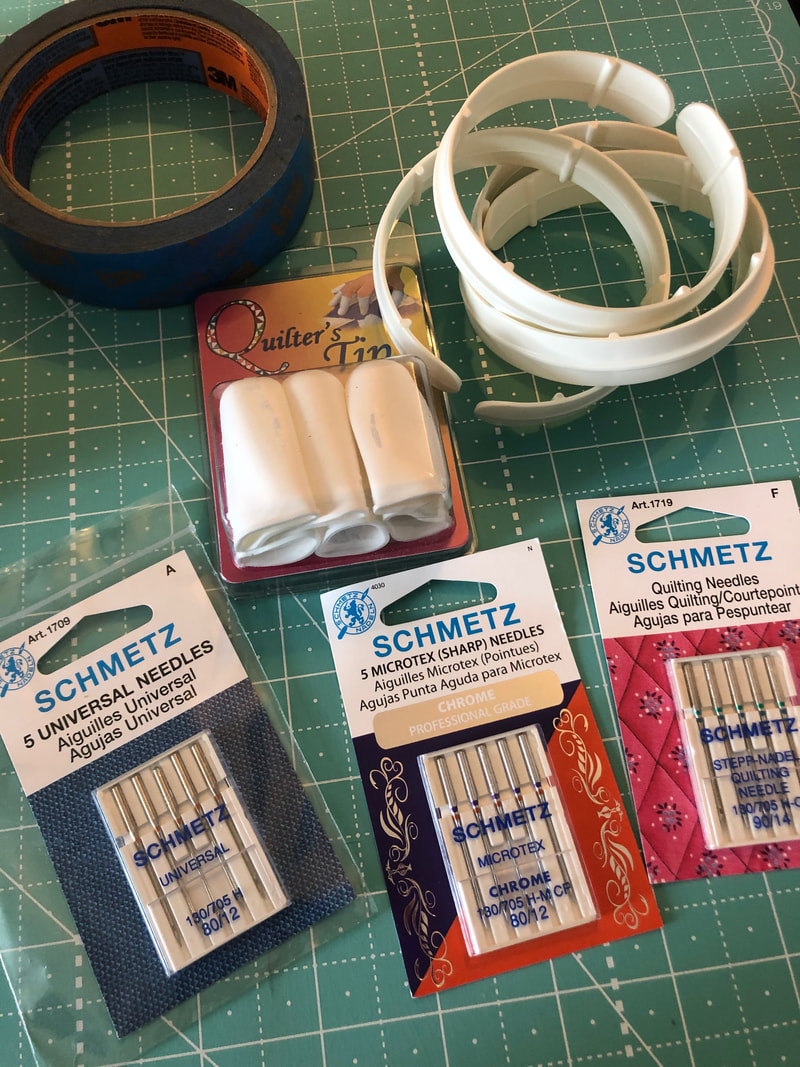
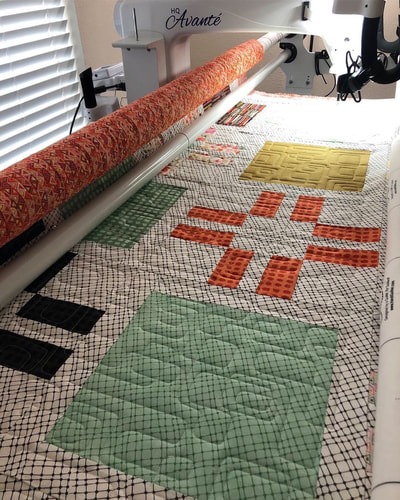
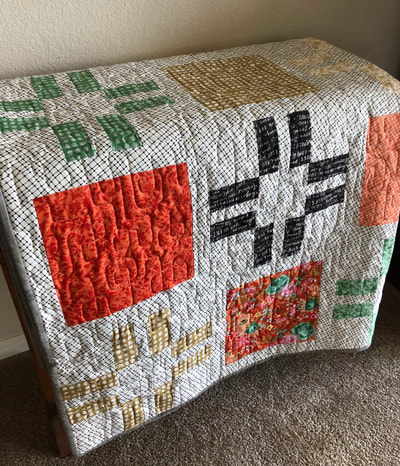
Hey Y'all! I am so excited to invite you to come check out my next LIVESTEAM, Kimberly Jolly, owner of The Fat Quarter Shop will be joining me in my tiny little sewing room to do some FMQ (free motion quilting). The live quilting fun starts at 9am CST Nov 29th, on YouTube or Instagram. But, if you miss it, that's ok too, it will be on YouTube forever, and you can scroll down to the bottom to watch. You should also subscribe to The Fat Quarter Shop's YouTube channel so you don't miss future updates, or become a paid member to get access to new top secret stuff, great discounts and lots of other goodies. The last LIVESTREAM we did earlier this year we talked all about quilting on a long arm, but many of us do not have the space for a long arm, so it's great to learn to quilt them yourself. I quilted on my domestic machine for many years before I got my long arm, and it's a great way to really understand the entire process. It's also really great if you are on a budget, or if you need to get a quilt finished in a hurry! So put your feed dogs down, and lets get started! I always get questions about tension, and this diagram has always been very helpful for me as I sew. You might like it too!! :) The first thing we need to do after we have our quilt top and backing all finished, is to get the 3 layers basted. The best way that I found to do this is on a tile or hard wood floor, or a large table if you have one available. Here is what you will need.... I like the 505 Basting spray best, I have tried others in a pinch and nothing works as well as this one, in my opinion. You can order it on Amazon or get it from Walmart of most craft stores, it's great because I have never had the needle get all sticky like other sprays do sometimes. You will also need curved safety pins, and some duck tape, red is my favorite color so that's what I use. But, I hear Fat Quarter Shop is going to stock some snazzy colors soon, so you can get that when you order your safety pins, needles and Aurifil Thread. OOOh are you getting excited? Ok, so I lied, this part really isn't exciting, it kinda sucks, but it doesn't take that long, and you will be so proud of yourself when you are done!! I never could afford to use a long arm quilter when I first started quilting, so I taught myself how to finish them myself. I think it's important to do at least one or two quilts all the way through, just because you really get the feel goods when you can say you did it all yourself! If nothing else, it will make you appreciate all the requirements that the long arm quilter has. ***OK First, I put my quilt backing on the tile floor with the pretty side facing down, then I put my batting on top of that. Make sure your backing and batting are at least 4-5 inches bigger on all 4 sides than the quilt top, because it will shrink up unevenly around the edges after you push it around the machine. ***Next, you need to lay your quilt top with the pretty side up, in the center of your batting, and you now its time to watch the video.... So once you let your spray dry for a few minutes, you will then need to secure the quilt with the curved safety pins. I put some on all 4 corners, then throughout the center in several spots, the more spray you use, the fewer pins you will need. So here is what it looks like after I added my pins. Here are a few of the other items you will need to get started.... The Aurifil 50 Thread works great in my machine with the 90/14 quilting needles, so that is what I would suggest. Fat Quarter Shop has a fabulous selection of quilting supplies with lots of new items stocked every day to help you. The 80/12 needles are sometimes too small and I get skipped stitches or uneven tension. But you might do some testing with your own machine and see what results you like best. I also use painters masking tape when I quilt, it's great to lay from one side to the other to get straight lines with your walking foot. The quilt clips here are good to hold the rolled side of the quilt while you work. Then no FMQ (free motion quilting) is complete without some kind of quilting gloves or tips. These will just help you get some traction when you push your quilt under the needle. Since you are moving the quilt not the needle, it helps to be able to get a good grip. I hope you will check out my LIVESTREAM for all kinds of tips and tricks to finish your quilt on your domestic machine.
0 Comments
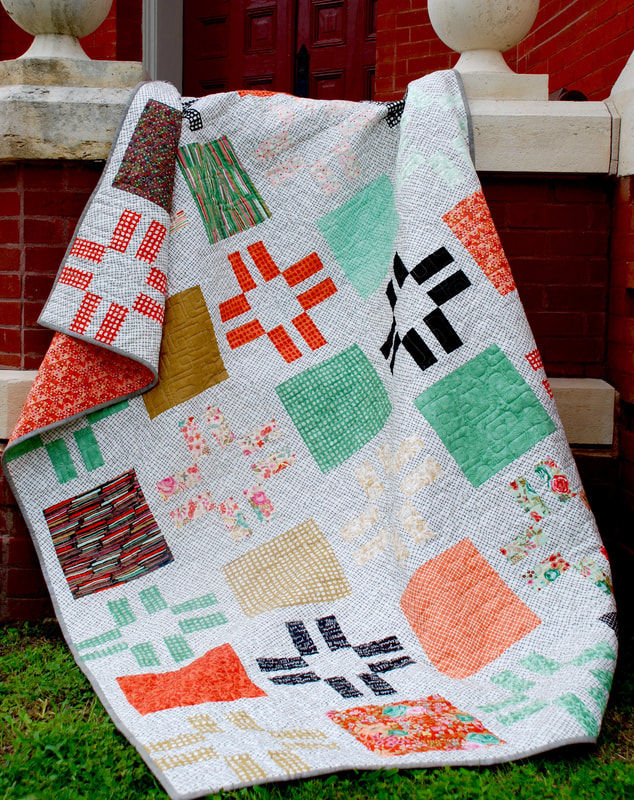
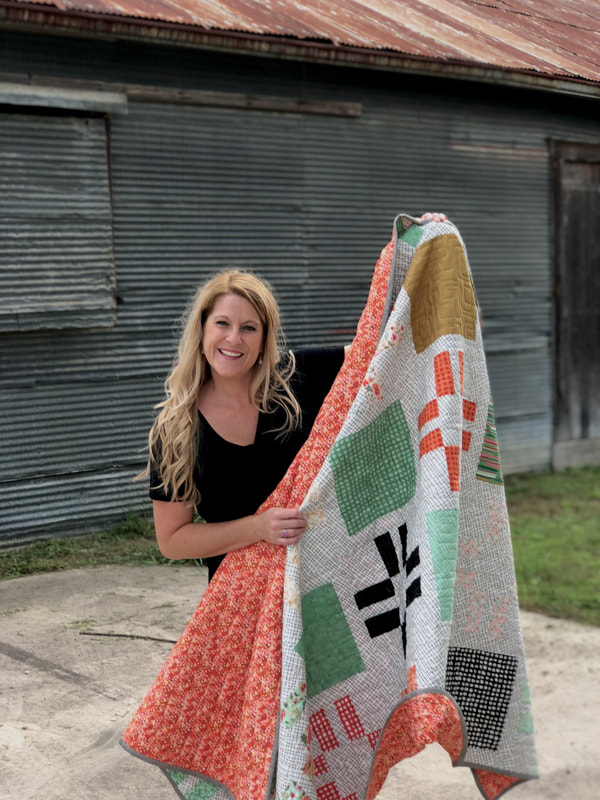
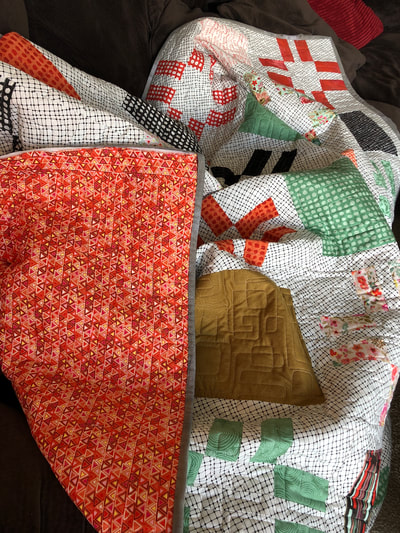
The Fat Quarter Shop has another Shortcut Quilt!
|
AuthorHey Y'all, I'm Gina Tell! I live on Lake Travis just North of Austin Texas. I'm a full time long arm quilter and lover of all this art and outdoors!! |
