|
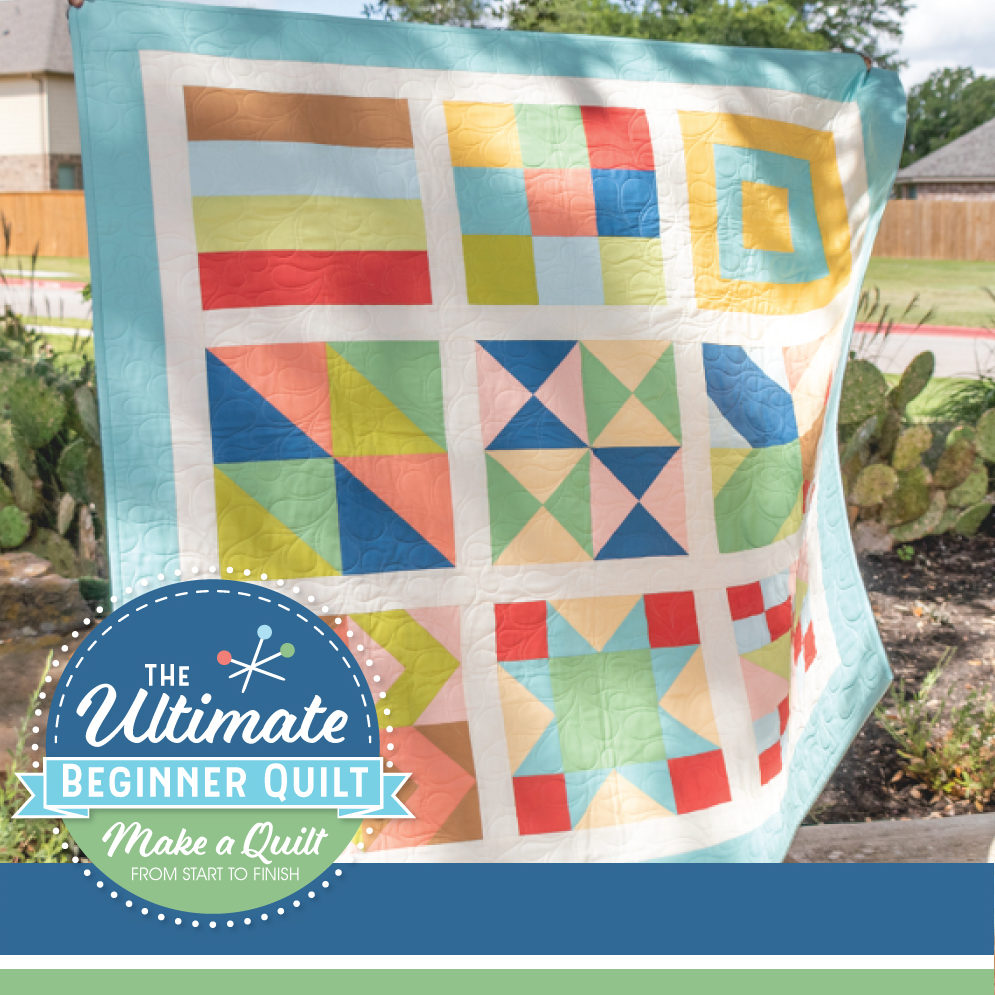
Welcome to The Ultimate Beginner Quilt Sew Along, a free quilt pattern series with video tutorials designed by The Fat Quarter Shop just for beginners! Even if you have zero sewing experience, this is the free quilt class for you!
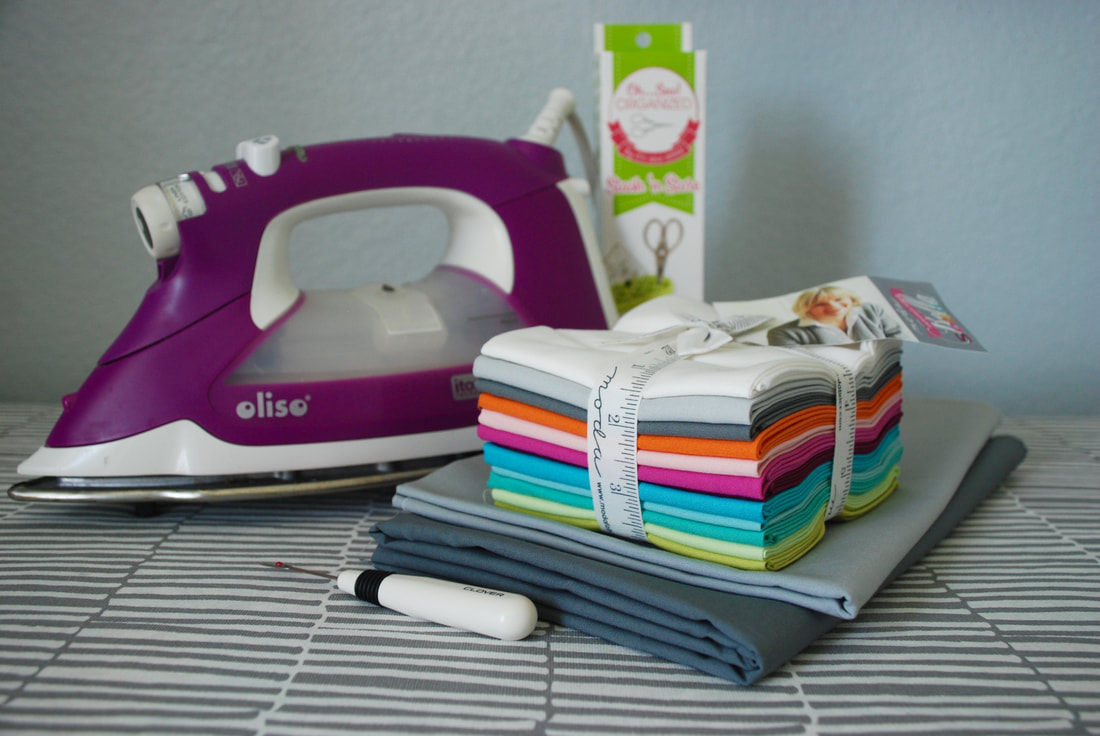
We are getting close to the end of the piecing portion of this sew along, and I'm super excited because my videos to show you how to quilt them at home on your machine will be releasing soon. I've been sewing along with you during each step in the Ultimate Beginner Quilt Event, and its almost time to finish them!! Woo Hoo! It's never too late to begin this project, even if you missed the beginning, because The Fat Quarter Shop has created 2 kits that make it very easy to start. One kit has all the fabric you need to make a BEAUTIFUL quilt (link below) and the second kit has all the notions that you will need (link below) notions is just another word for all the other "stuff" you need to sew with. Like thread, pins, rulers, etc. There are also video tutorials and lots of tips to follow along on Fat Quarter Shops YouTube channel, EACH step has videos from start to finish! All the videos are at the bottom of this page...
Please come join me, I know you want to!! :)
The Ultimate Beginner Quilt is a free quilt pattern series with video tutorials designed just for beginners. If you’re ready to get sewing, gather your fabrics and sewing tools and watch the free quilting tutorial below!
I strongly encourage you to purchase the fabric kit if this is your first quilt, link below, because the #1 question I get from people interested in starting to quilt is " How do I figure out what fabric I need and how much to buy?" Well, this makes it simple and it's affordable.
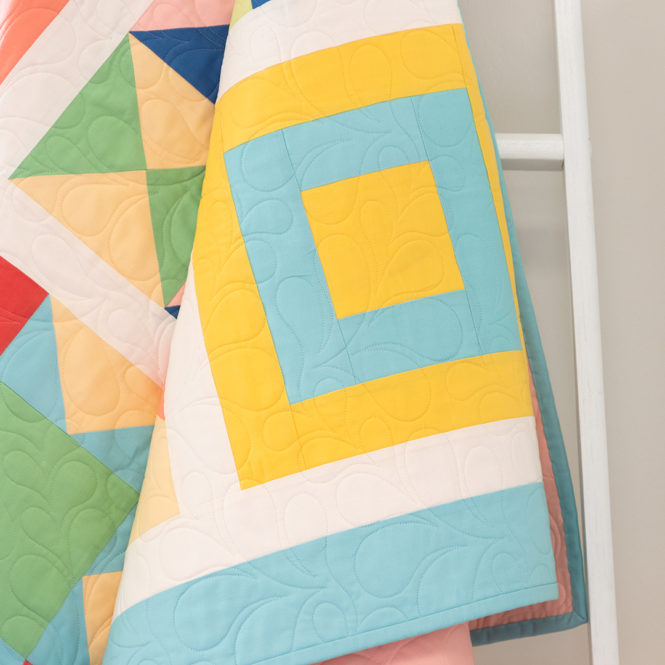
The kit will give you everything you need to make the quilt in the image below. Cute huh? 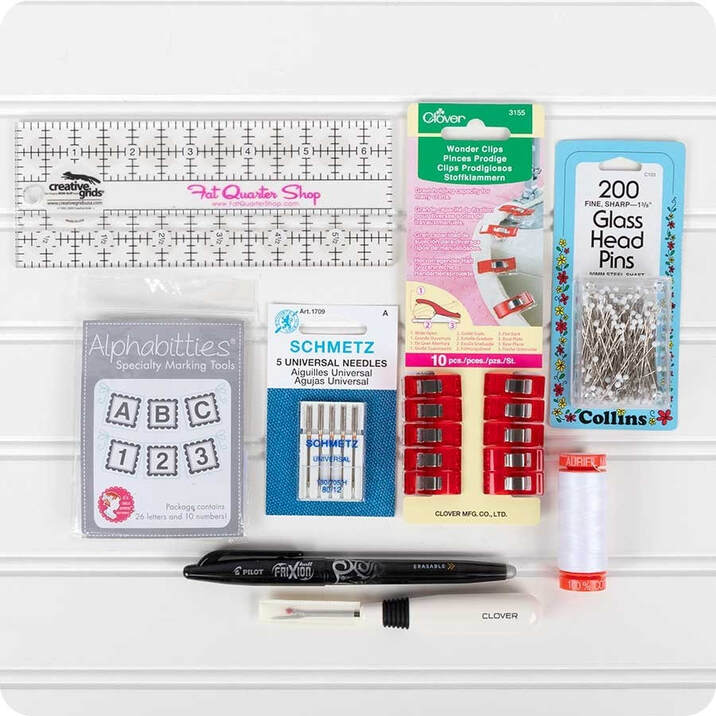

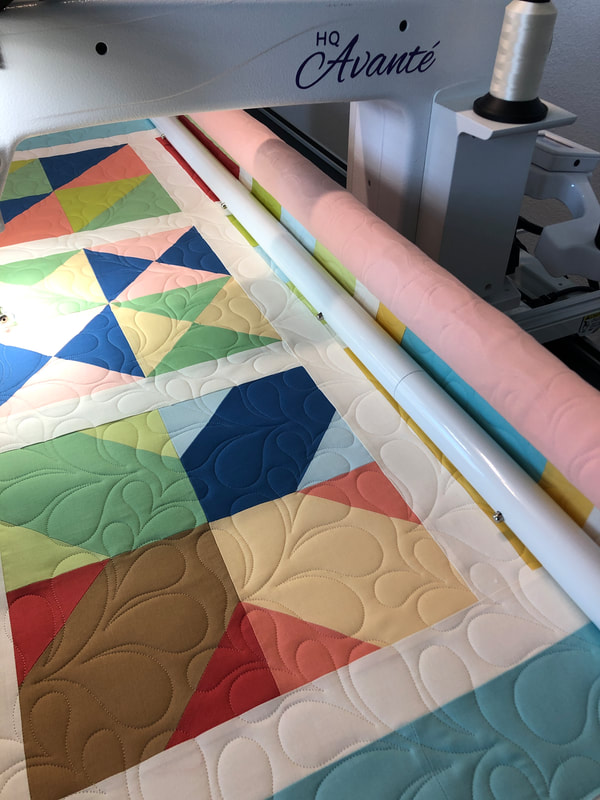
Look! I did the feather quilting for Kimberly's quilt on my long arm!
Oh and don't forget to subscribe to their YouTube Channel so you don't miss all the FREE tutorials that will be released.
If you don't buy the fabric kit, then you’ll need the following fabric amounts: • 12 Fat Quarters* • 7/8 Yards neutral color (we chose white) for sashing which goes between the blocks • 1 1/8 Yards for the border • 3 3/8 Yards for the back of the quilt For the batting, we suggest Happy Cloud Batting in Throw Size *A Fat Quarter is a quarter of a yard that’s cut wider, at 18″ x 21″ so that you have more room to work with. Read more about various types of fabric precuts. YouTube Video Tutorials Lineup: Block #1 August 15, 2019 Sew Quilt Blocks 1-9: August 8-October 3, 2019 Sew the Quilt Top Together: October 10, 2019 Quilting the Quilt: October 17, 2019 Quilt Binding: October 24, 2019 We’ll show off our finished quilts on November 7! 

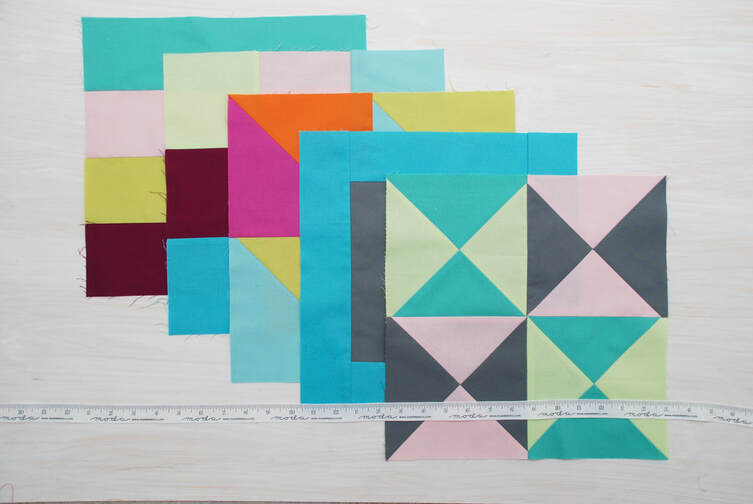
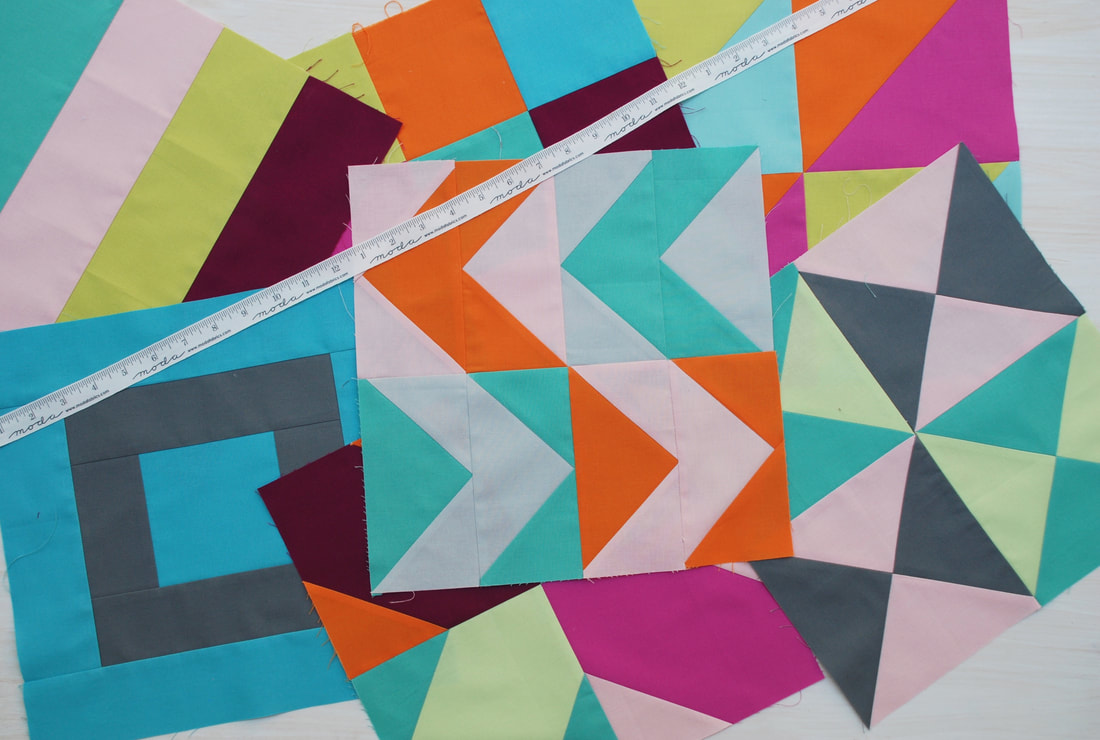
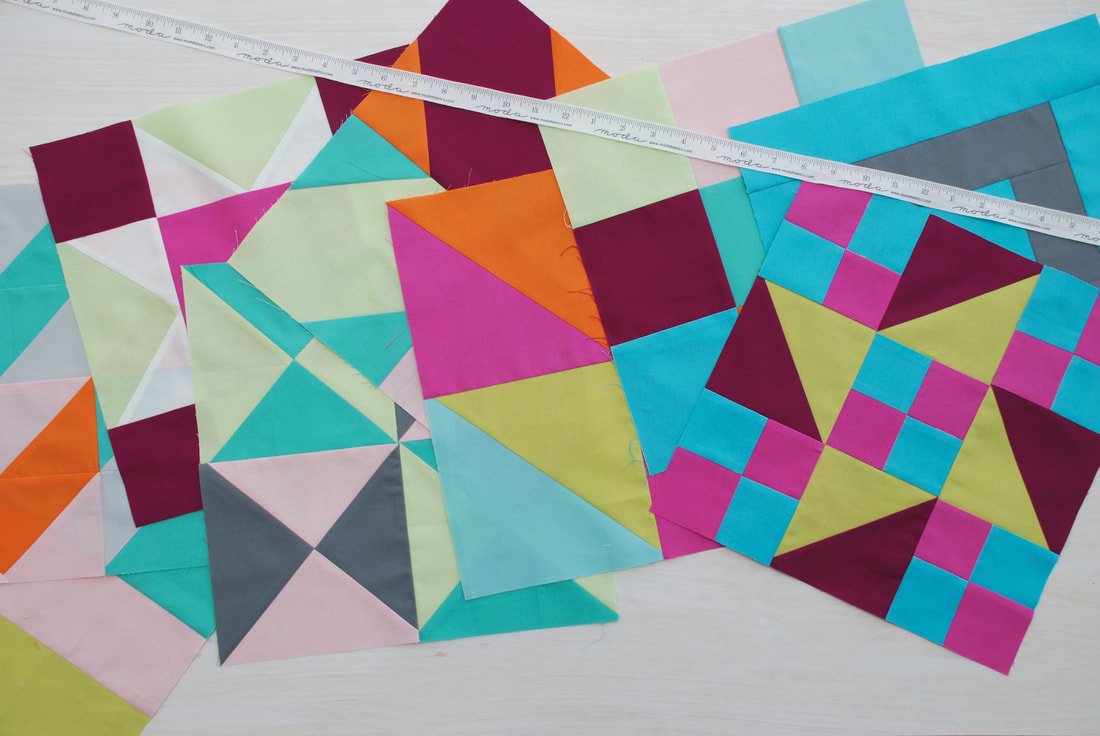
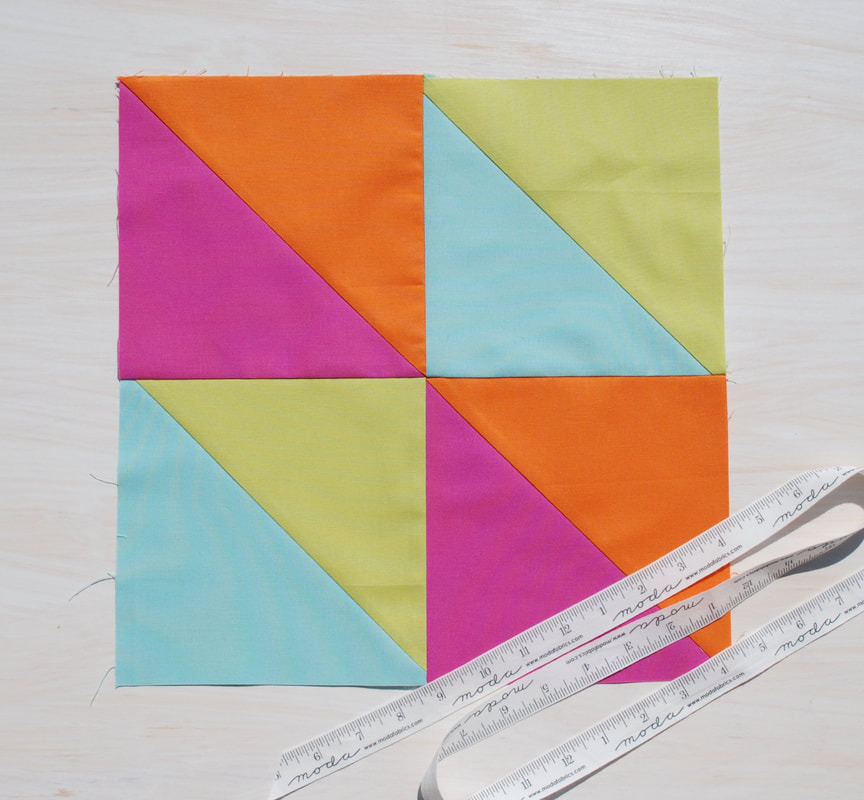
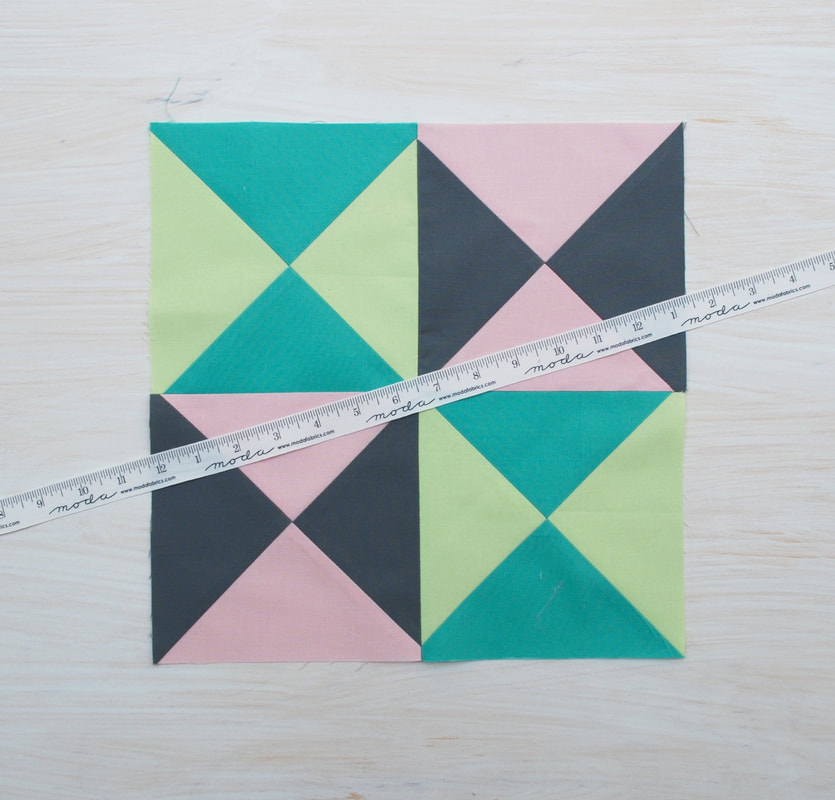
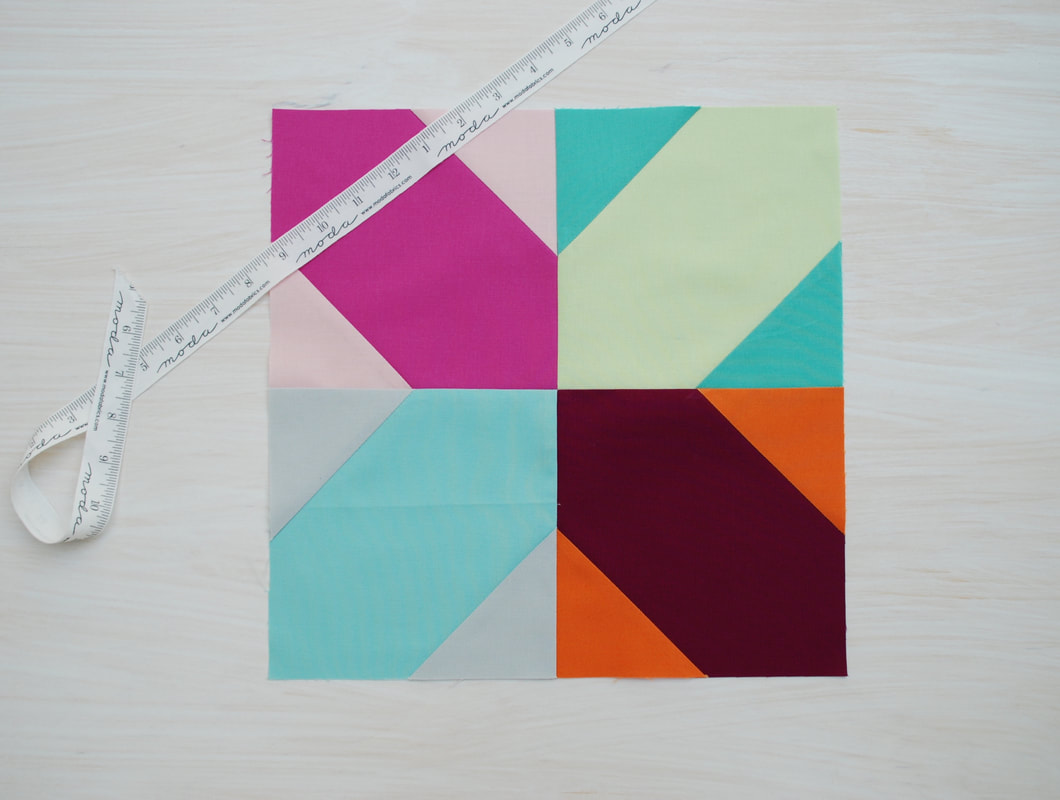
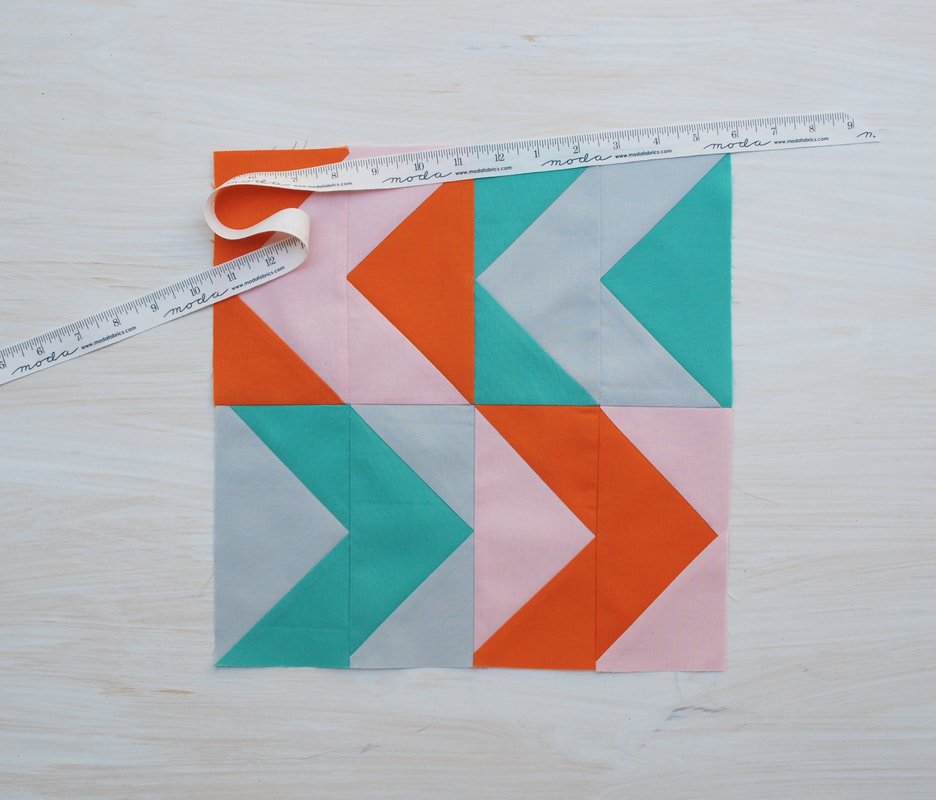
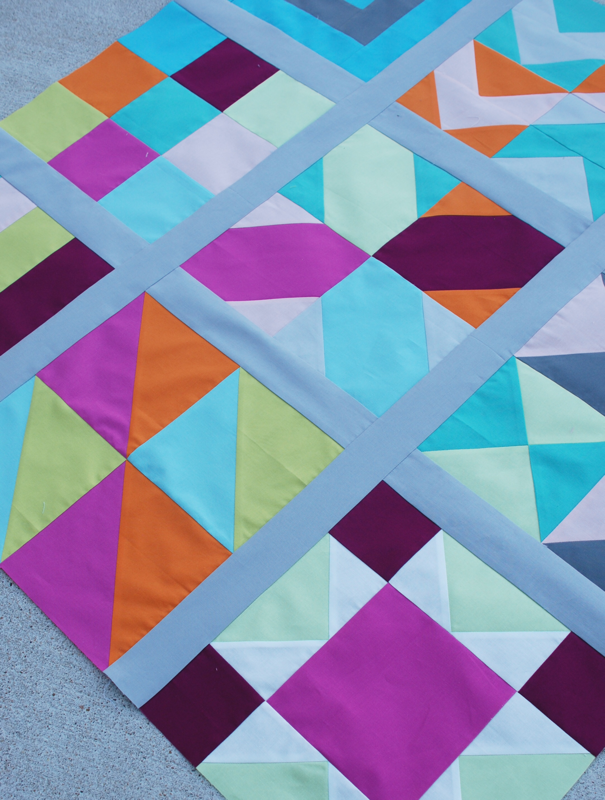
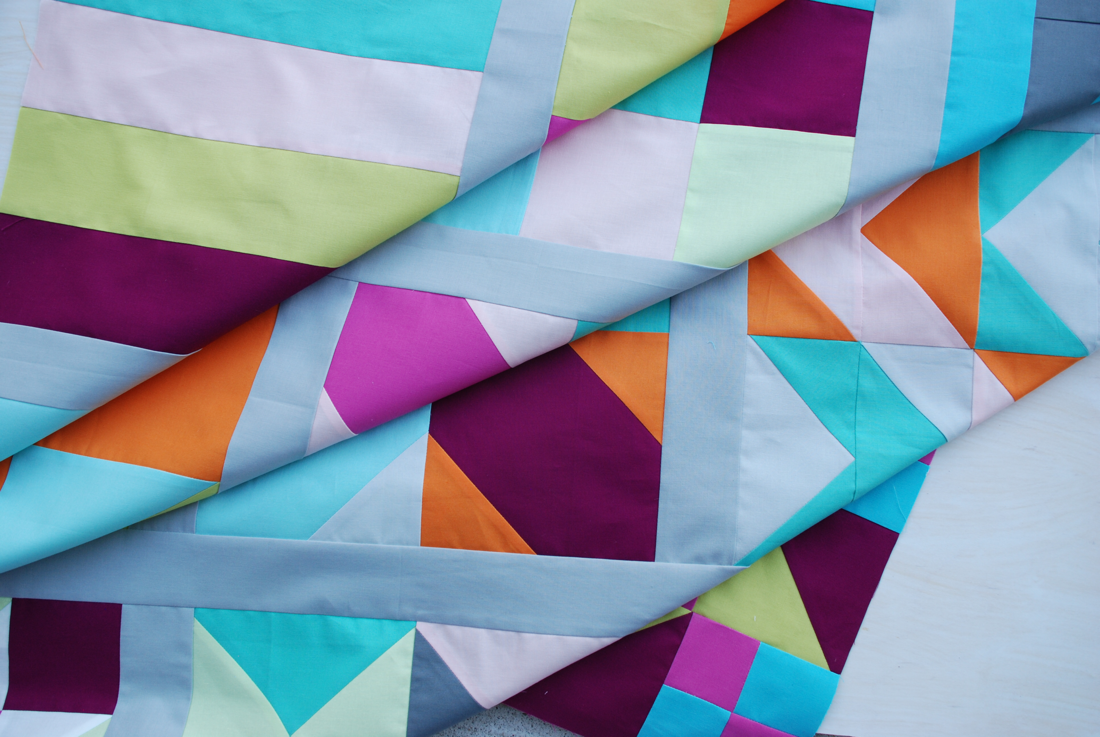
Here are all the blocks 1-9! Woo Hoo

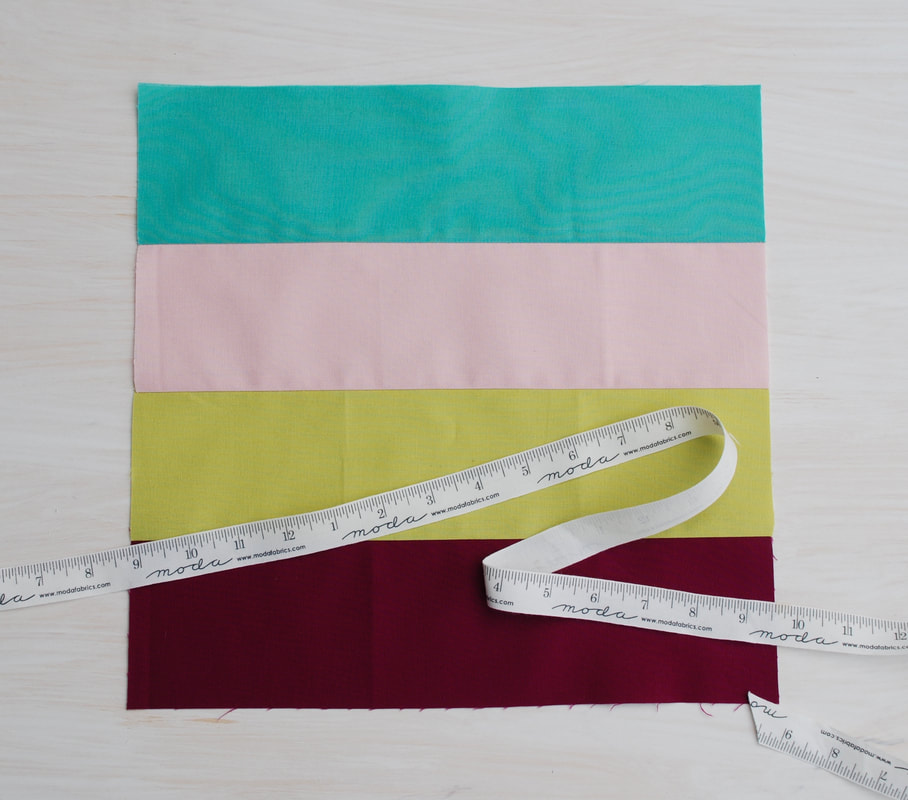
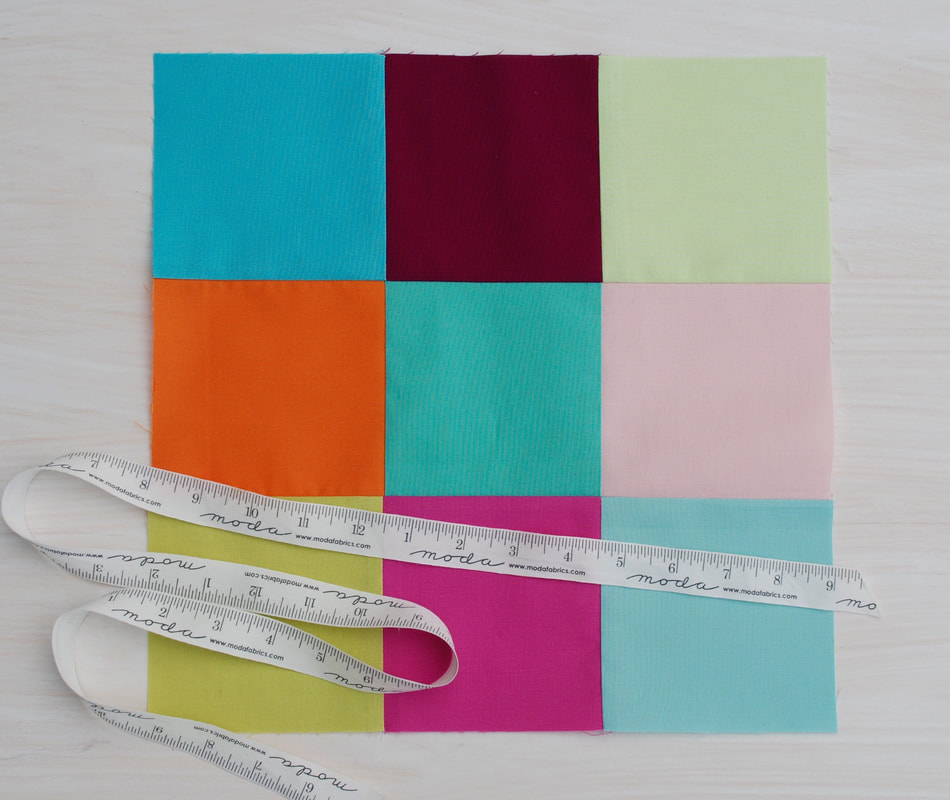
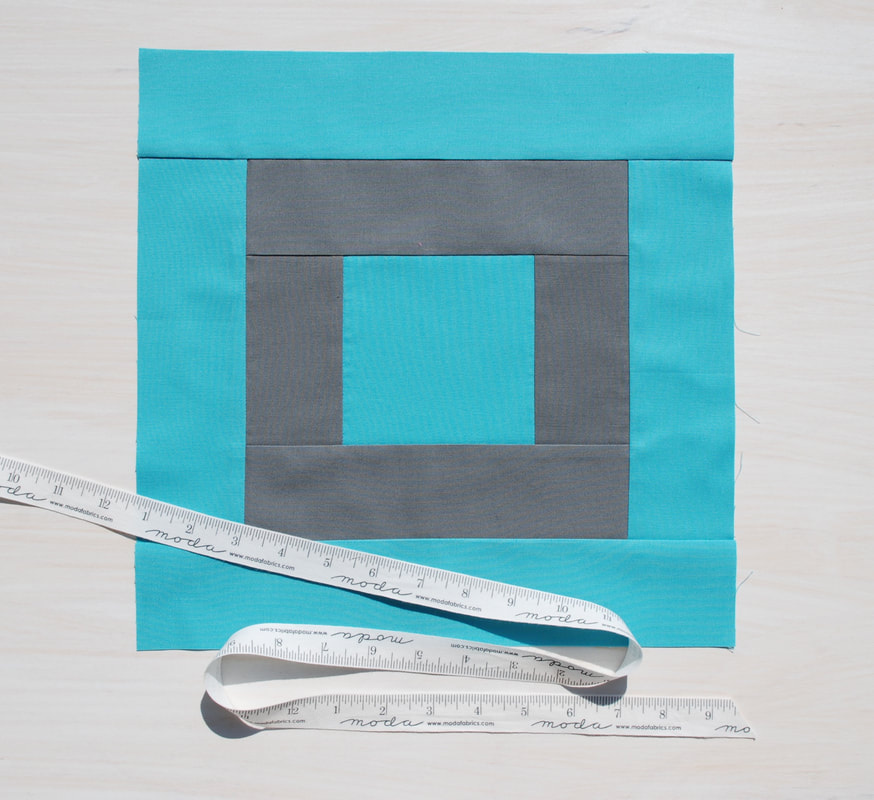
It's never too late to learn something new! Come sew with me! Here are the FREE Patterns to download: Block One Stripes - Click HERE Block Two Nine Patch - Click HERE Block Three Picture Window - ClickHERE Block Four Half Square Triangle (HST) - Click HERE Block Five Hourglass Four Patch - Click HERE Block Six Lattice - Click HERE Block Seven Flying Geese Zig Zag - Click HERE Block Eight Sawtooth Star - Click HERE Block Nine Friendship Star Variation - Click HERE Sashing & Border - Click HERE I really hope you'll take a minute to go read my previous blog post, I shared my ridiculously embarrassing story about my first quilt, and I know you will appreciate the feelings I had when I first started learning. Block #1 - make sure you go slow and cut the pieces the correct size, and then sew very slow so you learn how to keep the 1/4 inch seam consistent all the way down the block, Block #2 - Press your iron down, rather than pushing it around, while keeping the seam on the back side all going the same direction, this will help it lay flat and look great! See you next week.... :) Block #3- It is important to make sure you keep each section square, so after you sew the 4 strips around the first square, make sure you square it up before you add the final 4 strips. Block #4 - My tip for block four, just go slow and try to make your seams consistent, press so you have good nesting, but most importantly, have fun! Don't be too critical and hard on yourself, you do NOT have to be perfect! Block #5 - OMG This week I was behind and kinda out of sorts with the Labor Day Holiday, so I totally forgot it was share day. That said, I had to seam rip this thing twice, I was trying to rush and forgot to have fun. So that is my first tip for this block, is slow down, make sure you have your head in the right place, and enjoy the process. This is NOT a race! My second tip is to press the first seam to the dark side and then next them, you dont have to press open. This makes it easy to get them lined up, then press the second seam open. It is ok to have them both ways in one block! (see pic below) Block #6 - Well this week the lattice block was way more enjoyable than last week, ha ha because I was not as rushed! It's important to remember that this is supposed to be fun, so this week, I turned on my favorite music, got my favorite snack and had fun with it. Make sure you square up each section before you join them and use skinny pins to mark your points. Oh and you can never press too much! Block #7 - This week my tip is to make this quilt your own. There is a pattern, but that doesn't mean you have to follow it EXACTLY. I sewed my block a little different, because I liked the way it looked, and after all, there is no such thing as Quilt Police! Don't sweat the small stuff, just do your best, and if your geese are flying the wrong direction, it's ok, just laugh and fly with them! :) Block #8 - My tip for this week is to lay out all your blocks on the floor or all design wall, and look at the way the colors are lining up in each row, you may want to make this block with some colors from the first row so you can keep a balance of color. Block #9 - This block was my favorite! I love the friendship star because it looks difficult, but it's really the same as all the rest of the blocks you already learned! My tip here is to do something crazy with color! You are already a pro at HST (half square triangles) so pair that with nested squares, and you have yourself a great opportunity to use some fun colors to finish this with a POP!! Adding sashing & borders may sounds easy because it’s just big pieces, but if your strips are too long, or cut uneven, you could end up with wavy borders and in the end your quilt will not be square. Try to make sure you square up both ends of your side borders before you add top and bottom borders. Kimberly has great tips so make sure you catch her video linked above. Oh and press often, you can never press too much with quilting! 
You'll have to check out these links to all my friends sewing along, we are all happy to help if you get stuck, just comment below and let us know..
Pat Sloan https://blog.patsloan.com https://www.instagram.com/quilterpatsloan/ Tracie at Ricefordstreams Angie at a little patchwork Mathew Mister Domestic Karin at Blue Pip Designs Carrie in Texas Linden of VineLines Priscilla The Real Housewives of Cross Stitch Rebecca One Wee Bird Moda Fat Quarter shop
1 Comment
Gail Whitaker
8/8/2019 09:20:56 am
Good morning! I can't wait to get started. My fabric isn't here yet so will there be a printout that I can copy of the directions for the block each week like you do with other projects? I know it is demonstrated via you tube but wanted a printout too. Thank you for these wonderful challenges. You are all so talented. Leave a Reply. |

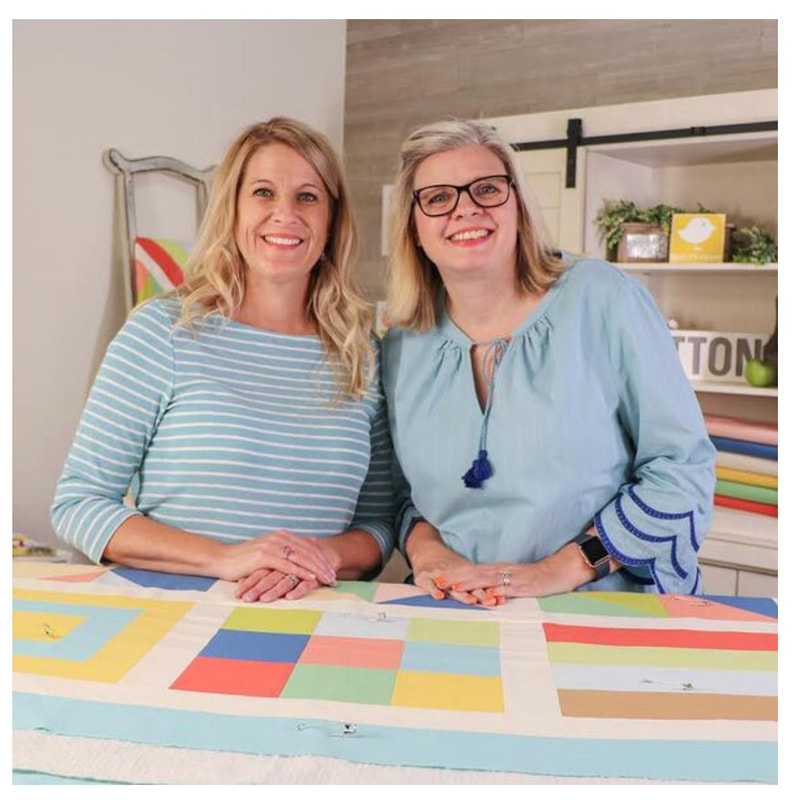
AuthorHey Y'all, I'm Gina Tell! I live on Lake Travis just North of Austin Texas. I'm a full time long arm quilter and lover of all this art and outdoors!! 
|