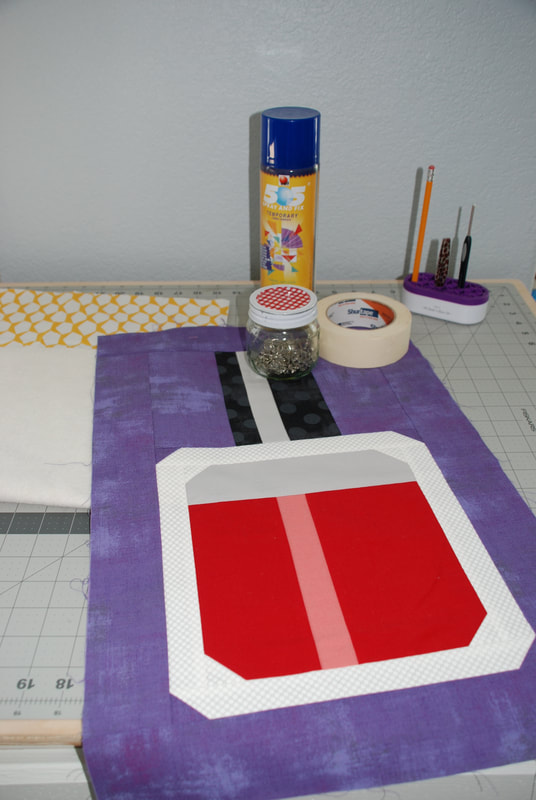
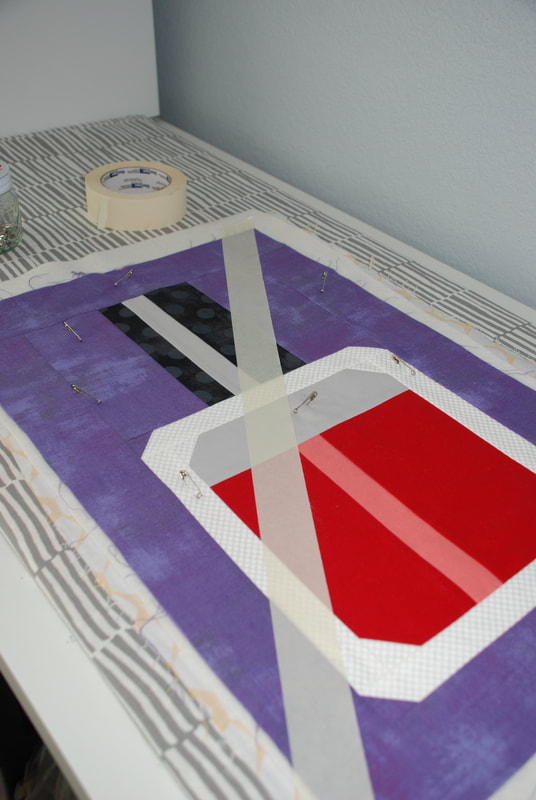
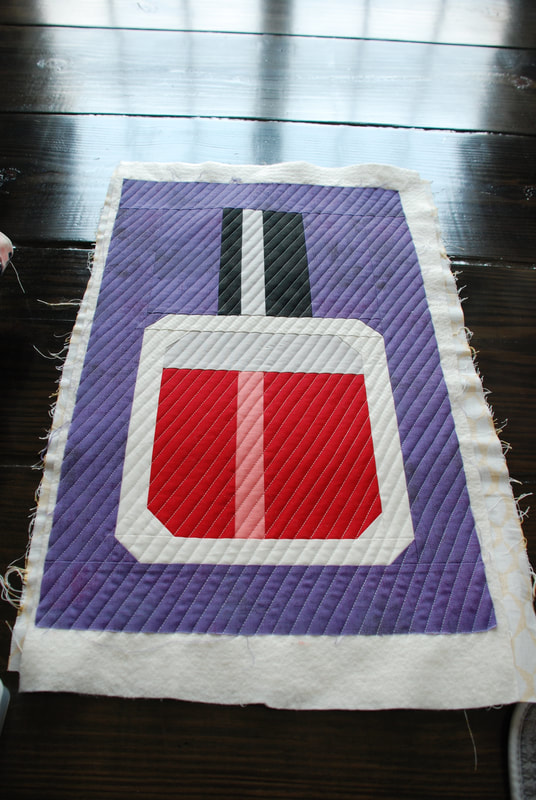
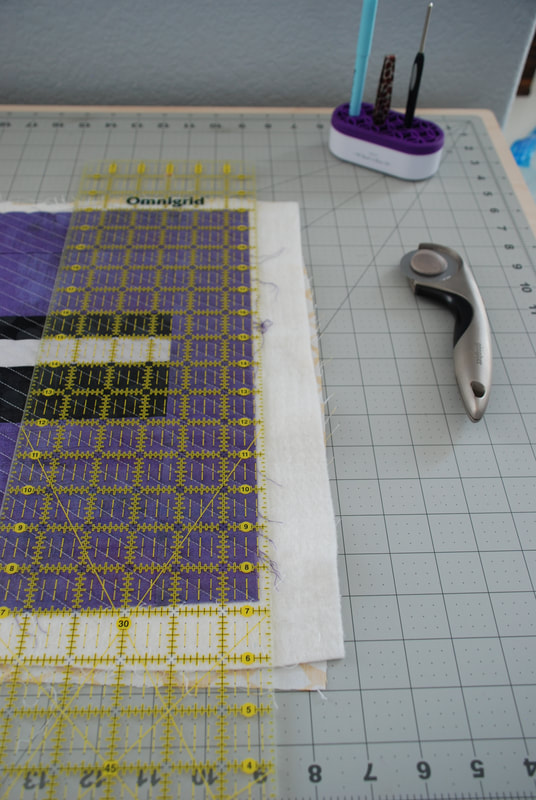
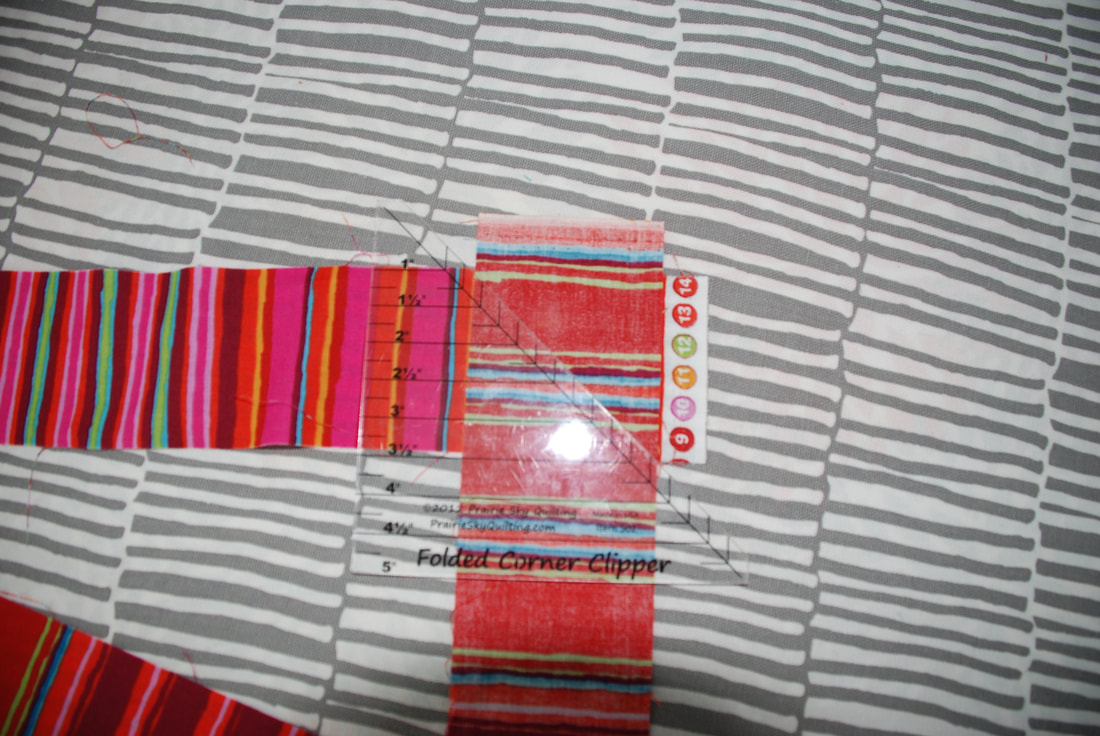
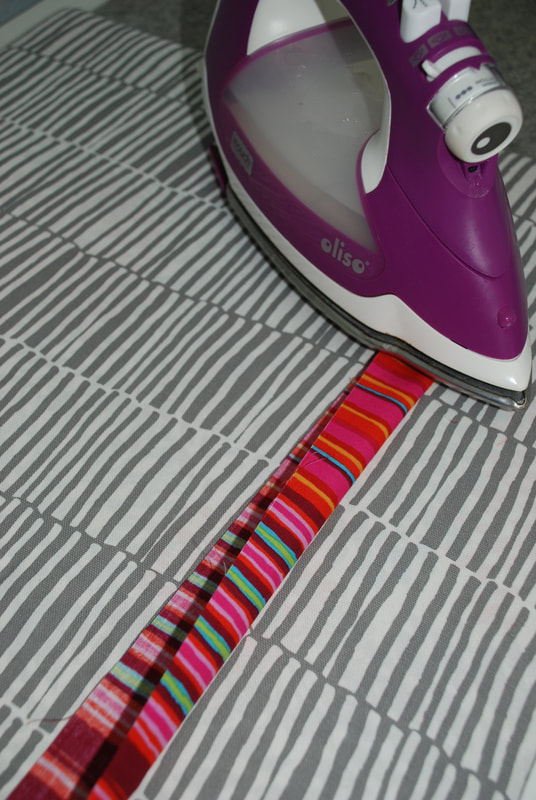
Finishing your Ultimate Beginner Quilt at home on your standard sewing machine is easy and fun, and I'm excited to show you how I learned!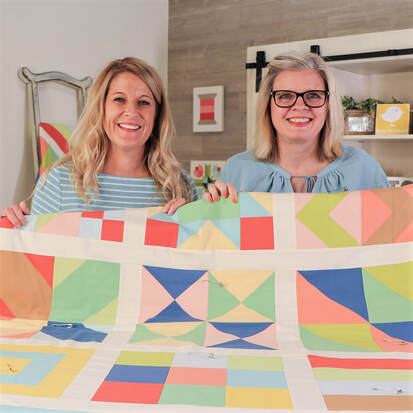 I was so excited when The Fat Quarter Shop asked me to be part of the Ultimate Beginner Quilt Series, because the quilting part is my FAVORITE part! I joined Kimberly Jolly and her fantasticly fun crew last week, and we had so many laughs! We filmed three different videos; one showing my tips on basting, another going over straight line quilting on your home machine, and we also did a free motion quilting video. My name is Gina Tell, and I am a long arm quilter for the Fat Quarter Shop. It is truly amazing to be part of their team, because I get to see so many fun fabrics, test some really great patterns and share so many creative projects. I have not always been a long arm quilter, I learned FMQ (free motion quilting) several years ago by practicing on my home machine, just like I am showing today. So I want to remind you that sometimes when you see things at first, it looks hard and intimidating, but quilting is not hard, it's all about practice, and anyone can do it! The quilting part is no exception, I like to think of it like learning cursive handwriting. At first it feels kinda awkward, but the more you do it the better it looks and the more fun you can have personalizing the look. You can practice at home on your machine, and you should also practice on paper too. Doodle as much as you can! Try to see how much you can do without picking your pen up from the paper, get used to doodling with your arm & hand up from the paper, so your muscles get used to this new activity. I like to turn music on, relax and enjoy the time to make something that is all you. Remember there is no way you can do it wrong, if you like how it looks, then it's right! That's why I love it, because there are no rules I have to follow, I am in charge! We all start somewhere, and I was really terrible when I first started too, if you have the extra time, I have some hilarious stories in previous blogs, I hope you will stop by. Oh and I'd love if you'd follow me on Instagram, I post a lot of new fun things there and I love all my quilty friends!! In addition to the videos we filmed in the Fat Quarter Shop studio, I also put a short tutorial together here for you to see what the quilting looks like on a smaller scale. 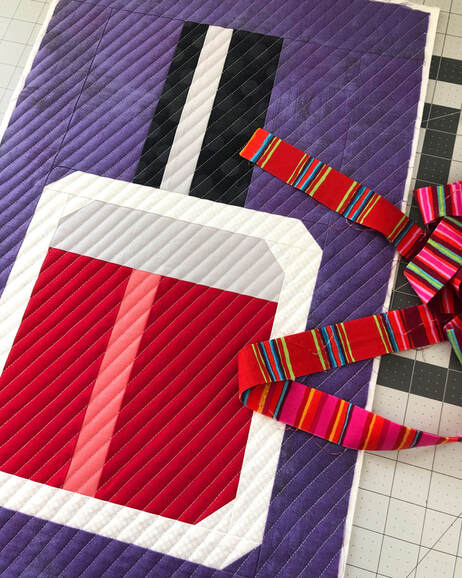 Here is an example of some straight line quilting I like to do. I also have another blog post with some free motion quilting tips. So please check that one out too. I love red and purple, so I thought this fun nail polish mini quilt pattern that my friends at It's Sew Emma designed several years ago would be fun to share today. If you love it too, you can make it, here is the pattern Download Here are the supplies you'll need to get started: Quilt top Quilt backing batting (I used 80/20) 505 Spray baste and/or a few safety pins masking tape sewing machine Lay your backing fabric down (pretty side down) then lay your batting on top, smooth it so there are no wrinkles, spray a little bit of 505 on the batting and then carefully lay the quilt top over the batting. Smooth it all out again and add a few pins to secure. Then I apply a piece of masking tape from the top right corner down to the bottom left and then head over to your sewing machine. This Ultimate Beginner Quilt Sew Along is sponsored by EverSewn Sewing machines, so I got to use the Sparrow QE and I thought it produced some very nice stitches. If you'd like to check it out, here is the link to read more. Since this machine came with a walking foot, I used it. Some machines do not come with one, if you don't have one it's ok, just use the standard foot. The walking foot is helpful to push the fabric through, but not necessary especially if you are doing a small quilt. 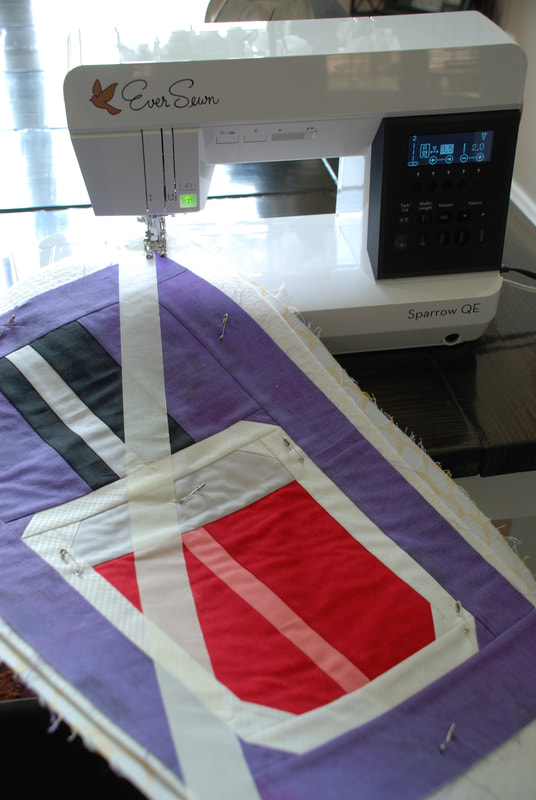 Start stitching just outside the edge of the quilt and follow the tape line trying to keep your first line as straight as possible, because you are going to echo this line  In this photo you will see the left side of the foot is lined your up with the last line stitched, keep doing this until you reach the bottom corner. Or, you can use masking tape as the marker for each line, if you'd like your lines to be farther apart. Now it's time to trim it up, make your binding, and attach it to your quilt. When I trim I like to leave .25 inches of batting/backing all the way around. (See caption in pictures above) This looks great when you fold the binding over to the back side, it fills up the gap. I hope you return for my next blog post on Oct 24, 2019, I am going to have a full video tutorial, and step by step pictures for you to follow on binding.... If you want to get a head start, here is what I do. I like to cut strips that are 2.5" for binding, then you will need to sew a few strips together so the binding is long enough to go all the way around your mini. Now you are ready to attach your binding to your quilt. See you on Oct 24th.... 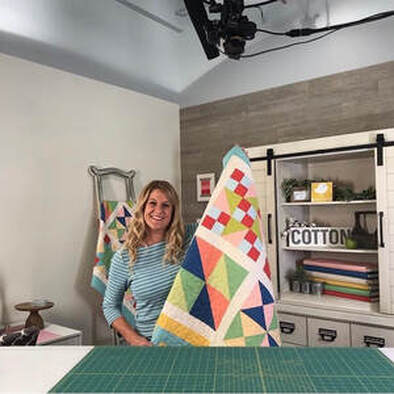 If you are just finding this sew along, you can still join in on the fun, The Fat Quarter Shop has created 2 kits that make it very easy to start. One kit has all the fabric you need to make a BEAUTIFUL quilt (link HERE) and the second kit has all the notions that you will need (link HERE) notions is just another word for all the other "stuff" you need to sew with. Like thread, pins, rulers, etc. There are also video tutorials and lots of tips to follow along on Fat Quarter Shops YouTube channel, EACH step has videos from start to finish! All the videos will be around forever online, so it's never too late to jump in. I hope you learned something about straight line quilting on your home machine. Please check out my other blog post showing free motion quilting... I hope you'll click the icons below to follow me on Instagram & Facebook Thank You, Gina Tell
3 Comments
Kathy
8/10/2020 04:00:56 pm
Love watching
Elizabeth Waterfield
12/23/2020 09:39:23 am
Looking forward to your lessons. 4/6/2023 01:26:15 pm
I think you are right about the 2.5'' binding. My sewing kit broke and can't make exact stitches. Maybe I should take it to the repair shop. Leave a Reply. |
AuthorHey Y'all, I'm Gina Tell! I live on Lake Travis just North of Austin Texas. I'm a full time long arm quilter and lover of all this art and outdoors!! 
|