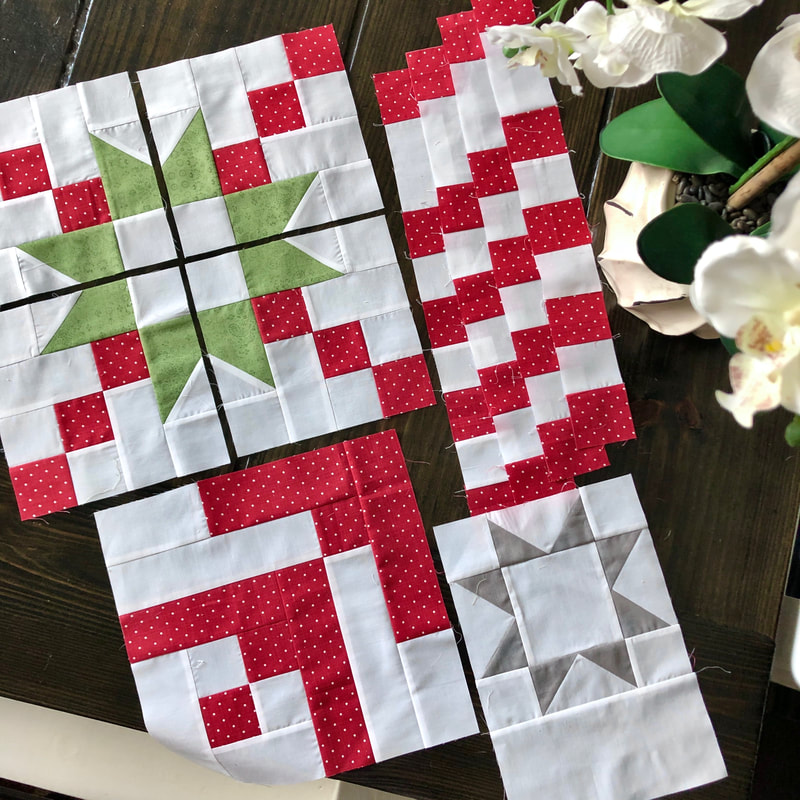
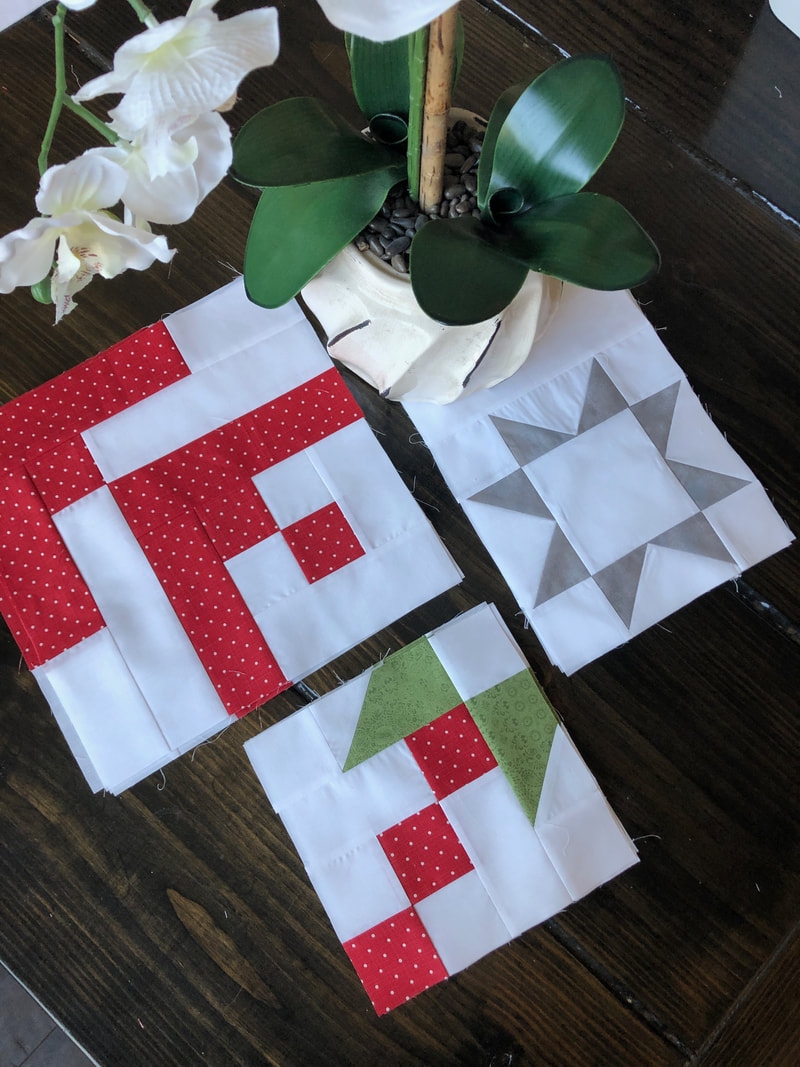
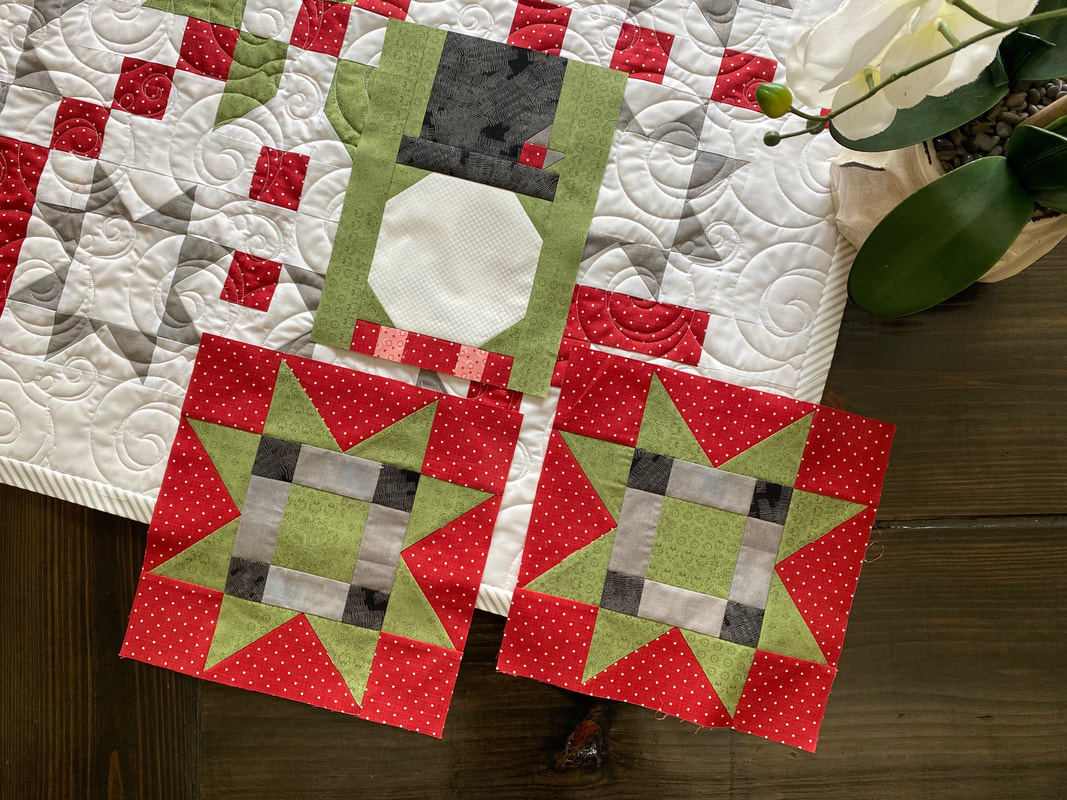
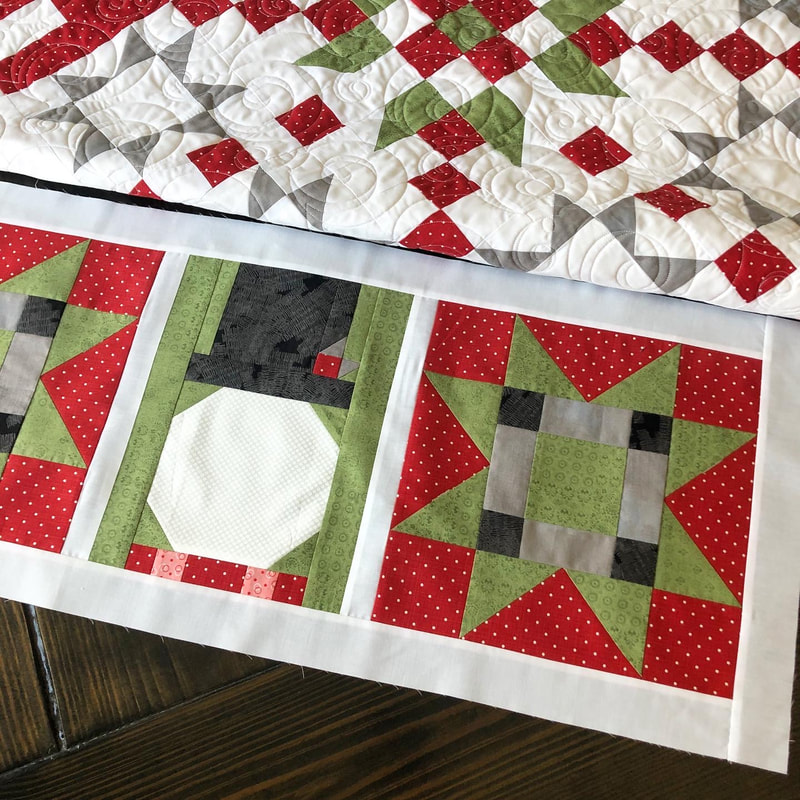
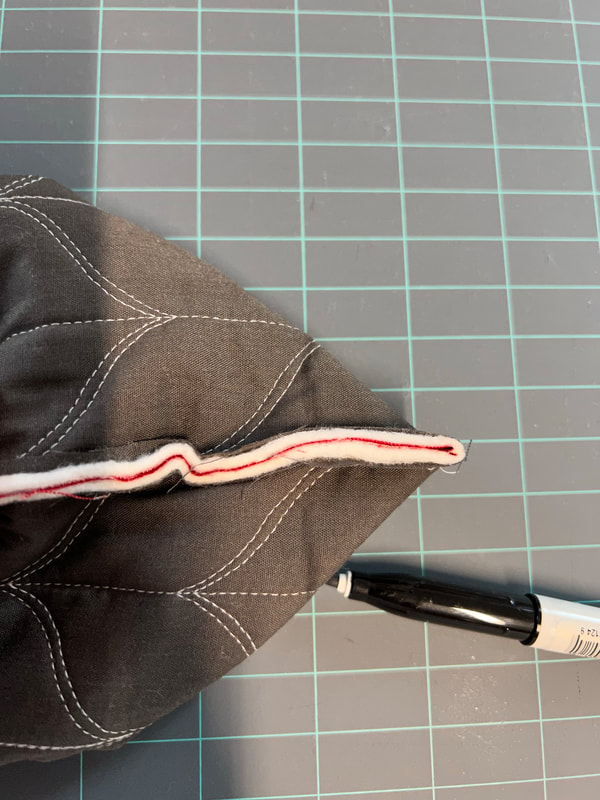
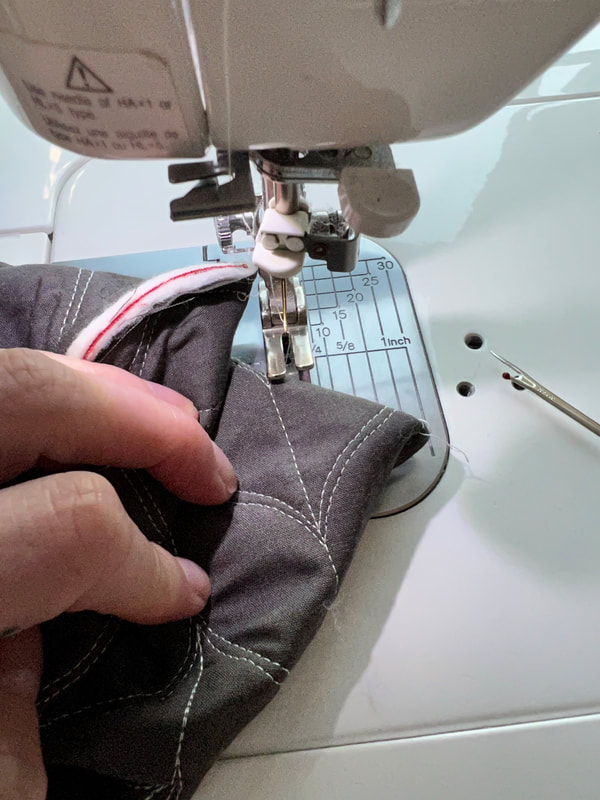
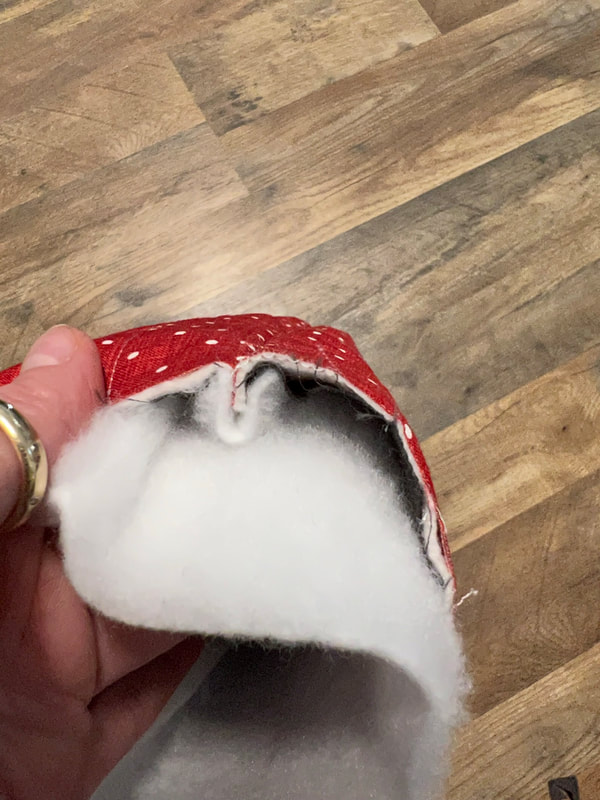
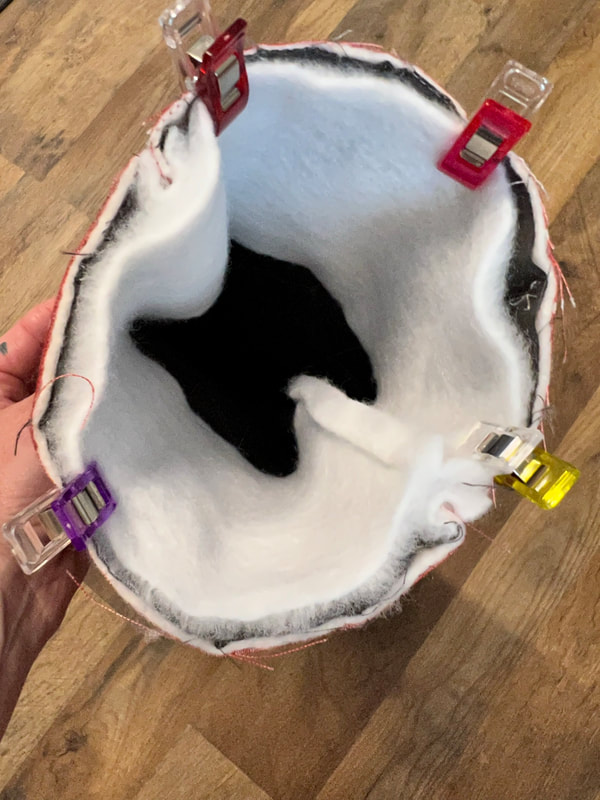
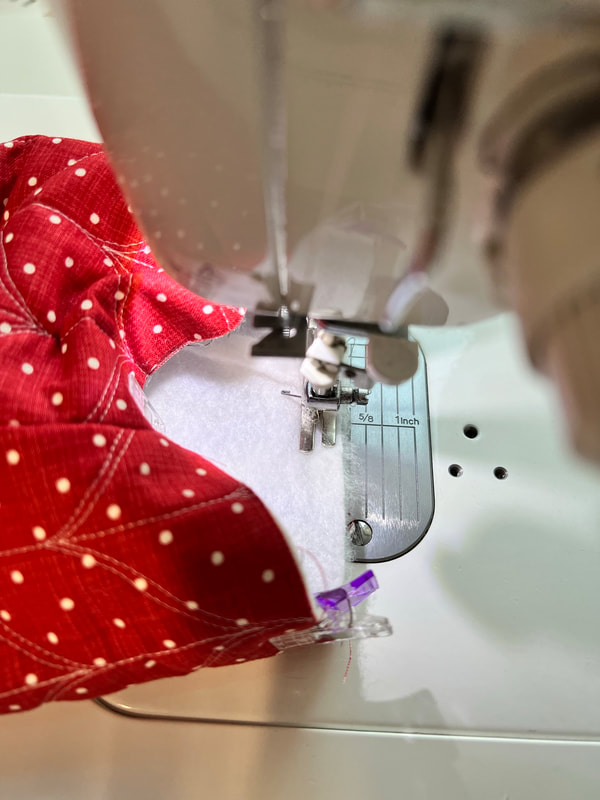
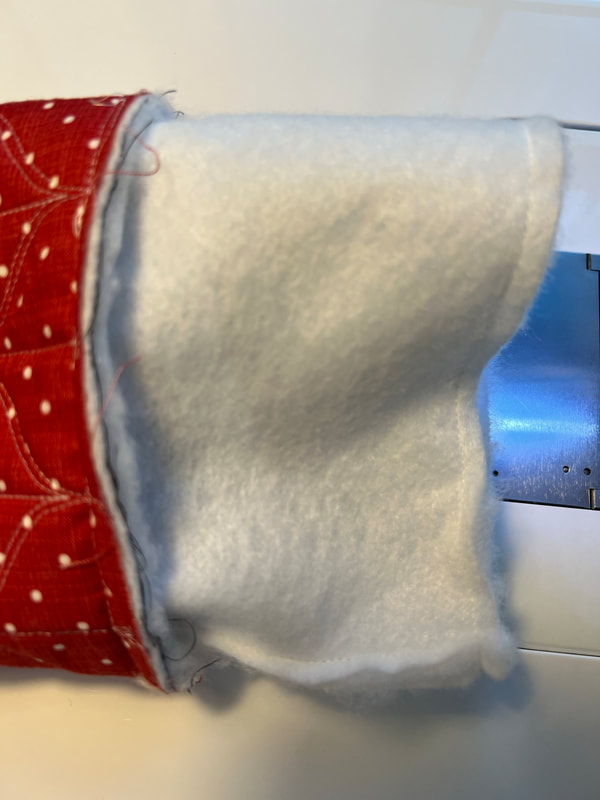
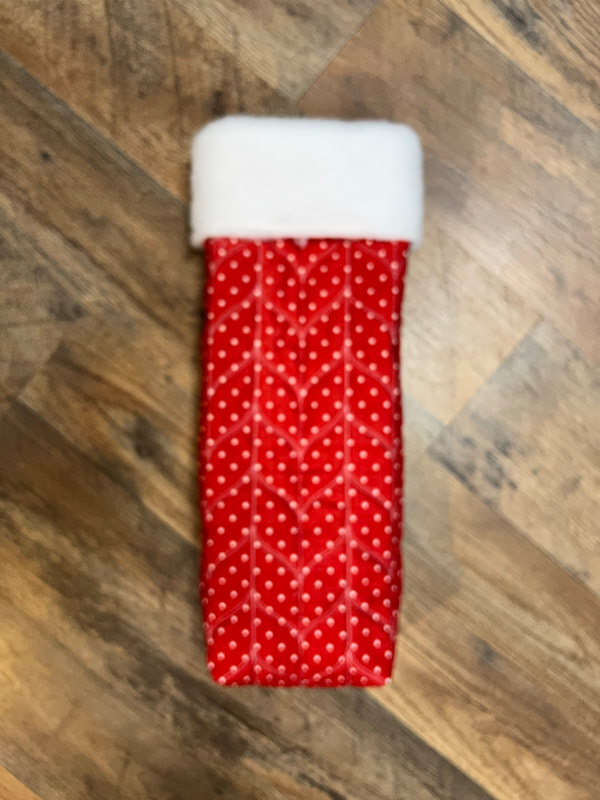
Wine gift bags make great gifts for friends!I'm updating an old blog I made in 2021 to share. Come make some quilted wine totes with me! My husband has a white elephant holiday party at work each year, so I am always thinking of new gift ideas to make. This year I have been much more into wine tasting than previous years because we have a lot of beautiful wineries near our home. I am not a big drinker, never have been, but a nice glass of wine while sitting outside in the Texas Hill Country with my hubby can really be relaxing and fun. We usually buy a bottle or two to take home and I thought it would be really nice to give some local wine as gifts this year to some of our friends close by. Well you can't give a bottle of wine without a cute little gift bag, right? So this is what I came up with.... 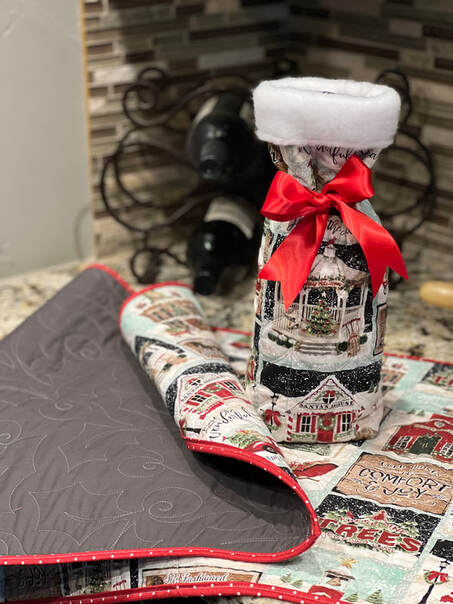 I guess I should back up and tell you how this started.... It's no secret all crafty people love Hobby Lobby, the store has everything, and I could spend hours in there, and hundreds of dollars too. So as I was walking around the other day I found some cute holiday fabric on sale for $6 per yard, it was so cute so I got a couple yards. I decided to cut some of it into small table runners and quilt it on my long arm and then add a quick machine binding that I had in my stash and poof, it's adorable. Then came the idea for wine bags. I just recently made Christmas stockings for a friend out of state and I had some white fluffy stocking fabric left over, I thought oh how cute would that be on the top of the wine gift bag? I also use it as a binding on the inside of the bag to cover the raw edges, it made a fluffy protector for the wine, it was easy and adorable. I actually made one, and couldn't stop, I started pulling out fabric left overs from my stash and going a little crazy, I am going to need more wine drinking friends LOL! 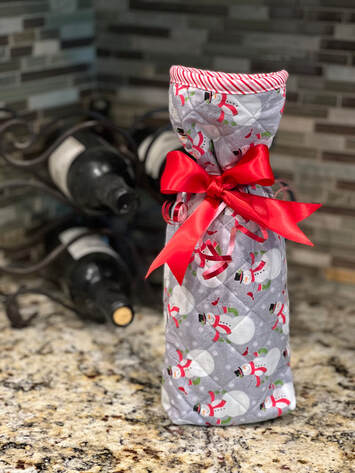 This fabric was leftover from my Jelly Snowflake quilt I made a couple years ago, it was a FREE Christmas in July project hosted by the Fat Quarter Shop so I got this for the backing. I just did a simple crosshatch quilting, added a quick binding, and tied a bow. If you are wondering about the Jelly Snowflake pattern, I will link it here, and show photos below. Oh and Jelly Rolls are on sale right now, check them all out! 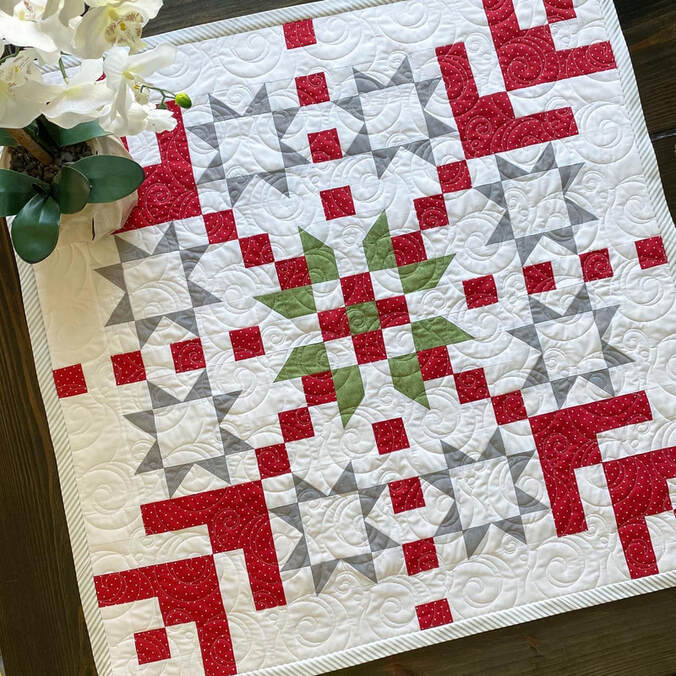 Oh and while we are talking holiday gifts, check out this adorable Mr. Frosty table runner I made to match my Jelly Snowflake. The pattern is also FREE made by Christopher Thompson aka. "The Tattooed Quilter" and really, really cute! Click the green above for his blog post with the pattern! 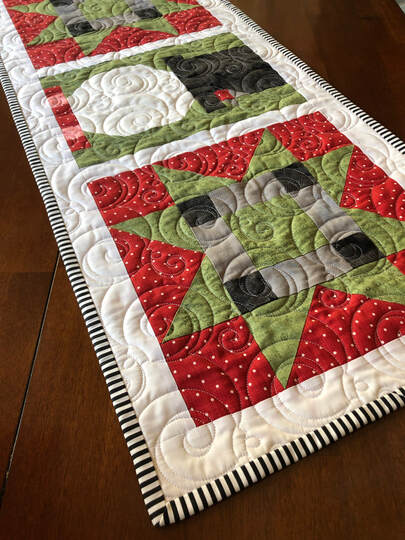 Ok, sorry I got sidetracked with all the fun holiday stuff, now lets talk about how to make the wine gift bags... 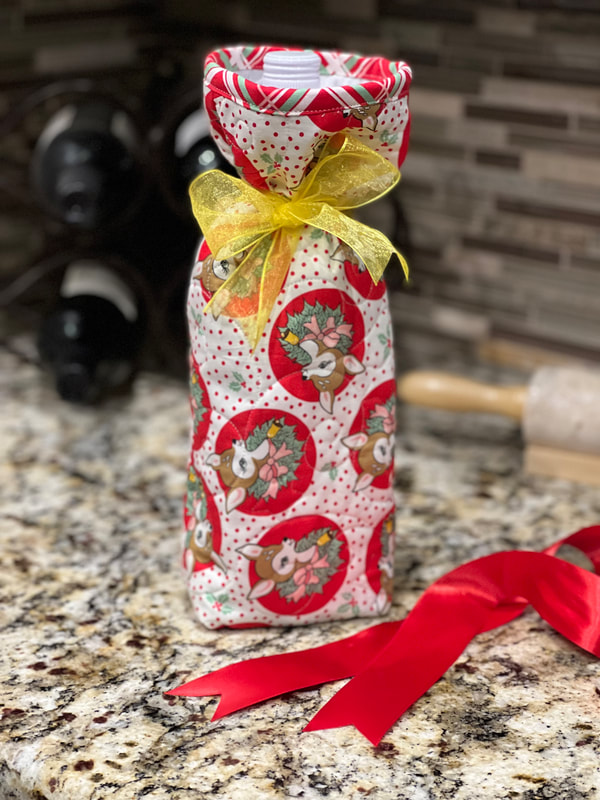 Since I have a long arm, I cut out one big piece of backing and loaded it to the frame, used some leftover batting and then placed each piece of fabric I had cut out for the wine bags on top. I cut my main bag piece 7"x30" and did simple quilting, below is what it looks like from the back side for 3 bags. If you don't have a long arm, this is a great time to practice FMQ or straight line quilting on your standard machine. 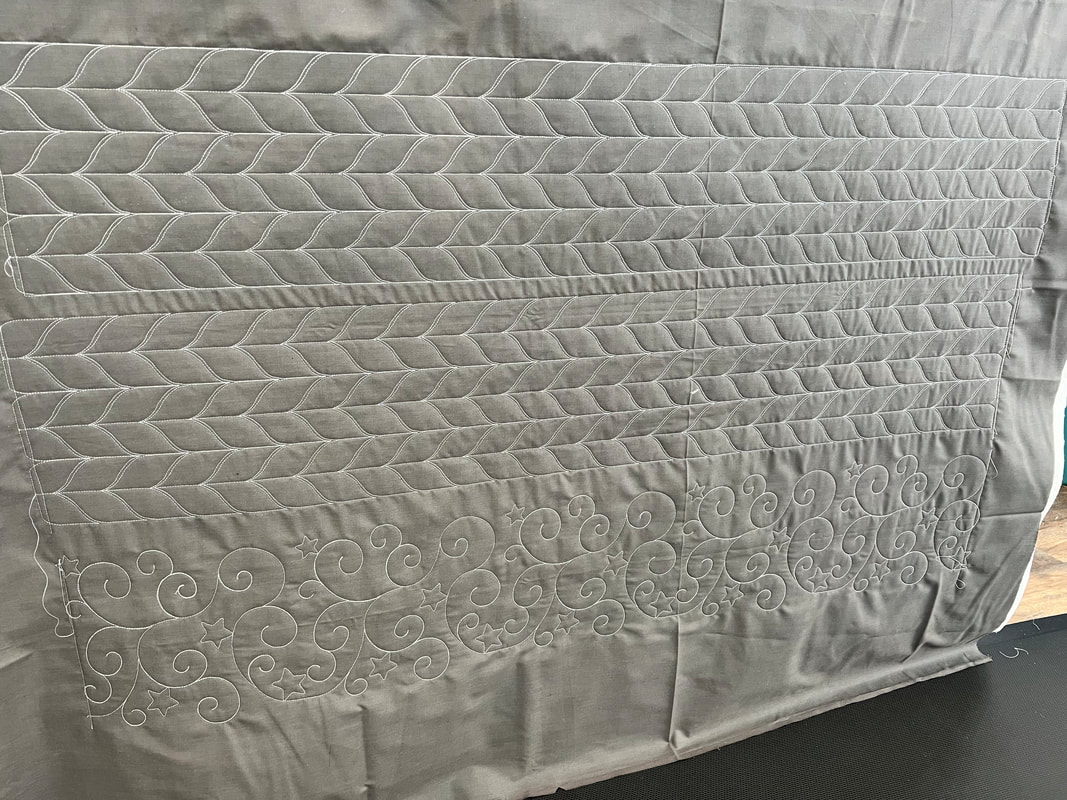 Trim each one down so you have a 7x30" piece, you can actually get away with probably 25" if you want the top of the wine bottle to show (insert personal preference here) 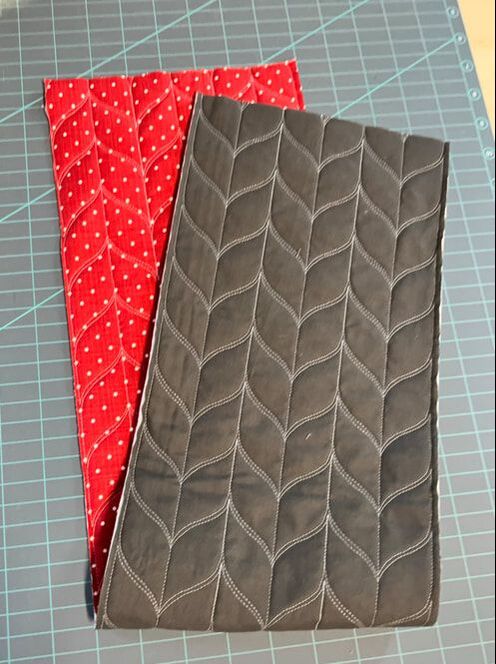 Ok, now fold it so the right sides are together on the inside and sew both sides, the bottom is your fold so you wont have to sew that part, see pic below... 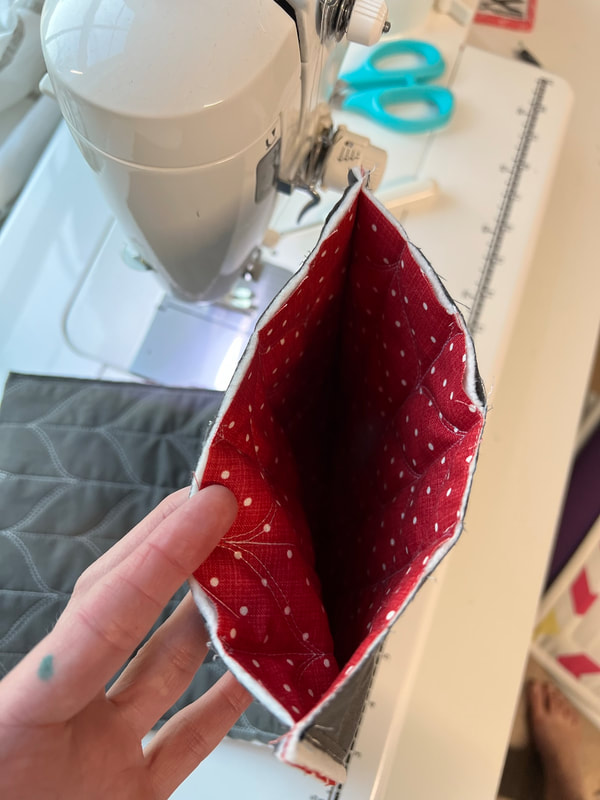 Now lets square off the bottom. That means I marked 1" in from each side of the bottom with a frixon pen (pic 1 below), and then stitched down the line (pic 2 below), then cut off the excess (pic 3 below) I used a 1" strip of the white fluffy santa fabric to cover the inside seam, (pic below) I just folded it over the raw edge and stitched it down, very simple & it looks cute, and it will add some extra cushion for your wine bottle. Or you can do a few other things here. You can leave it alone and let the raw edges show, you can use a serger to put a serged edge on it, you can make matching cotton binding, or you can make a quick liner to put in it. If you pick the liner option you will want to cut it just a tiny bit smaller than your exterior cut (6.75x30) 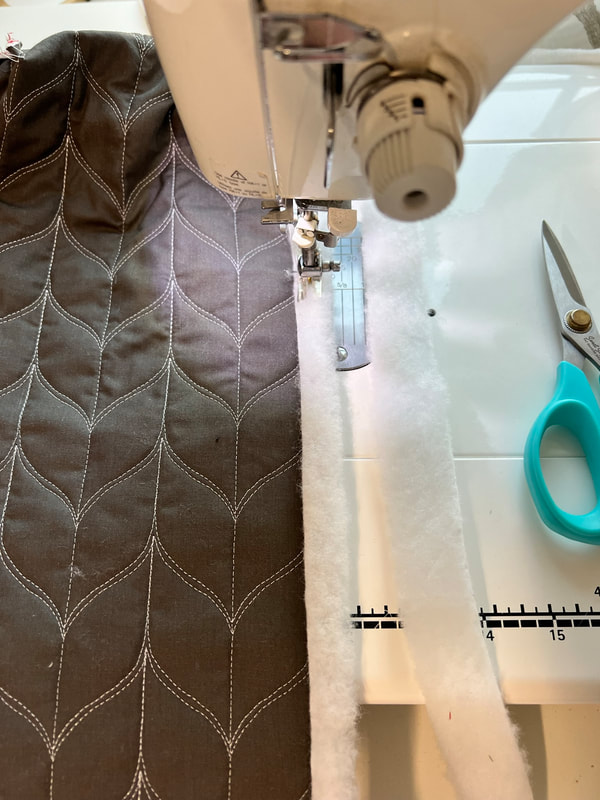 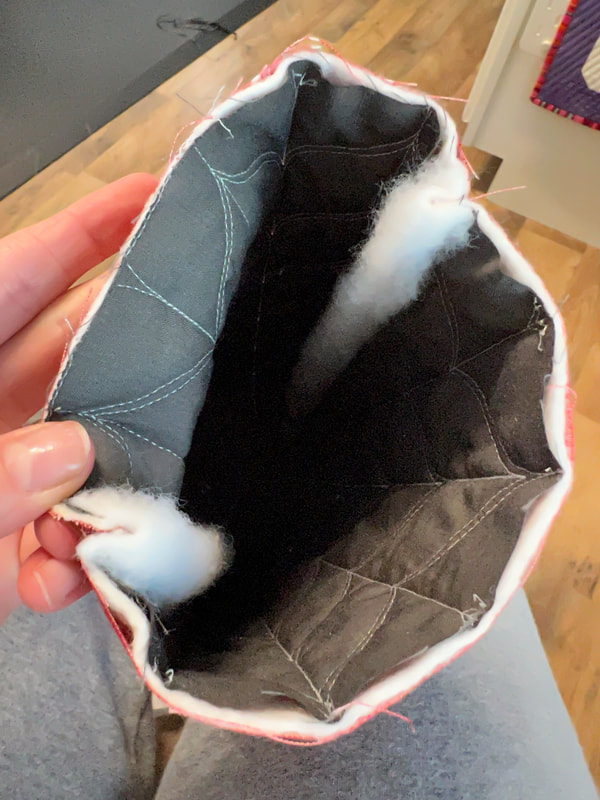 Flip it so you can see your work, it's cute! Lets make the fluffy part for the top now... 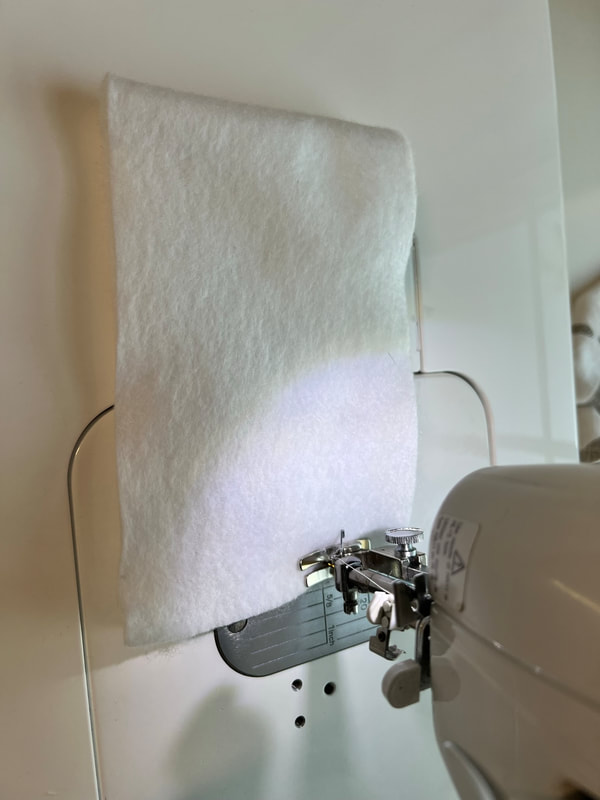 Cut a 3x12" piece of fluff, with good sides facing together sew the fluffy white Santa fabric on the short side (pic above). Then make sure your bag is right side out, & put your fluffy piece inside the bag top with the fluffy side facing in like the first pic below, then use clover pins to hold it in place, take it to the machine and stitch down... Then fold it over the top of the bag and poof you made an adorable bag! I like to put my wine bottle inside and then tie a ribbon around the top to tighten. Or you can stick a handle strap on it in this last step. 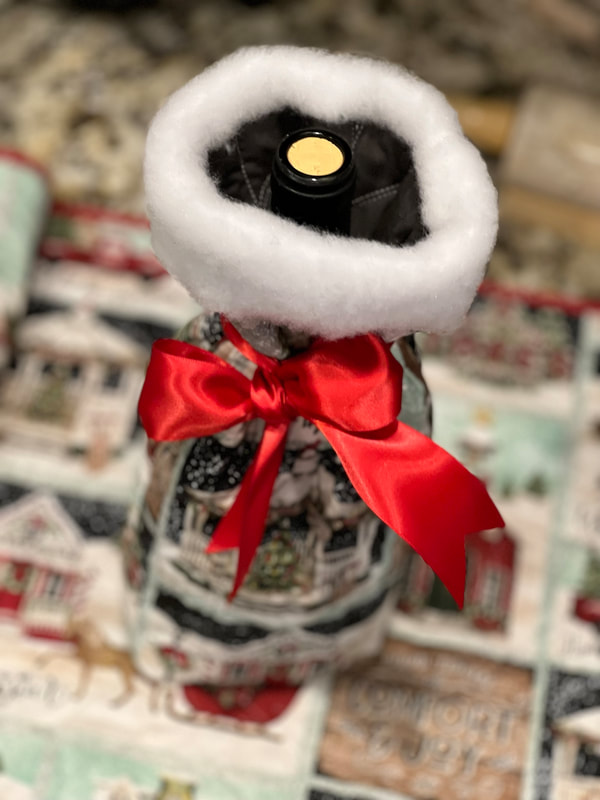 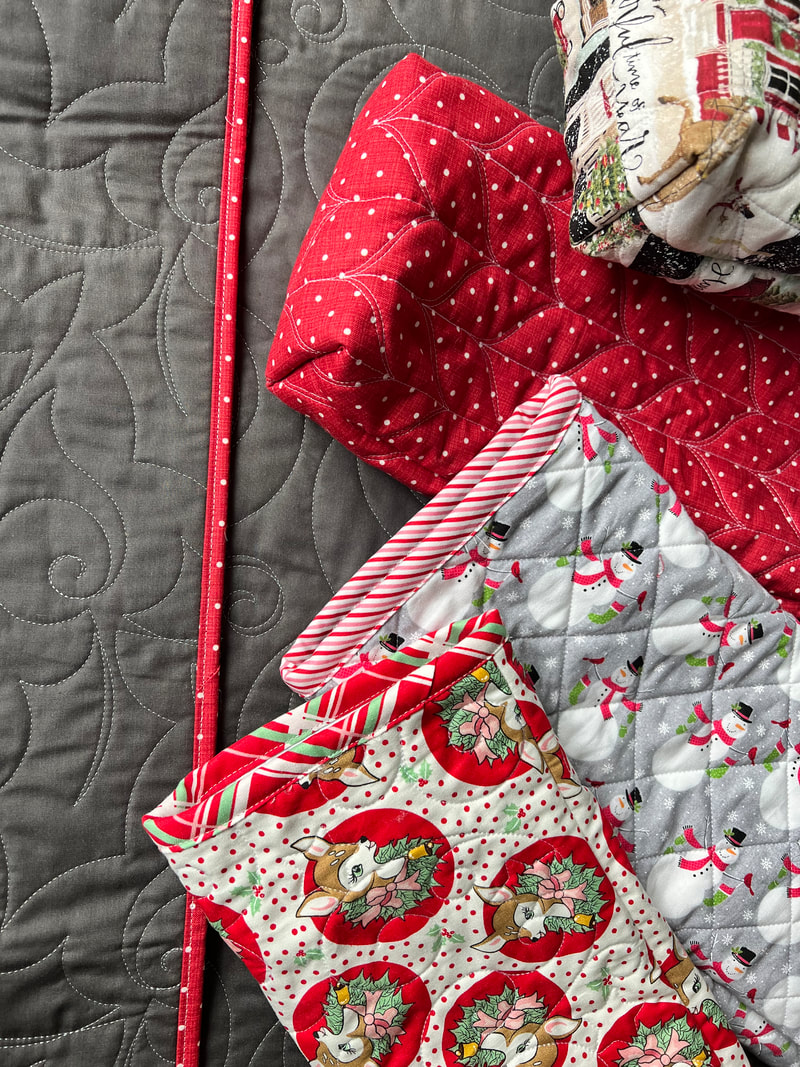 If you don't want to use the white Santa fluff on the top, you can also just add binding. I made mine 2" and stitched it down with the machine, I didn't have time for hand biding, but if you do that would be really great too. Don't worry about being perfect either, they are adorable handmade gifts even if your stitches are not perfect! Just have fun with them, and do what works best for you! 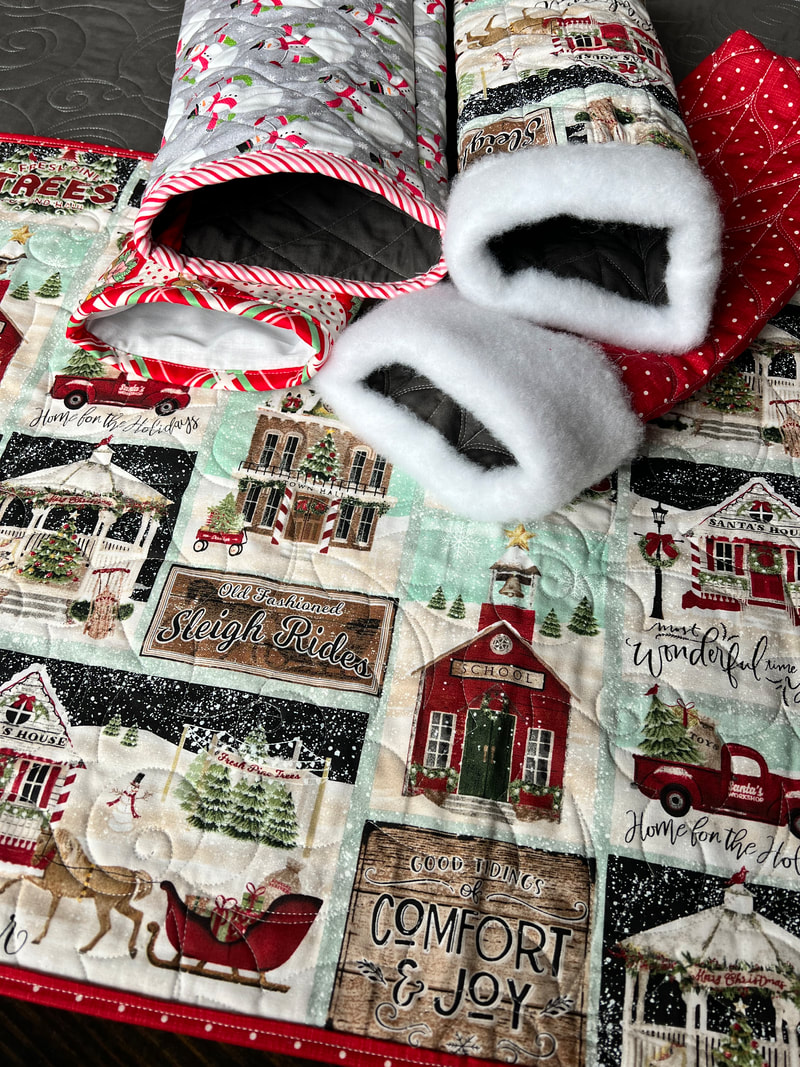 They are just too cute! Make sure you share them on your social media and tag me so I can see what you made #ginatell #threadgraffiti #ginaswinebag I would also love for you to subscribe to my NEW YouTube channel I just started, I have 2 new videos if you have time to watch. Happy Holidays and Lots of Love, Gina
0 Comments
Leave a Reply. |

AuthorHey Y'all, I'm Gina Tell! I live on Lake Travis just North of Austin Texas. I'm a full time long arm quilter and lover of all this art and outdoors!! 
|