 Today is the kick off to the Fat Quarter Shop Ultimate Beginner Quilt Sew Along!!! The Fat Quarter Shop, and Pat Sloan thought it would be fun for us bloggers to share the story of our first quilt. There are several AMAZING quilters sewing along for this one, so I encourage you to check out all the links below, I'm pretty sure there are going to be some epic stories!! 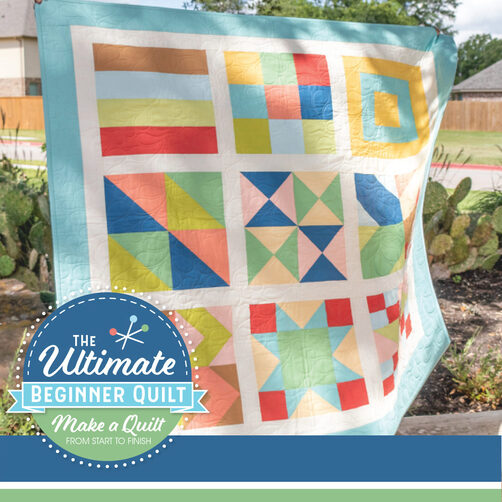 My name is Gina Tell, I am a long arm quilter for The Fat Quarter Shop, as well as a sample maker. That means I have been involved in piecing, and quilting many of the quilts you have seen on pattern covers and in books over the years. I have had the honor of sewing for Carrie Nelson's new Summer Moon book, and I have also recently quilted some of the quilts that will be featured in Lori Holts new Farm Girl Vintage 2 Book, and this is how it all started.... I got my first sewing machine from Walmart, it was a little Brother machine, that was under $100, and I had no idea how to use it. I had never even seen a sewing machine, and since nobody in my family ever quilted, I had no idea where to start. Several months before that I had gone to a wedding shower for my BFF, Jody. As she began opening her gifts, one of them sitting on the gift table really caught my eye, it was a stack of square cloth wrapped in a bright bow. As I listened, I learned they were from her Great Aunt Franny, she explained that many years ago people used to transport grains, seeds, flour and animal feed in fabric sacks. It didn't take long for the thrifty farm wives to discover that those sacks could be used to make clothes, toys, diapers, dish rags, and...... yes, you guessed it QUILTS! Aunt Franny had saved them, and gifted them to Jody to be used again in a modern day journey. I loved this story! I was jealous, I wanted my own pile of feed sack fabric and I wanted to learn so much more about how to make things with my own hands!! However, quilting wasn't exactly a happenin' kind of hobby among 20 year old girls, and since nobody in my own family did anything like this, I decided I would have to teach myself! I So, as the story of my first quilt continues, I find myself blushing. It was 2003 and I had this new sewing machine sitting on my kitchen table in a small apartment, and that was it. I didn't even own a pair of scissors. So I got my purse, found a local store that had fabric and walked around terrified! I ended up buying a couple patterns, some very ugly fabric, scissors and white thread. I rushed home filled with excitement for this new adventure. I read through the machine manual, and decided that I was ready. I have never been a fan of following the "rules" per say, so the patterns didn't interest me at first. I decided that I would get my scissors out and just cut some square like Aunt Franny had done. Looking back, these pieces were anything but square! I stitched a few squares together, then I tried sewing them into quadrants, and eventually I ended up with a big piece all stitched up on the floor of my living room. It didn't look good. I didn't even own an iron. Who knew I was going to need thatt!!?? At this point, I decided I would look at those patterns again, to see if they would help me with the next step... it said things like, "mark the quilt with a pencil, baste the three layers together, Bla, Bla, Bla, hand quilt with needles and tread, Bla Bla, Bla, then hand-baste a scant 1/4 from the edge... WHAT'S A SCANT, and WHAT DOES BASTING MEAN?? So I called Jody. When all else fails, I always call my BFF, Jody. In 2003 there were no YouTube tutorials, I don't even think we had a computer, just a phone. So I explained my dilemma, I read her a few lines from the patterns and then I said "Does baste mean I have to get it wet to hold it all together, like when you baste a turkey?" Jody laughed out loud and explained what basting was, we both laughed until we started crying!! Then after a lot of laughing, and a little coaching by phone with my dear friend, I decided that I would jump right in, literally. haha So I got a flat bed sheet from the closet, set it on top of the quilt front and I sewed three sides together, like a giant pillow case, and then I flipped it right side out. Next, I actually got inside the giant pillow case on my hands and knees and shoved the batting stuff inside and tried my best to make the scissor cut edges reach the 4 corners. Then I flipped the fourth side in and stitched it closed. Jody explained that I would need to stitch around a few of the squares in the center of the quilt to keep it together, so I did that. I later added some bias tape that I had purchased around the edge of the quilt to make it look more like the quilts on the pattern cover. It was very ugly, and not square, but I made something. I learned to do something with very little help, and from that day on I have never stopped calling poor Jody for advice. 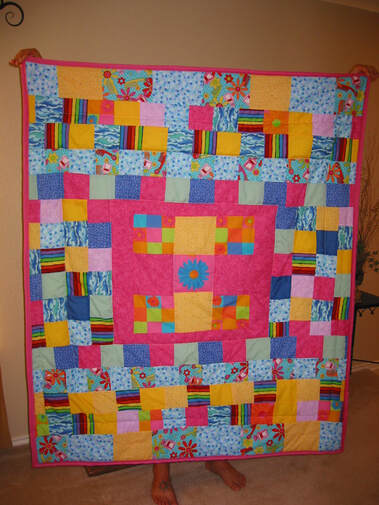 My First Quilt by Gina Tell As I sit here this evening in my sewing room, filled with every quilting tool there is on the market, surrounded by machines I never dreamed I would own, I am proud of myself. I started out not even knowing what a rotary cutter was, I used cardboard "rulers" because I was too broke to purchase them. I still have to pinch myself sometimes when I think about how far I've come. I love teaching people that it is okay to make mistakes, to do stupid things, to made due with what you have, and to laugh at yourself! Have some fun, and don't ever give up, and someday you will be making things you never dreamed too!! I hope you will follow me on social media, I love to make new quilty friends! Here are my links: Facebook Instagram  You can find all the Fabric Requirements and supply list on The Fat Quarter Shop blog, and don't forget to subscribe to their YouTube Channel so you don't miss all the FREE tutorials that will be released. Video Tutorials Lineup: Supplies and Sewing Machine: August 1, 2019 Sew Quilt Blocks 1-9: August 8-October 3, 2019 Sew the Quilt Top Together: October 10, 2019 Quilting the Quilt: October 17, 2019 Quilt Binding: October 24, 2019 We’ll show off our finished quilts on November 7! You'll have to check out these links to all my friends sewing along, some of them are sharing the story of their first quilt too: Pat Sloan https://blog.patsloan.com https://www.instagram.com/quilterpatsloan/ Tracie at Ricefordstreams Angie at a little patchwork Mathew Mister Domestic Karin at Blue Pip Designs Carrie in Texas Linden of VineLines Priscilla The Real Housewives of Cross Stitch Rebecca One Wee Bird Moda Fat Quarter shop Thanks for visiting y'all. Please share a comment if you enjoyed my story. :)
7 Comments
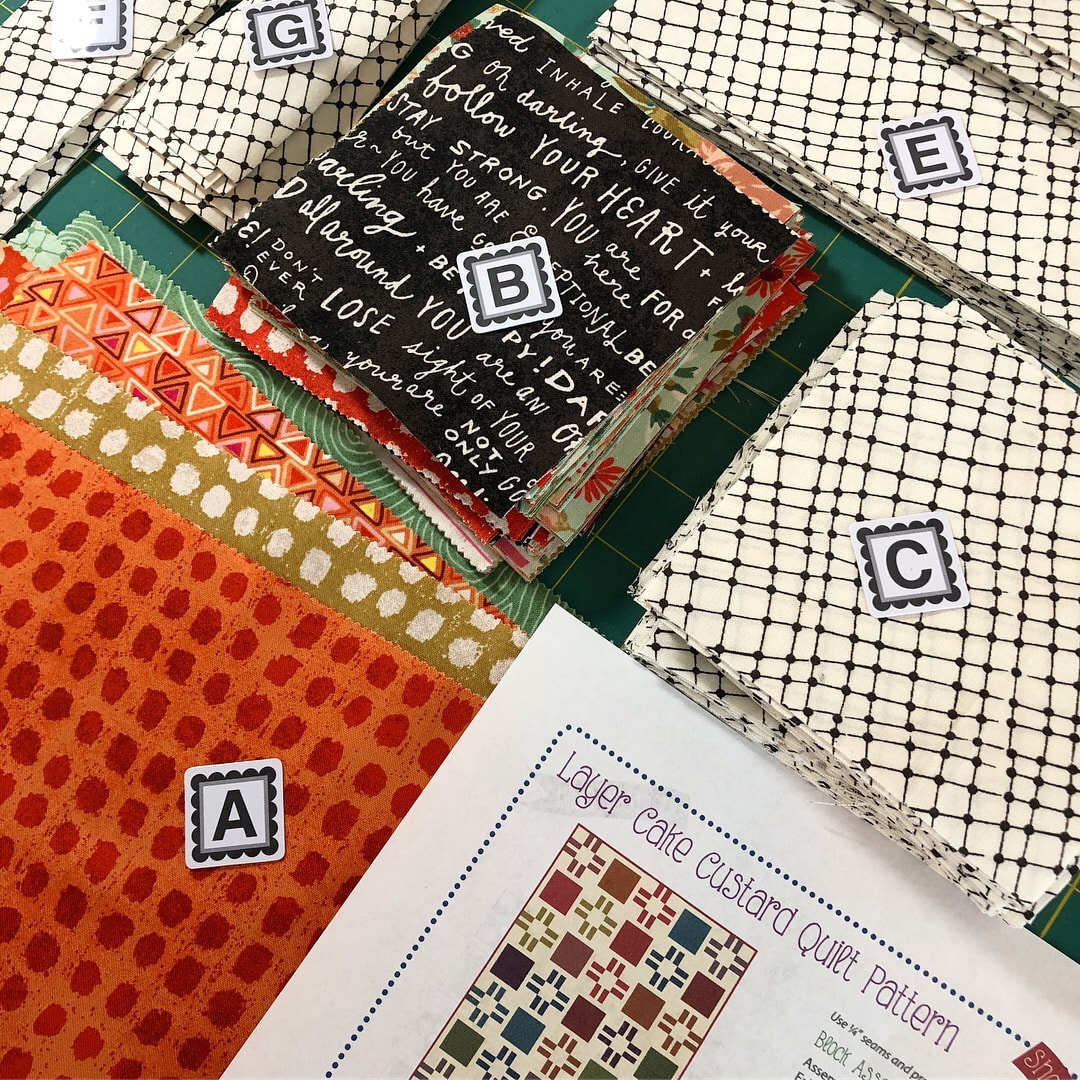
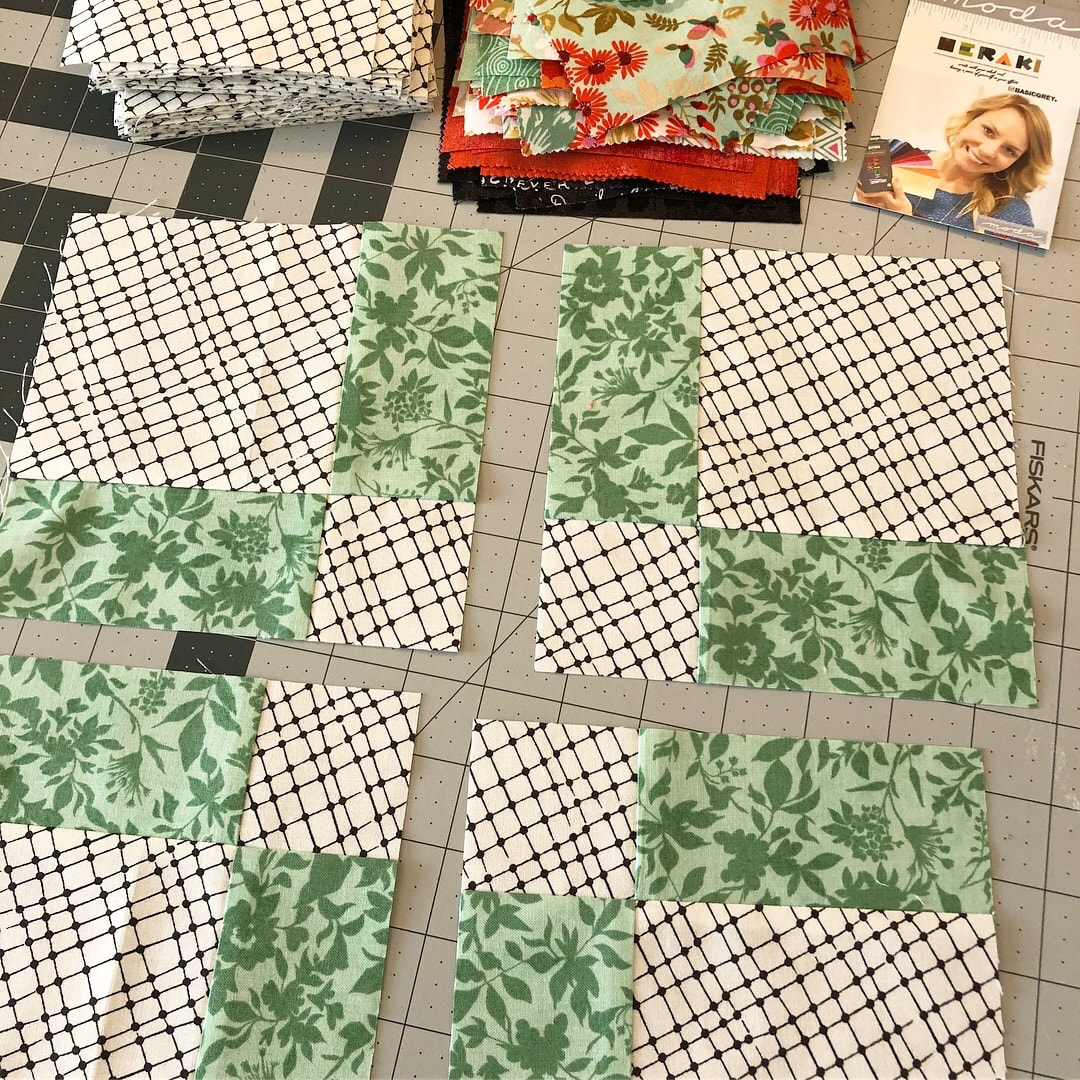
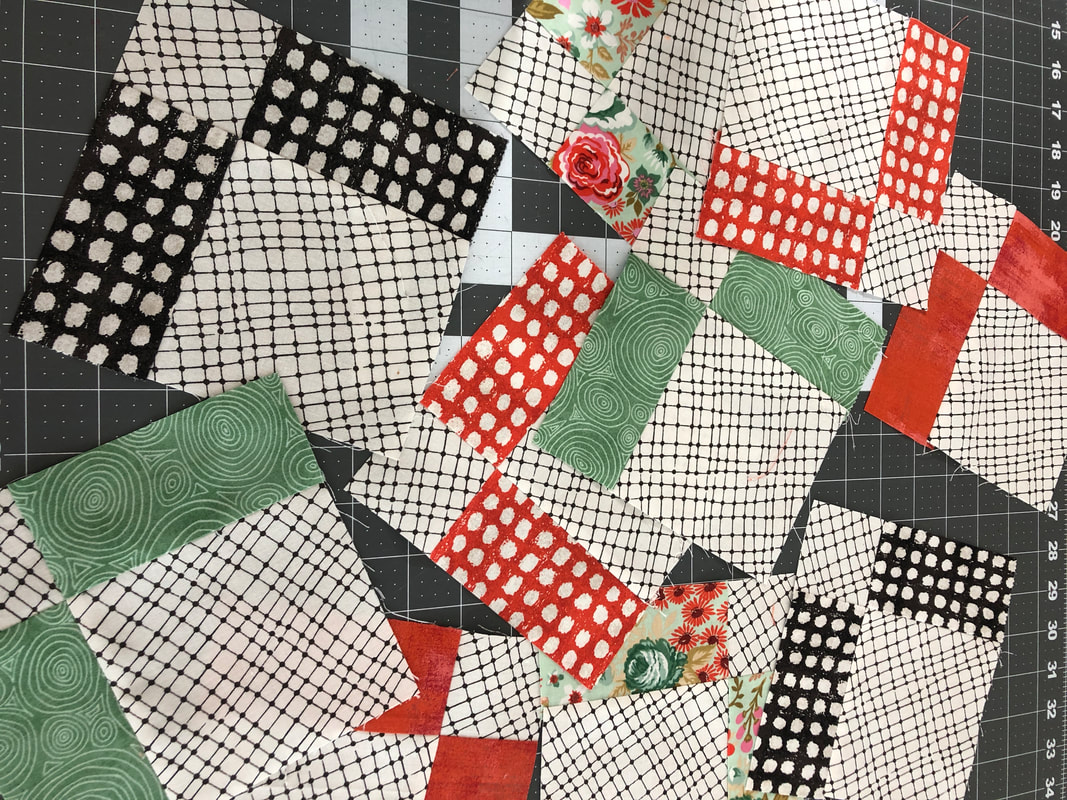
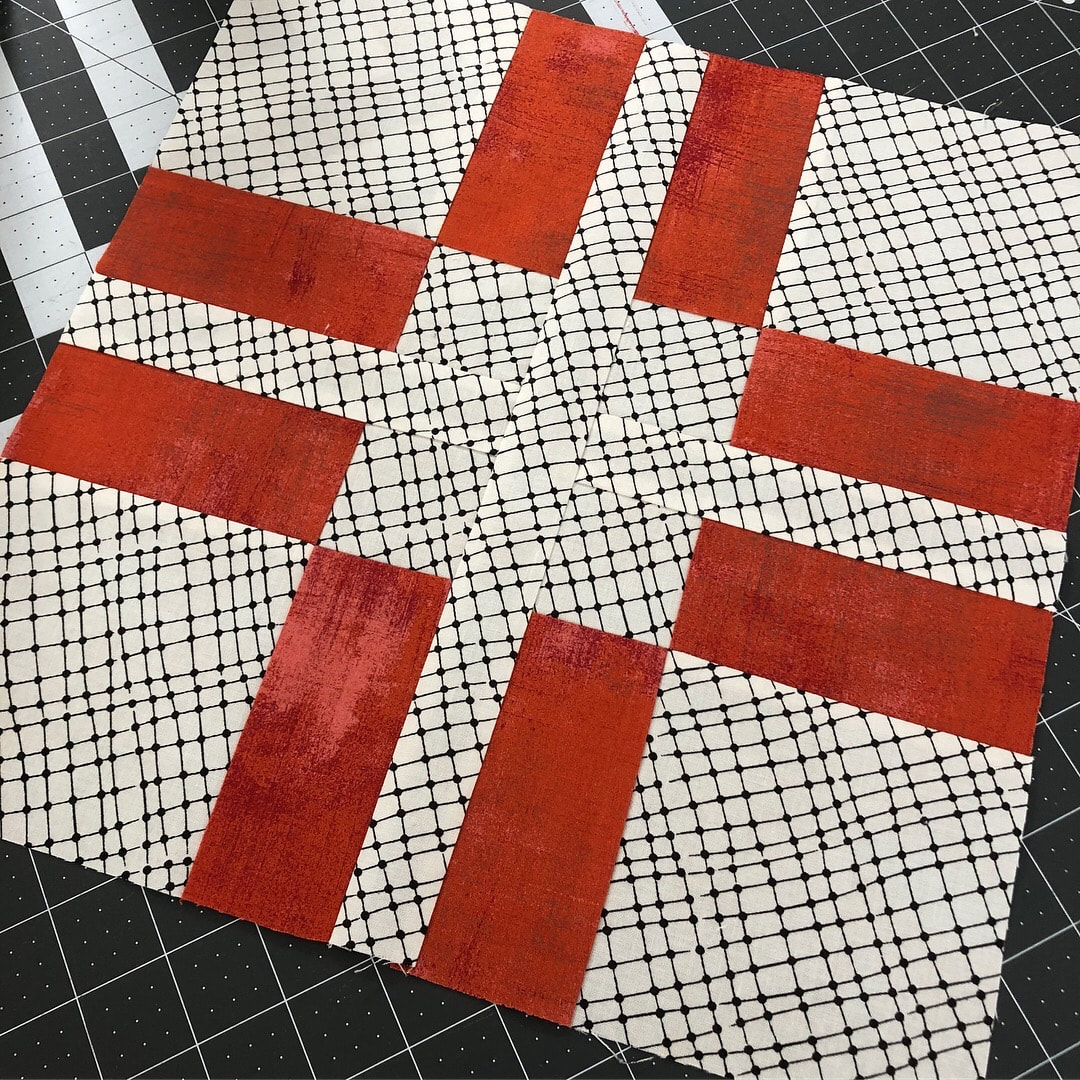
 I'm excited to announce that I will be participating with Kimberly in the Ultimate Beginner Quilt Event!! We are putting together a Start To Finish Series to help anyone who wants to learn to quilt. The Fat Quarter Shop has created 2 kits that make it very easy to start. One kit has all the fabric you need to make a BEAUTIFUL quilt, and I suggest you hop on over and purchase it, link below, because the #1 question I get from people interested in starting to quilt is " How do I figure out what fabric I need and how much to buy?" Well, this makes it simple and it's affordable. There is also a second kit with all the notions that you will need, notions is just another word for all the other "stuff" you need to sew with. Like thread, pins, rulers, etc. Oh and the best part is there is going to be a video tutorial and lots of tips to follow along, EACH step will have videos from start to finish! Then, when you are all done piecing the blocks and you are ready to turn it into an actual quilt, I get to share my videos on how to quilt on your home sewing machine, we will get to finish them together!! Please come join me, I know you want to!! :) 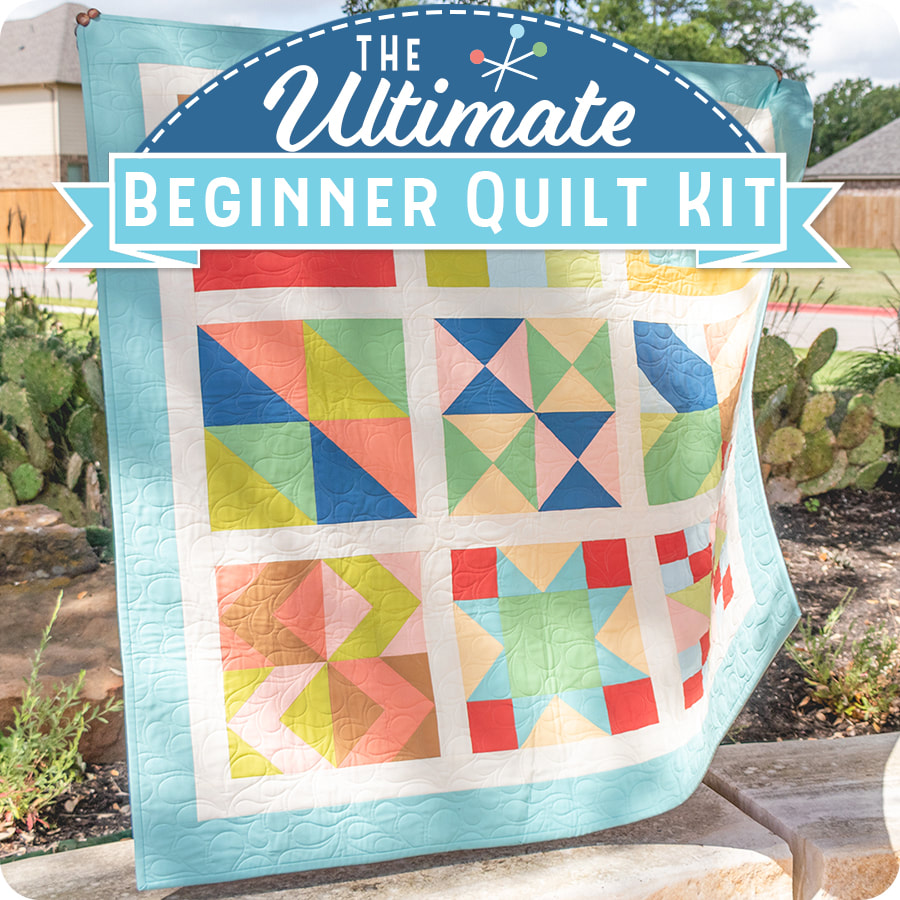 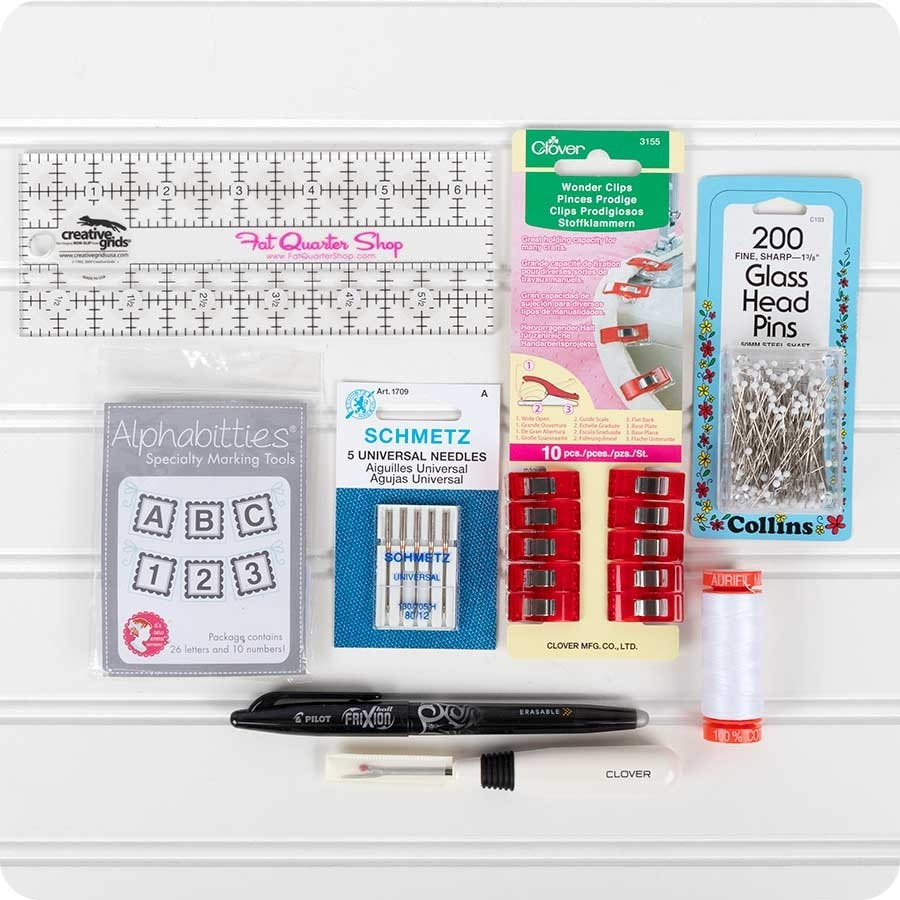 For full details and more info you can visit The Fat Quarter Shop Blog The videos will all be available on YouTube so you should Subscribe now so you don't forget and miss something! I hope to see you soon!! Thread Graffiti is all moved into the NEW studio!!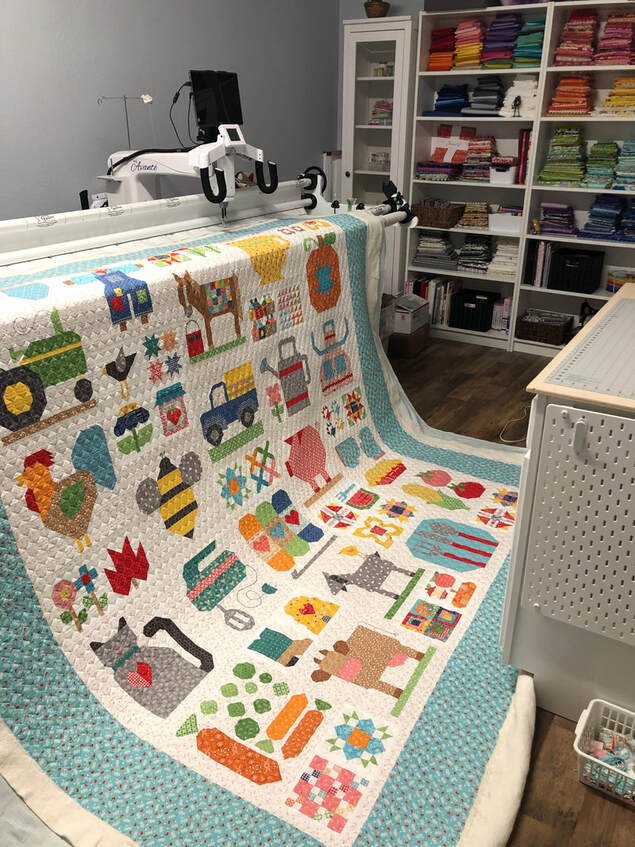 Hey Quilty Friends, it's been a busy couple months, and I have not had much time to share my journey, so lets catch up!! Sew.... we bought a new home just North of Austin Texas, in beautiful Lago Vista, we are just a short walk from our own private park on Lake Travis and we are officially done with moving boxes. We closed on our home March 1st, and for the next several weeks we had the home builder send out his crews to customize my new sewing space. We had some bumps, as many construction projects do, but we made it through them, and I am officially sewing and taking new orders! My studio is filled with IKEA furniture, and lots of natural sunlight! My hubby hung curtains, and peg board & dry erase boards, my son helped me put together endless shelves to store my fabric, and I painted cabinets! It was a team effort for a few weeks, and gosh my back hurt and my head throbbed, but it's DONE. The batting has been delivered, and new clients have already stopped by to drop off beautiful projects. I even had friends from Montana stop by :) I got to do some super secret sewing for The Fat Quarter Shop, and well, lets just say, some Lori Holt creations may or may not have been in my room. There are so many projects I can't share yet, but I have a few that you might like to see. Wanna see my room? Ok, so I still need to hang some new fun things on my walls and add a few personal touches, but the big stuff is done! You wanna see the down and dirty ones from the messy part, well sure you do!! Oh gosh y'all, it was a such a mess! LOL So I decided we should celebrate the new room, and give YOU some freebies!! That means, I will be offering one FREE pantograph for the first quilt you send to me for long arm service. So if you have seen some really awesome pantos out there lately, you just tell me what you'd like, and I will do my best to get the panto for you, then we can finish your quilt together! You still have to pay for the long arm service of course, but you get to pick the edge to edge design from Urban Elements!! So click those green letters you just passed up, pick out your favorite panto, let me know when you ship me your quilt, and lets have some fun!! Oh wait... I almost forgot. Now that the cat is out of the bag and you already saw my Lori Holt Farm Girl 2 Sampler pictures, I can totally encourage you to go buy the book. This quilt is soooo fabulous! I mean really fun, and you totally need to add it to your list!! Here's the link, just in case you'd like to check it out.... Lori Holt Farm Girl Vintage 2 Quilt Kit Thanks for checking out my new sewing room, feel free to stop by if you are in the area, just text me and let me know first, so we can make sure I'm not sewing in my pj's (it happens LOL) Or, if you are not in the area, I would love for you to mail your quilts and trust me with your creations! Visit my Long Arm Quilting tab here on my website for more info...
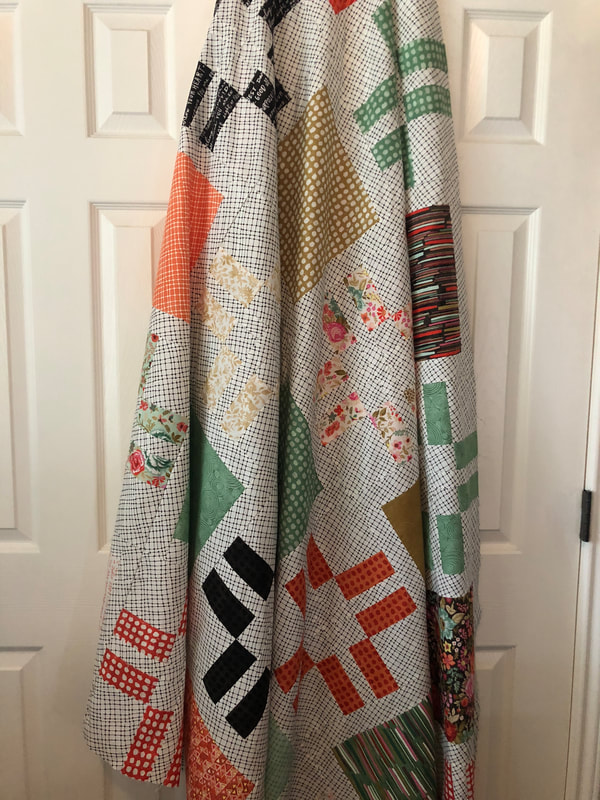
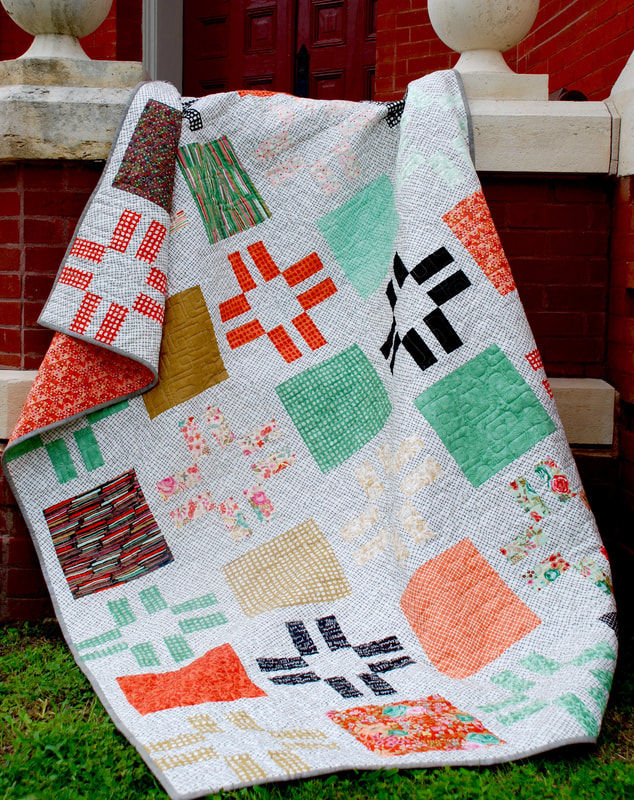
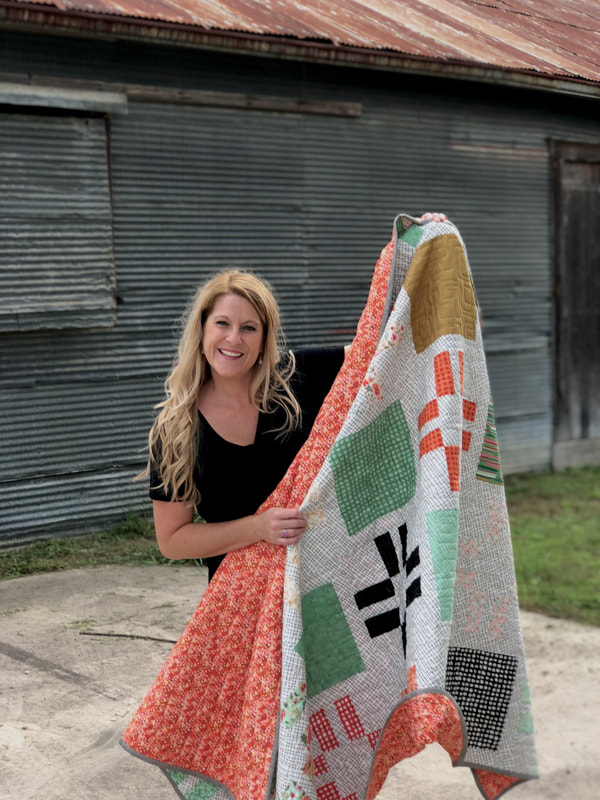
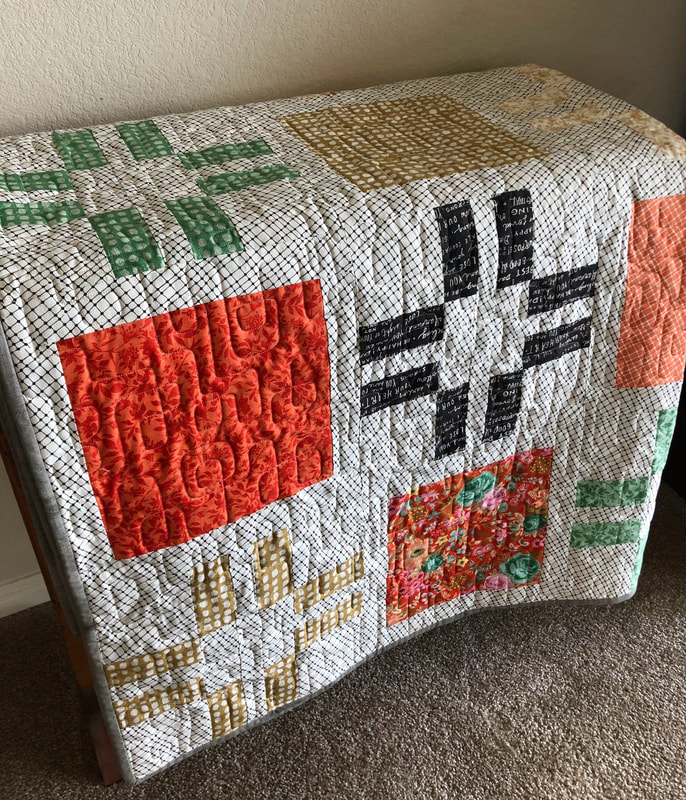
Happy Sewing Y'all! Thanks for all who have supported my journey! Gina Tell  In honor of Worldwide Quilting Day my friends at The Fat Quarter Shop asked me to do some long arm quilting on a very FUN & FREE pattern to celebrate, so of course I need to share the love and all the details with all my quilty friends!! **Here's the FREE Pattern to give to you to commemorate our favorite day of the year. The pattern is called the Piece, Love & Quilting Quiltand we made our versions using Bella Solids by Moda Fabrics. We also have kits for the Mini Piece Love & Quilting Quilt (top) and the Lap Piece Love & Quilting Quilt (bottom) to help you make Piece, Love & Quilting quilts like ours (picture below)! AND.... In addition to the free pattern, The Fat Quarter Shop is also launching a Quilting Day CONTEST! They want to see your version of the Piece, Love & Quilting pattern! 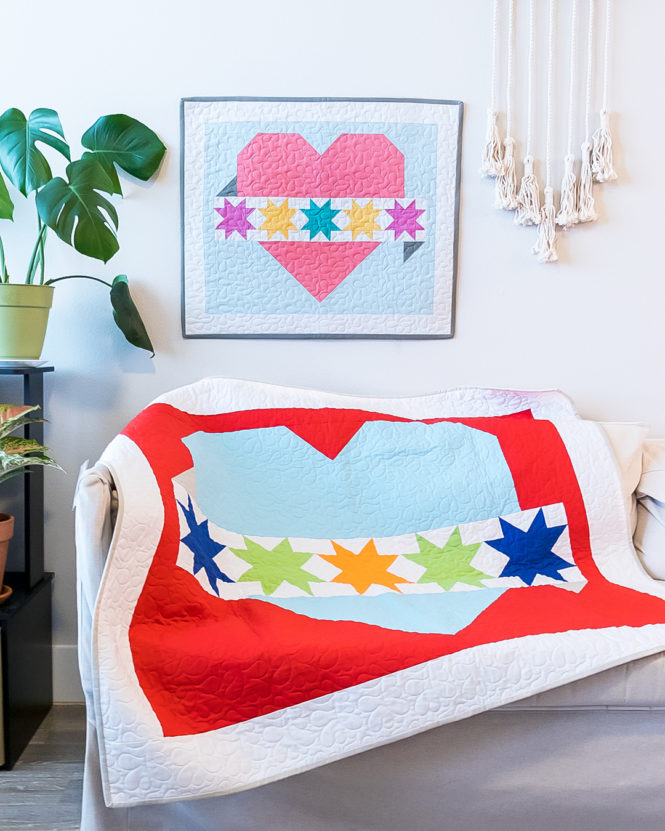 How to Participate: ANYONE is eligible to participate in this contest! All you need is the FREE Piece, Love & Quilting Pattern and some fabric and you’re ready to go! The challenge will run from today, March 16, 2019, to Sunday, March 31, 2019. The wall hanging finishes at 22.5″ x 26.5″ and you can leave as a wall hanging or take a creative spin and turn it into any project you’d like! How to Submit: Your Project PhotosYou will need to have your Piece, Love & Quilting project made, photographed and uploaded to this Dropbox by noon (12PM) CST on Sunday, March 31 to be eligible to participate. The linkwill expire at 12PM CST on Sunday, March 31, 2019. Click the link below for the full details on The Fat Quarter Shop Blog!
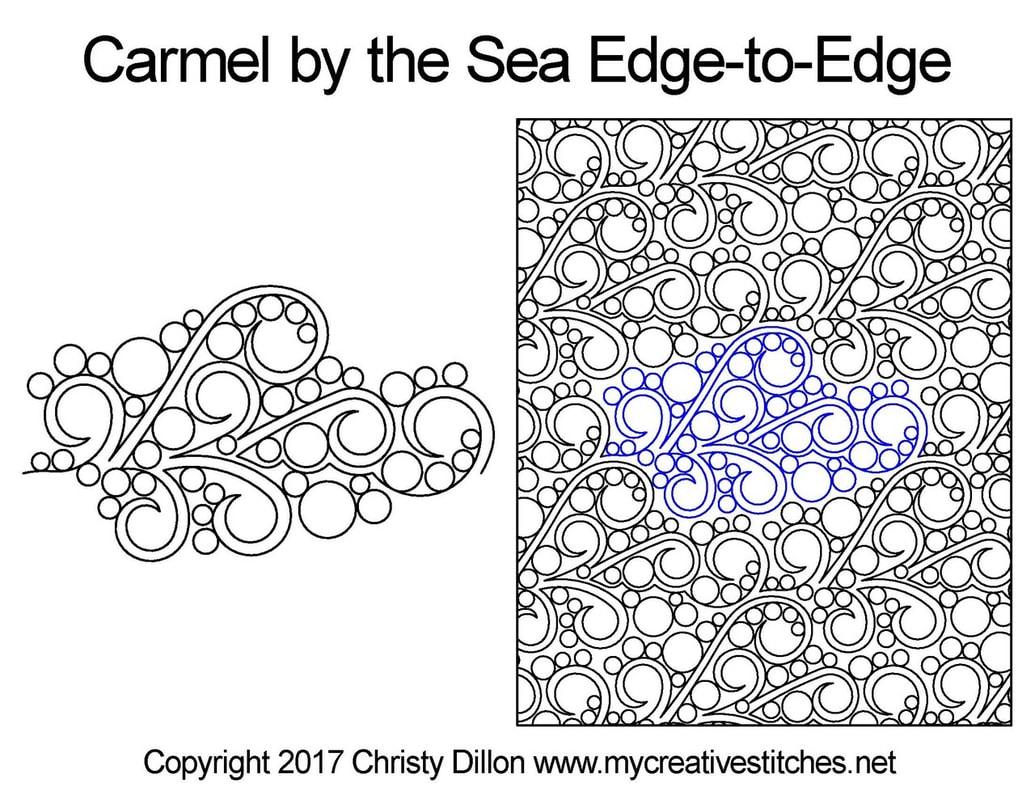
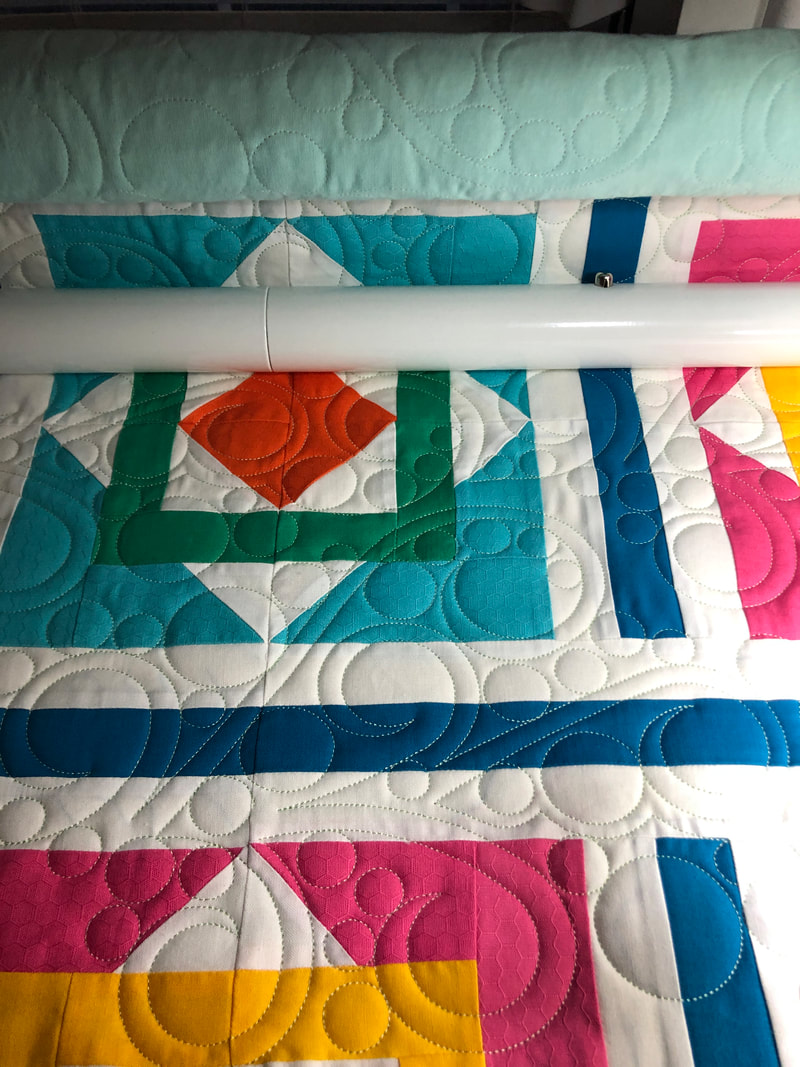
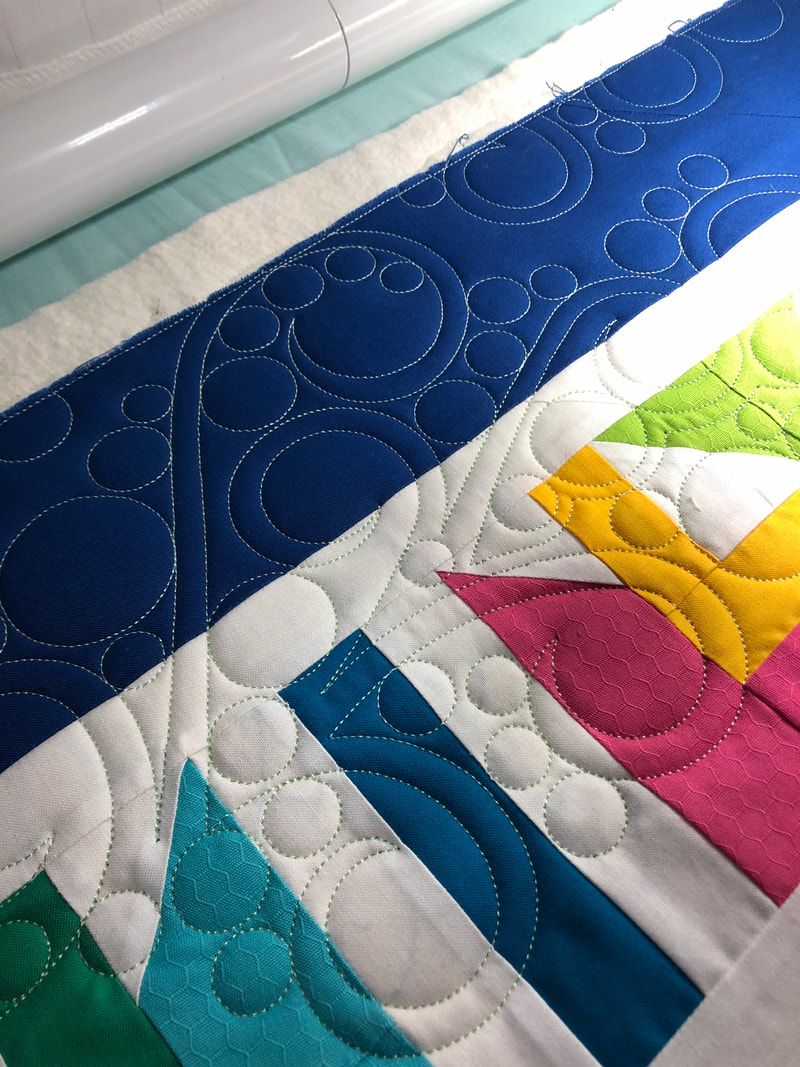
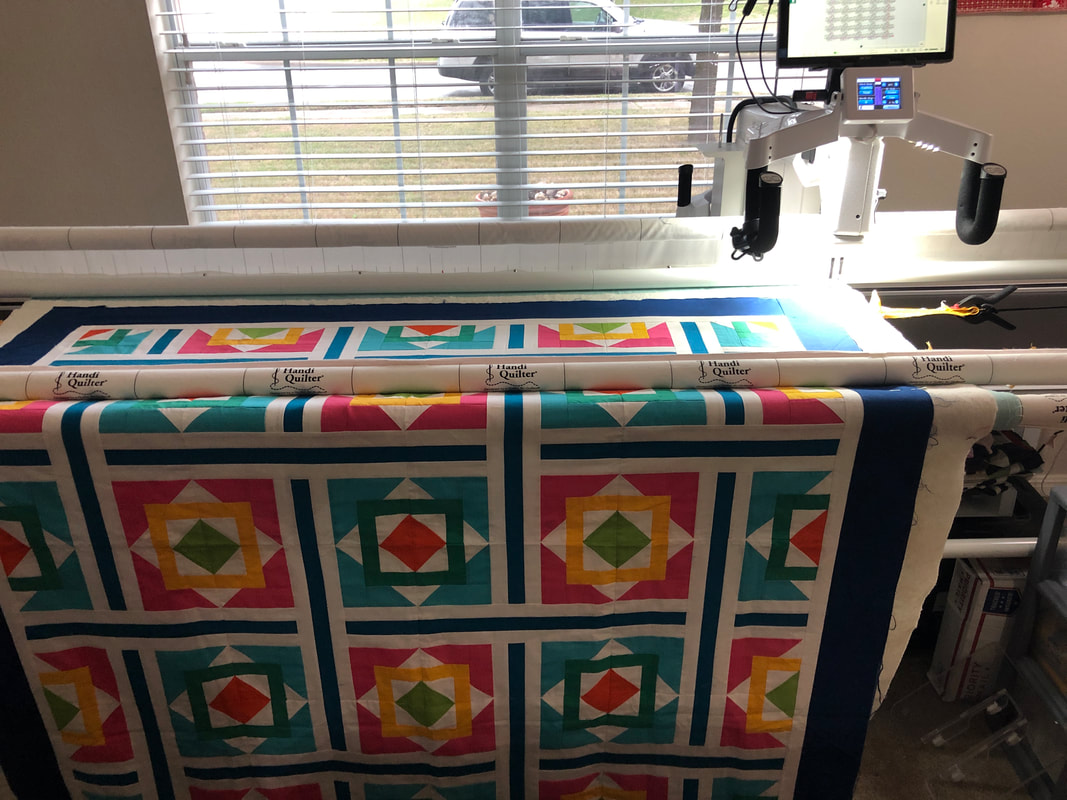
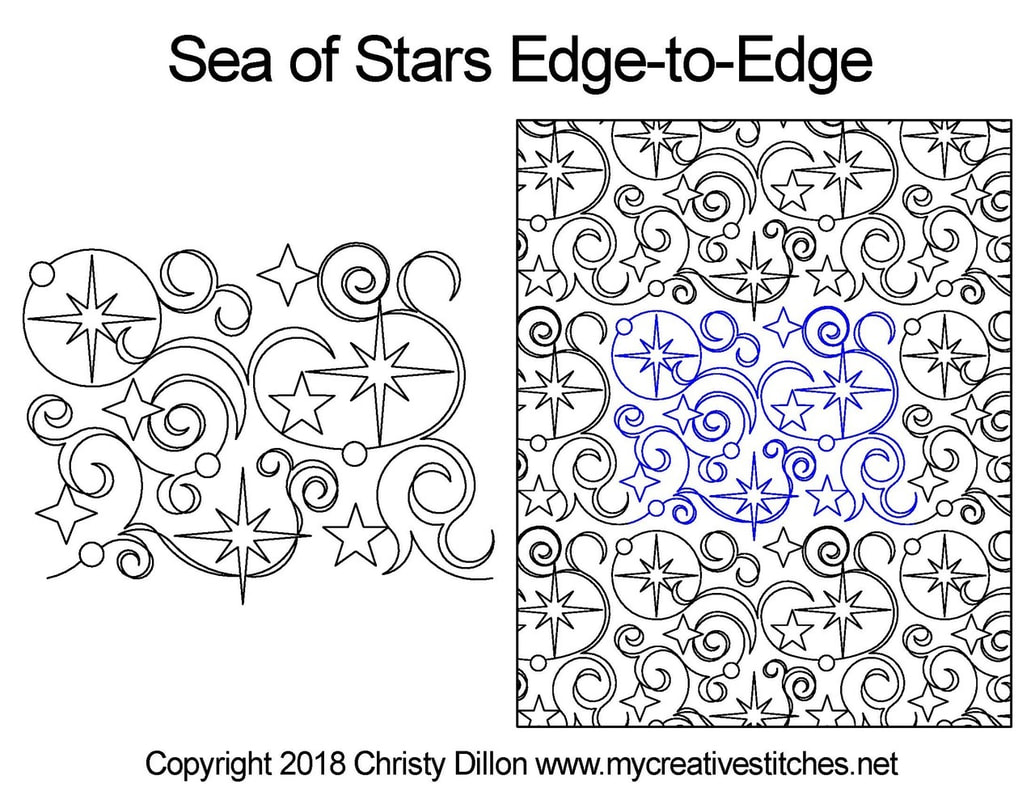
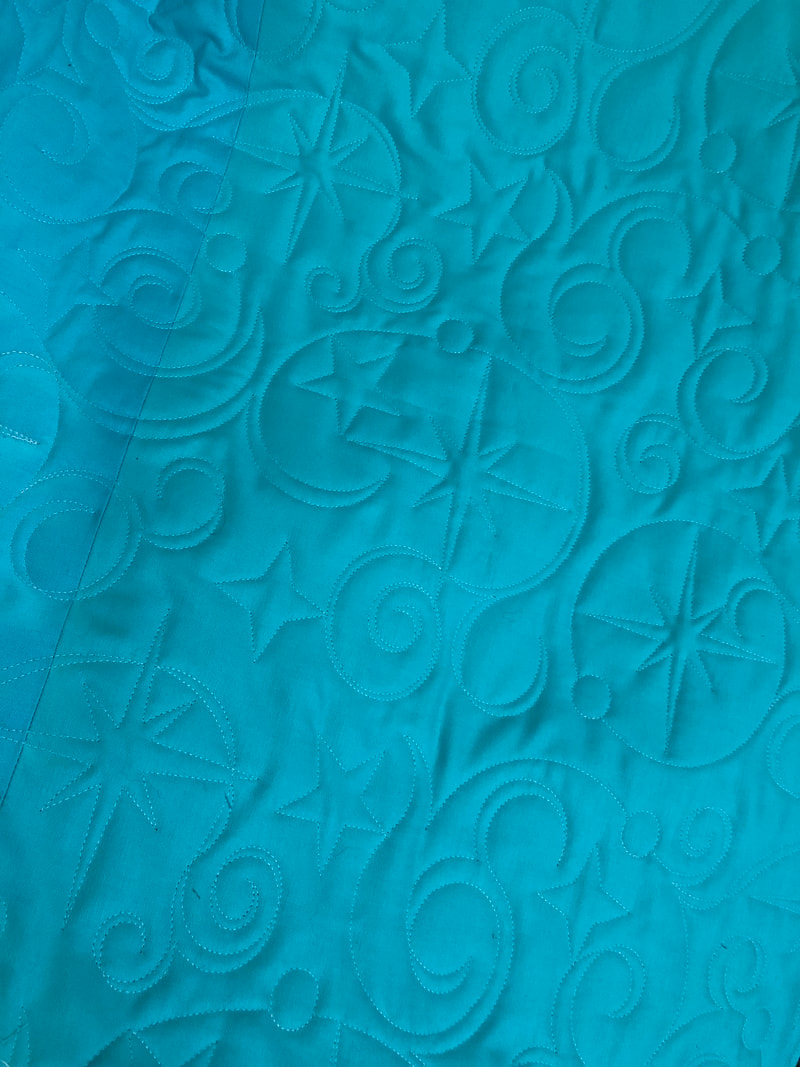
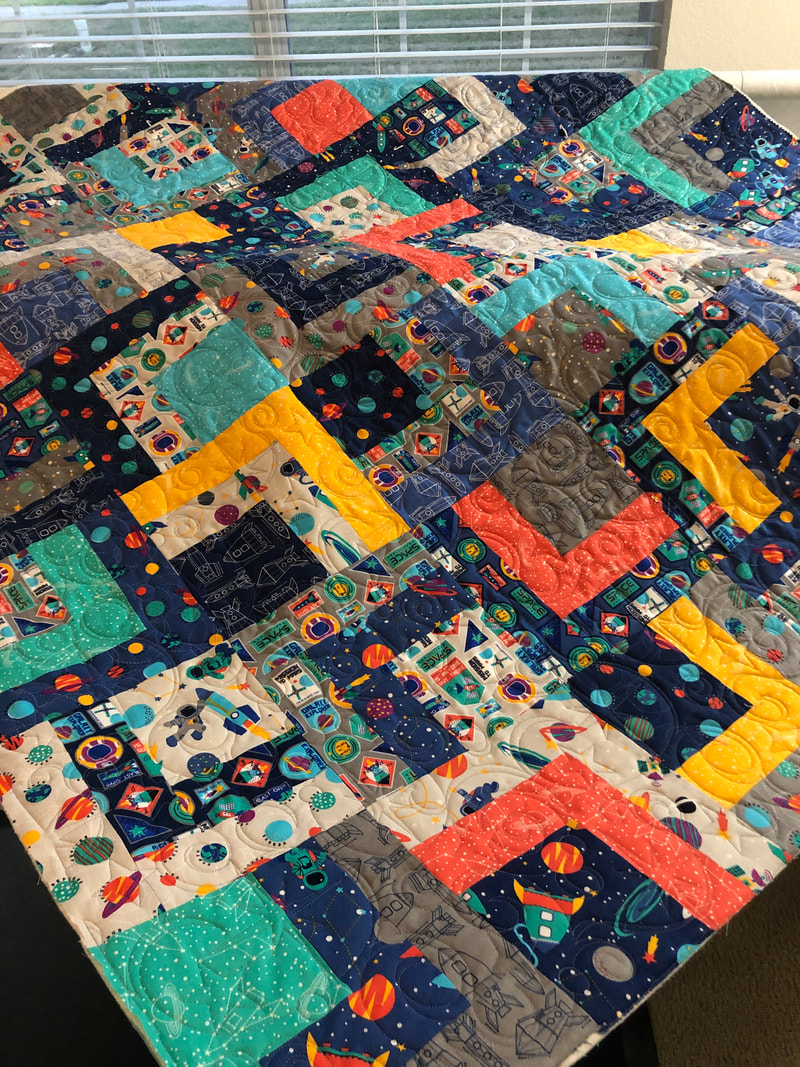
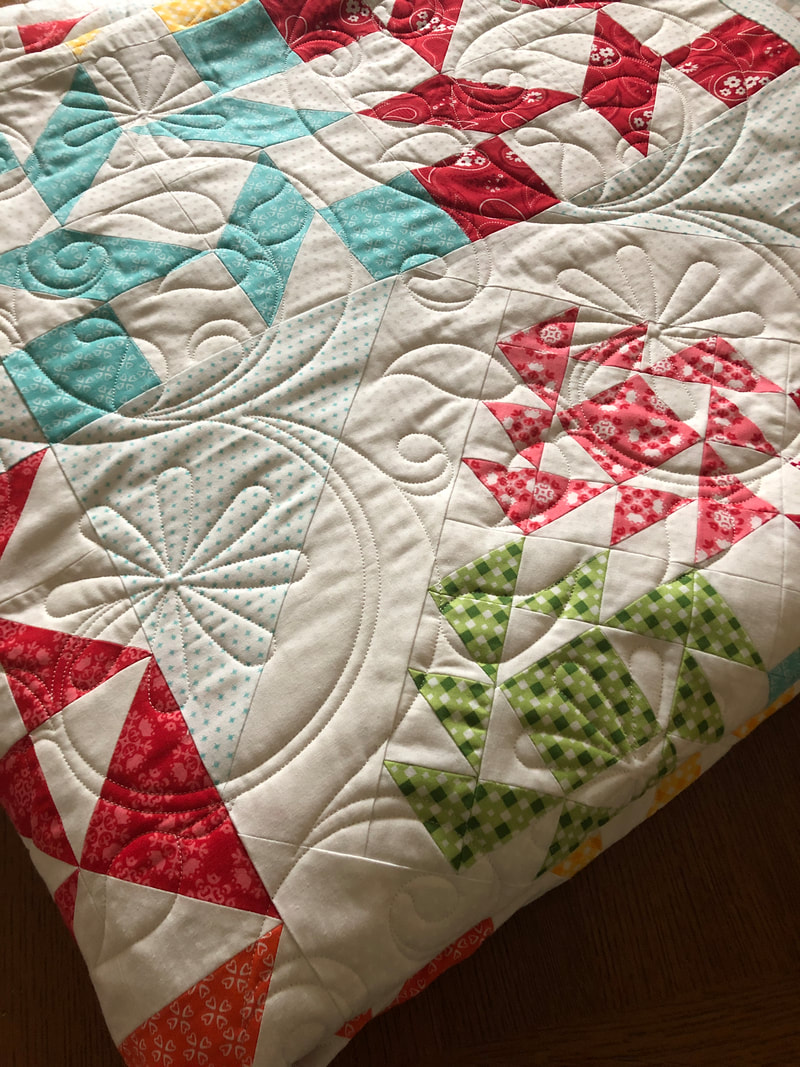
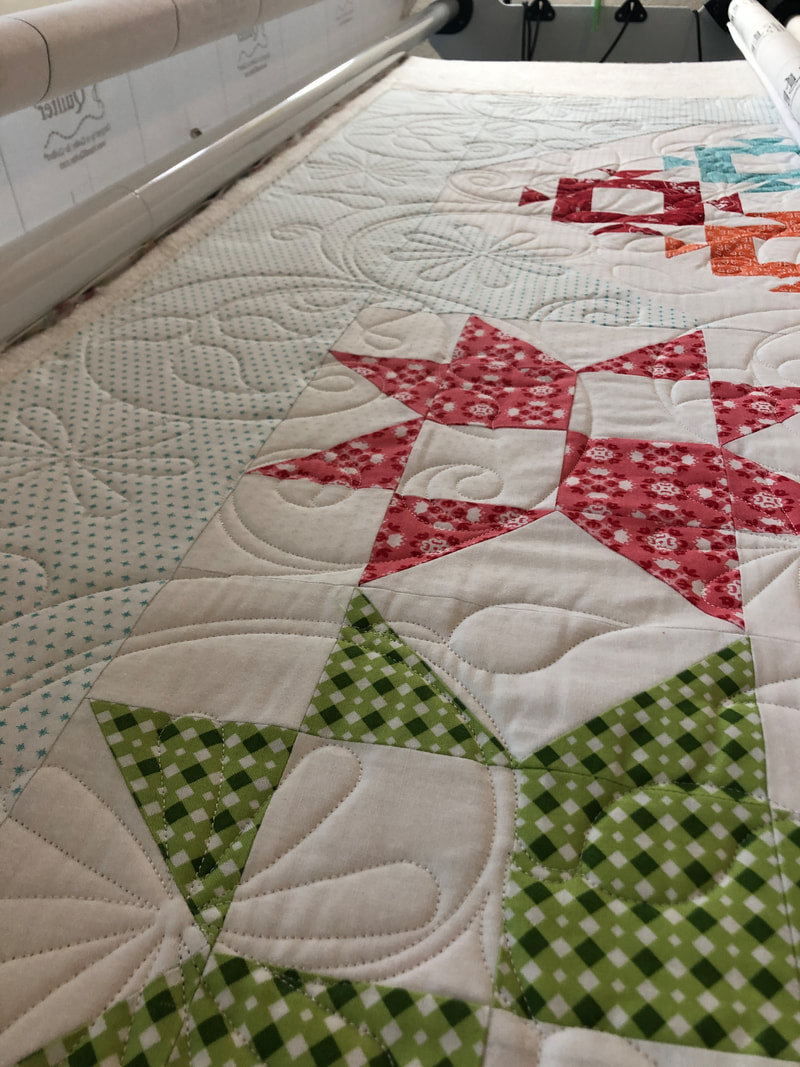
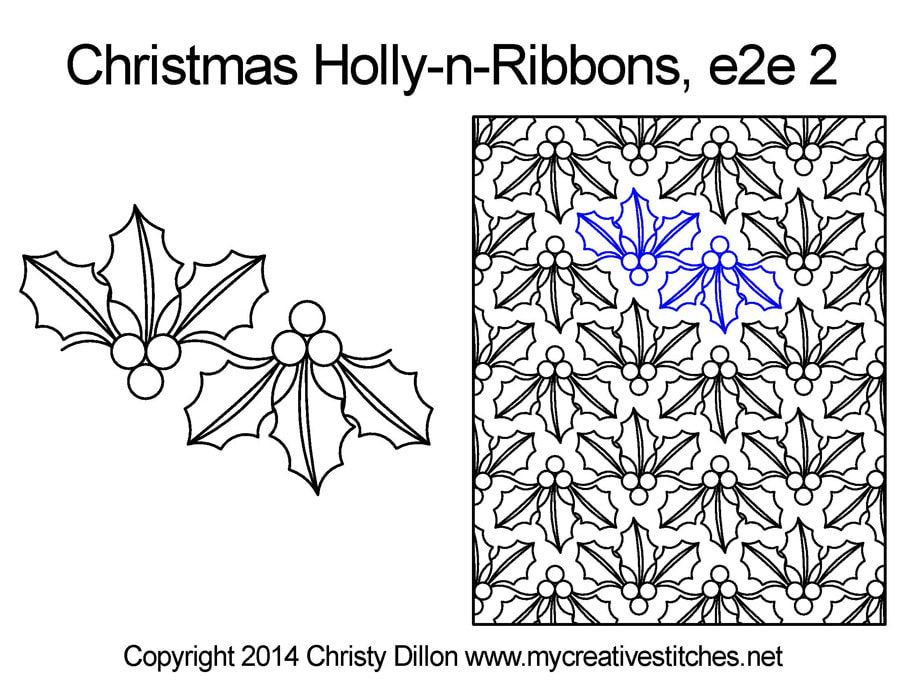
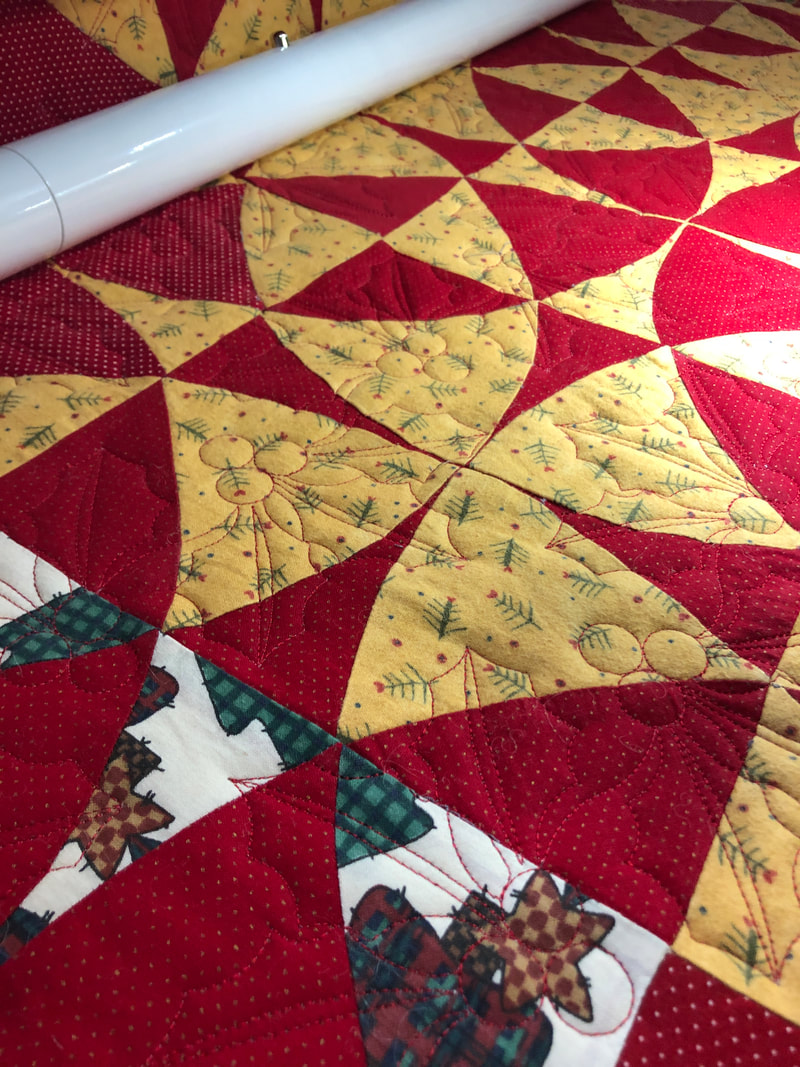
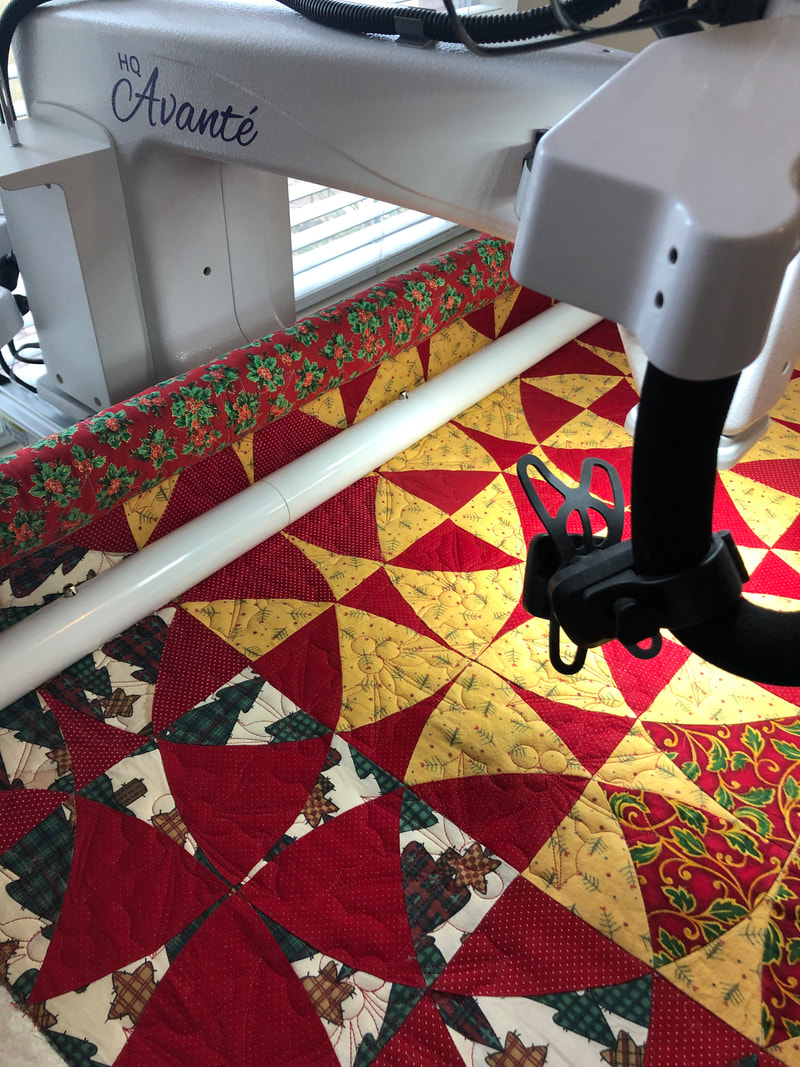
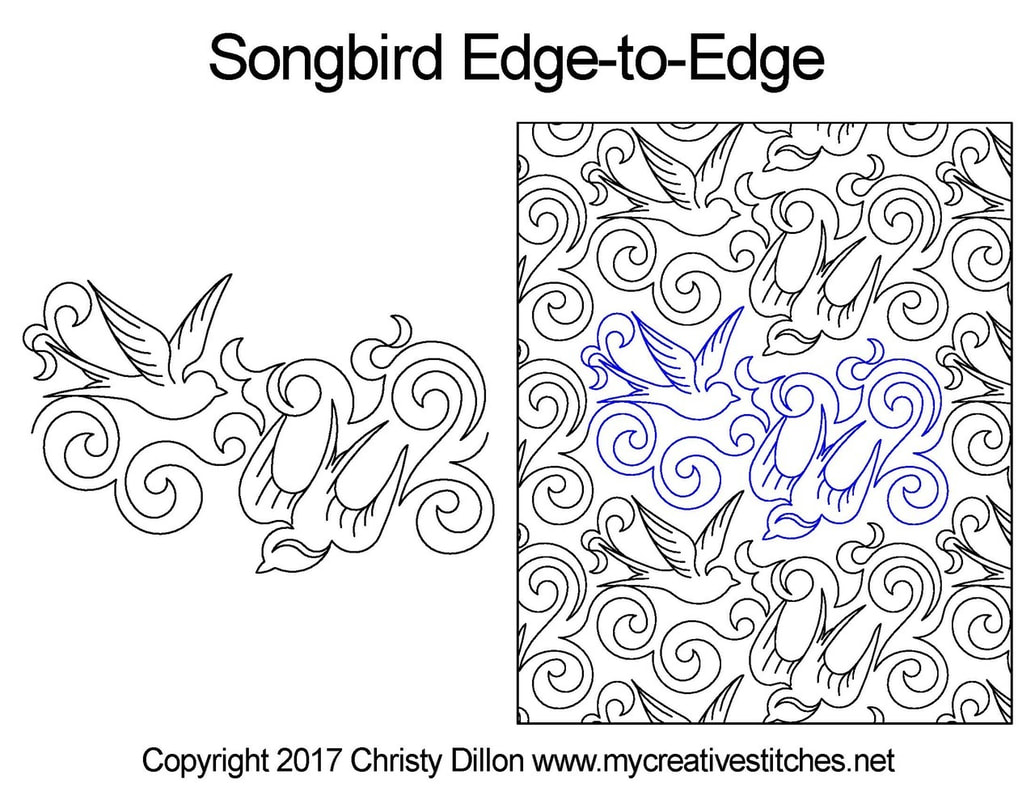
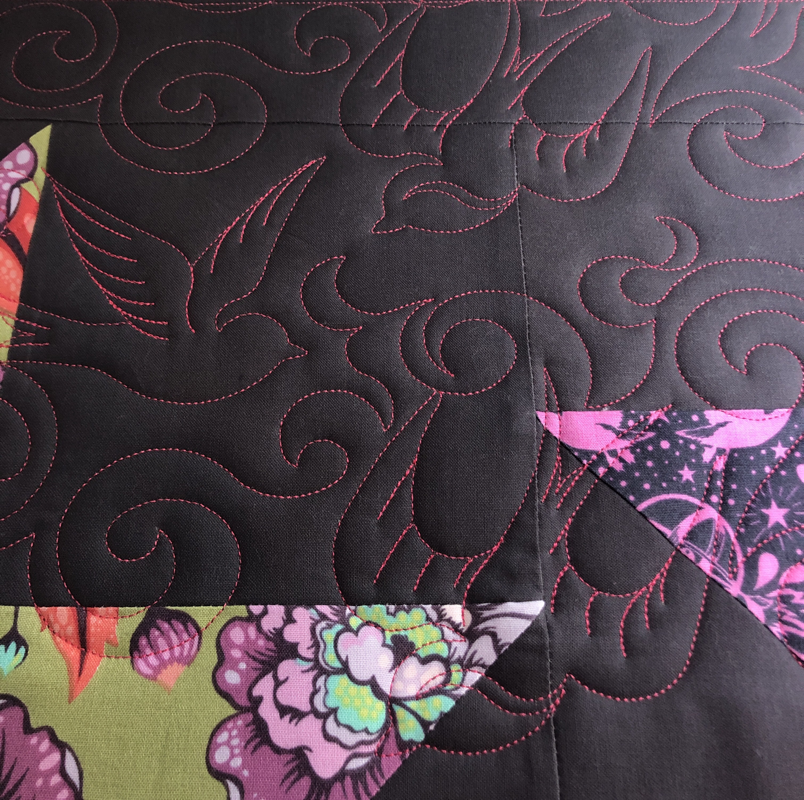
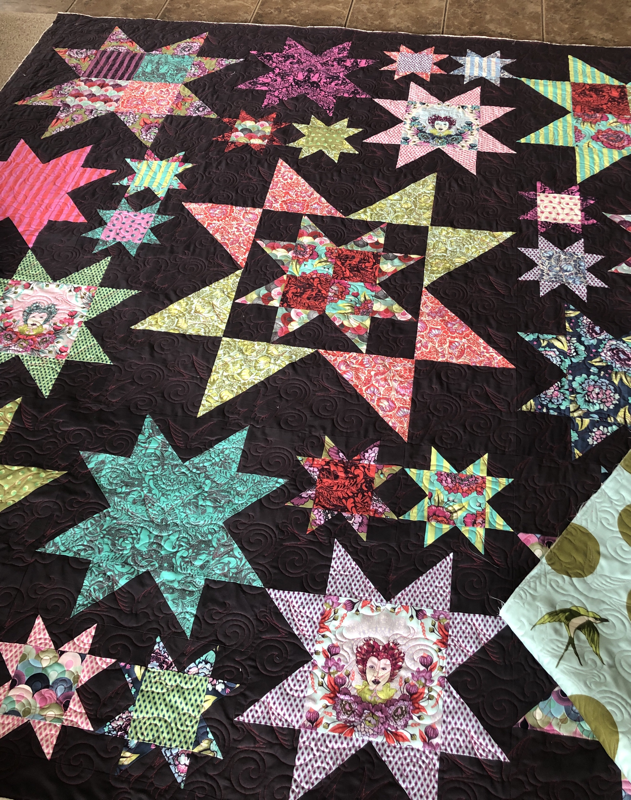
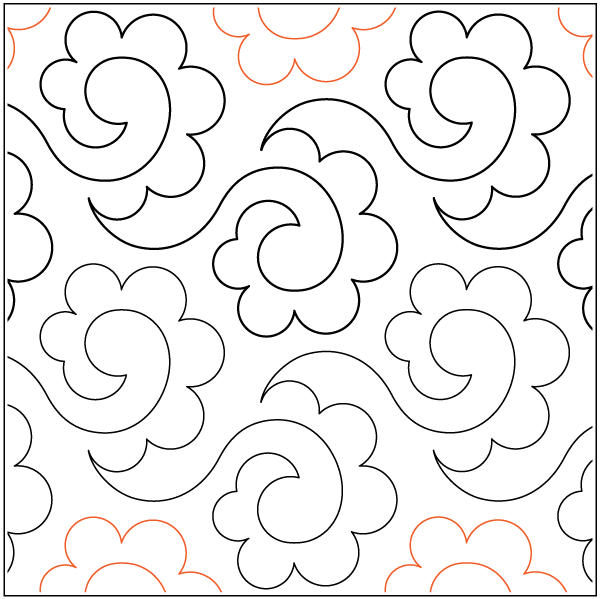
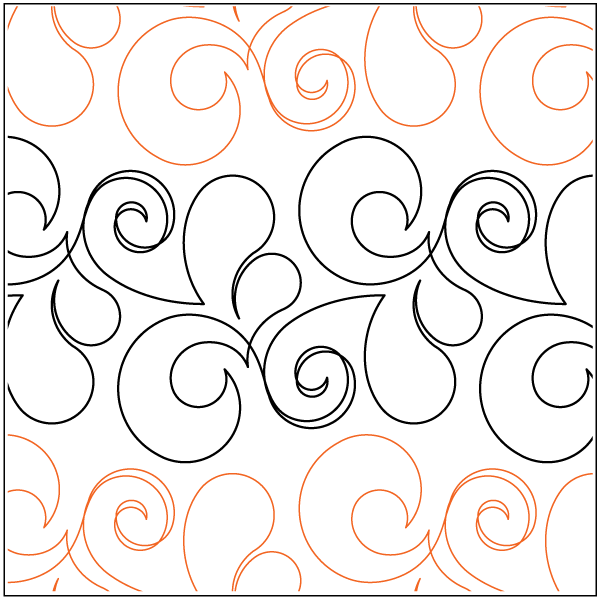
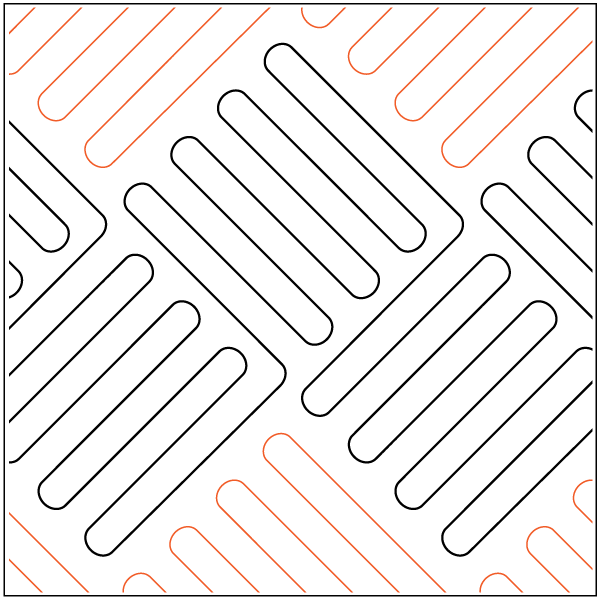
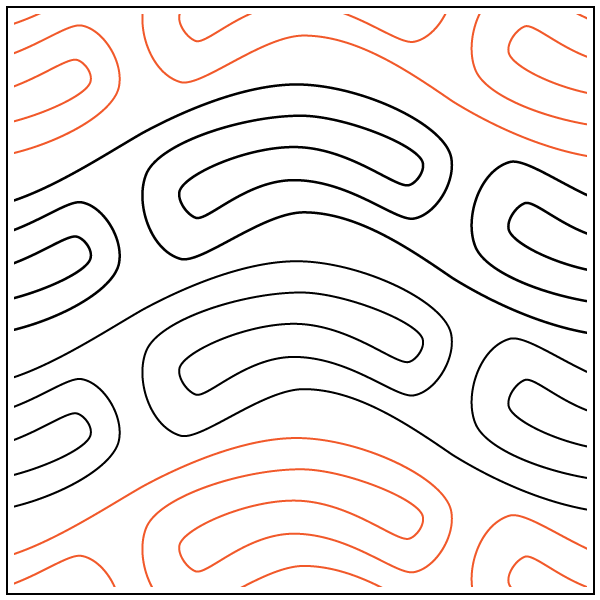
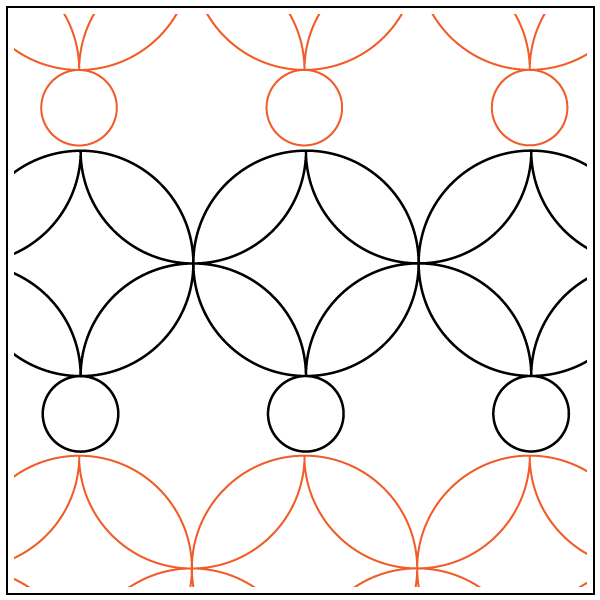
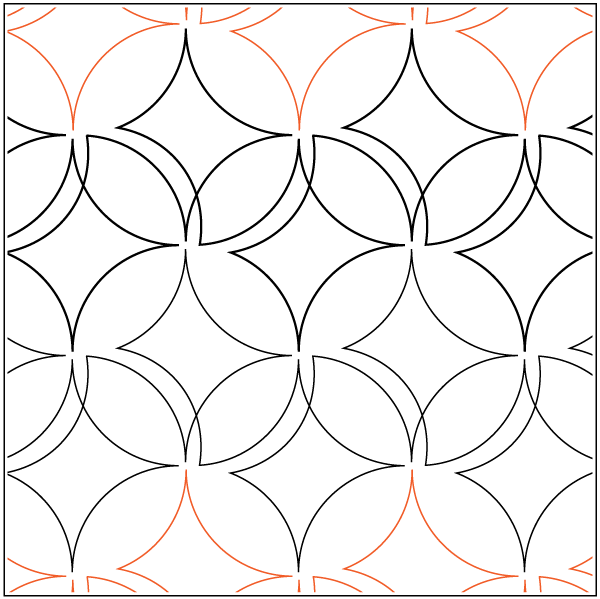
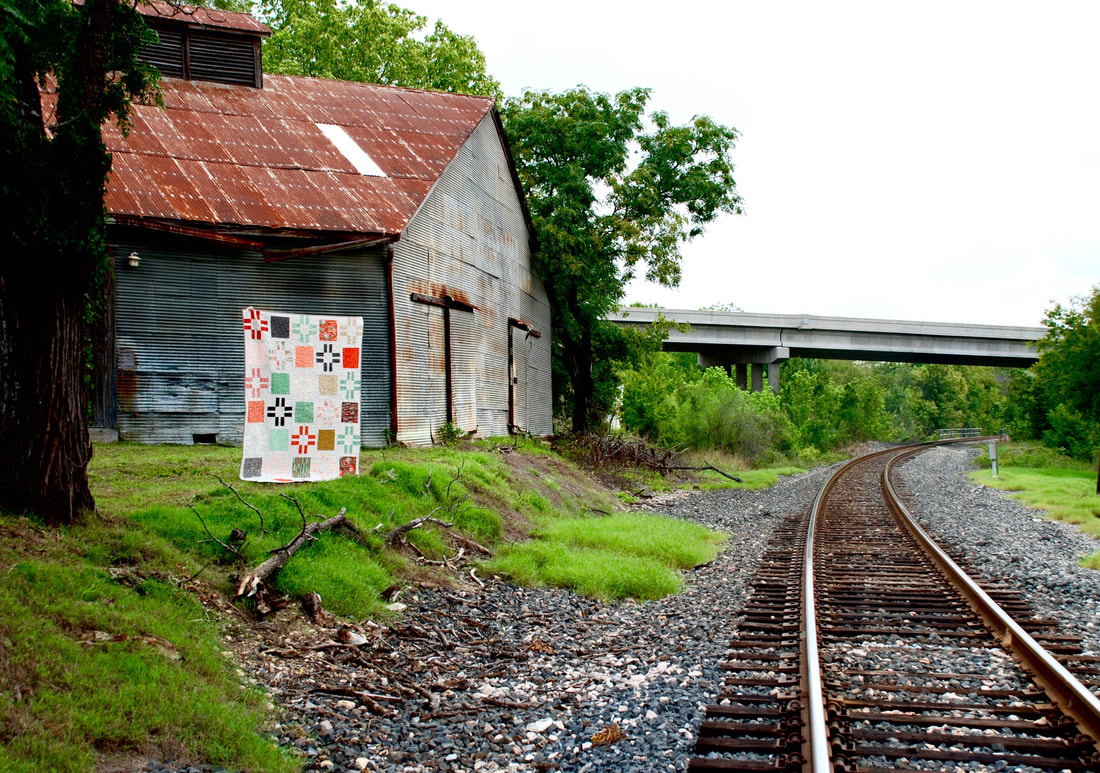
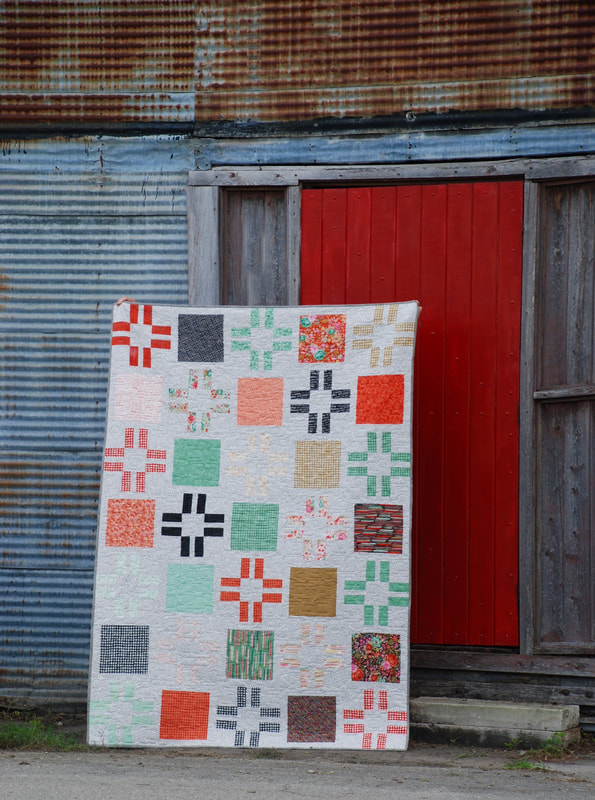
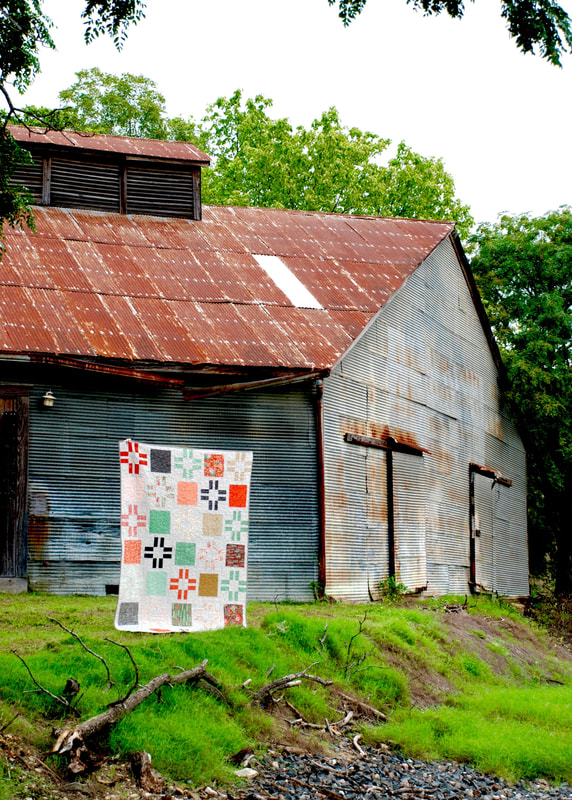
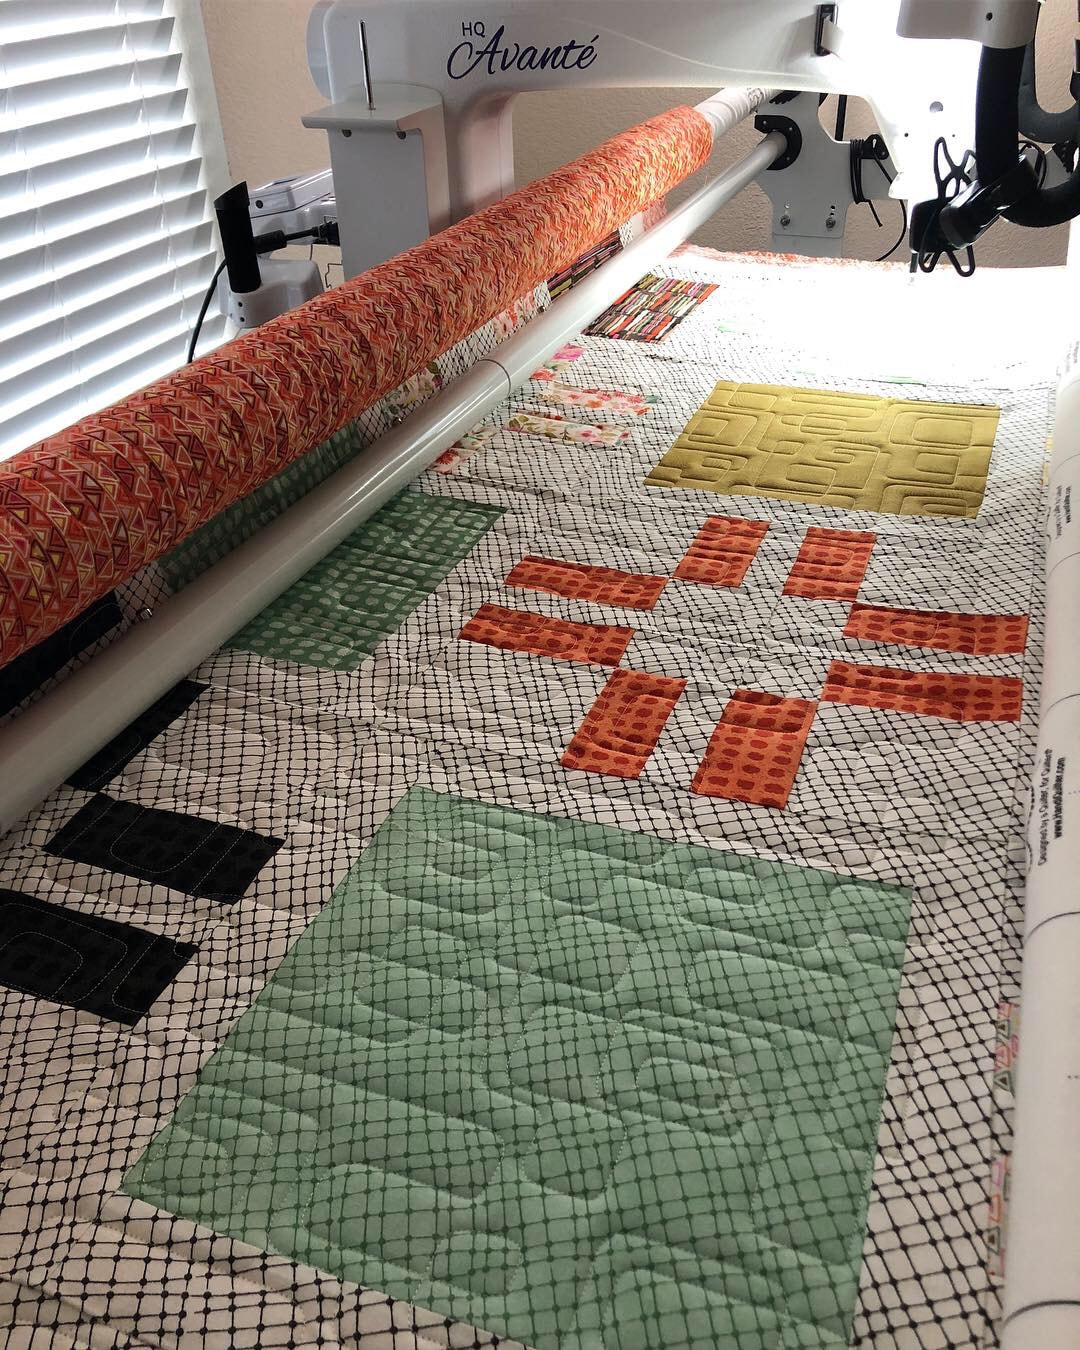
Here's the LINK :) Have Fun, I can't wait to see all your creations! Hey y’all, we have been knee deep in packing boxes, tape, and ibuprofen lol! We bought a new home in Lago Vista, you’ll soon be able to find me in the North portion of Austin Texas, right on Lake Travis! It’s a beautiful area, and I hope you’ll stop by and visit when my new shop is done if you are local! But, in the meantime, I’ll have to take a little break from sewing 🙁 I can’t wait to show ya my new sewing room though, so I hope you’ll stick around for some great giveaways to celebrate the new location! I’ll be in touch soon..... 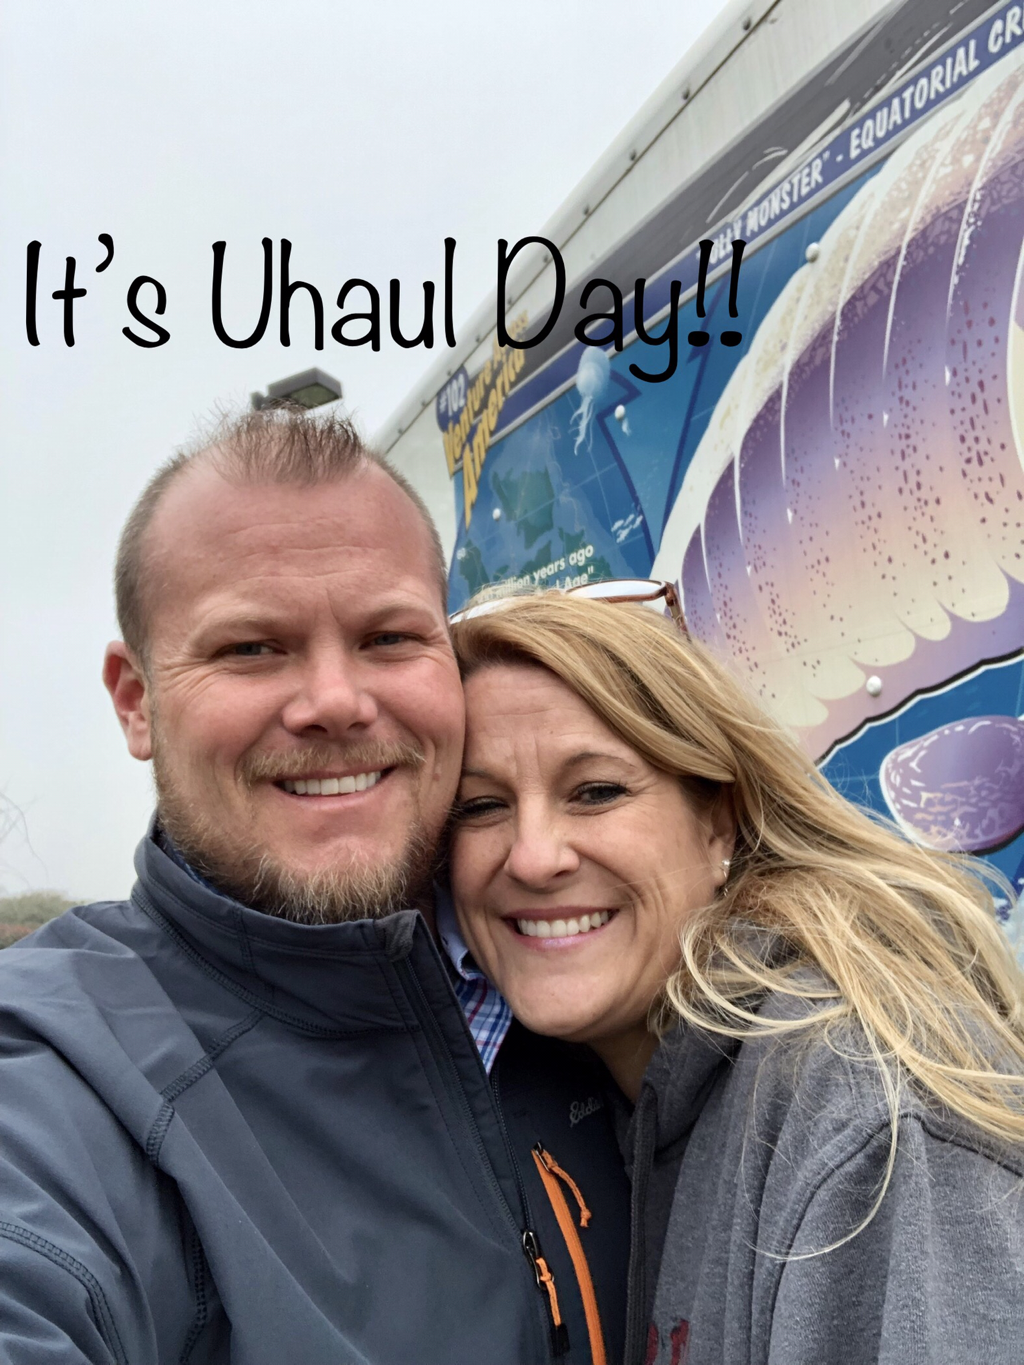 We now offer Edge to Edge Quilting and we are having so much fun around here!!I thought I'd share a few of the new pantographs that I have available and let you see a few pictures of them in action! I still offer custom quilting, and I will always love the personalized touch it gives a beautiful quilt, but I have to admit, the edge to edge panto's are really fabulous! I stock the following digital pantos by My Creative Stitches: Caramel by the Sea Holly-n-Ribbons Moon and Flowers Songbird Sea of Stars But.... you can visit mycreativestitches.com and look through more designs and let me know what I can stock just for you! I stock the following Urban Elements digital pantos: Abacus African Heat Wave Beaded Orange Peel Cute Curls Easy Orange Peel Exquisite Fronds You can also visit Urban Elementz and look around, if you'd like me to stock a design just for you, let me know! Computerized Long Arm Quilting Service Coming soon!! I am so excited to announce that I have finally upgraded my Handi Quilter Long Arm machine, and I will soon be able to provide computerized long arm quilting service!!! This means in addition to my custom long arm service, you will be able pick a computerized design and I will be able to pass on great pricing to you! This is so awesome!! I will be doing to some training with Handi Quilter experts over the next several weeks to make sure I can provide great designs with fast turn around times!! 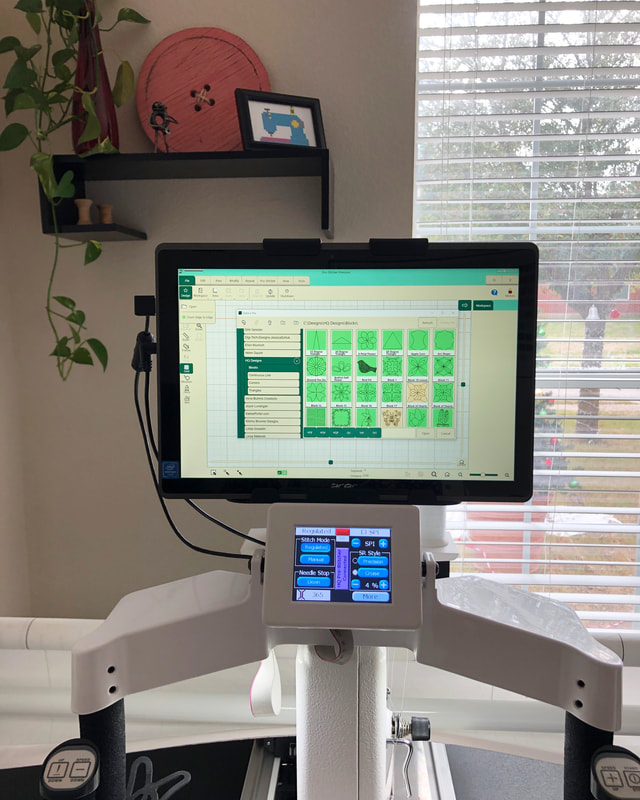 As soon as I am ready I will be offering my first 5 clients HUGE DISCOUNTS!! Make sure you click below to follow me on social media so you don't miss out on my FREE GIVEAWAYS coming soon.... Happy New Year - 2019 is going to be GREAT!!!It's Perfect 10 time over at Fat Quarter Shop again, and it's finally time to show you the full completed Sampler Quilt! Woo Hoo!! Over the last several weeks we have been making blocks from the Perfect Ten book to put together this sampler quilt. So that means if you buy the book, and the perfect 10 ruler that goes with the book, you'll get to make 16 different quilts, PLUS this one! 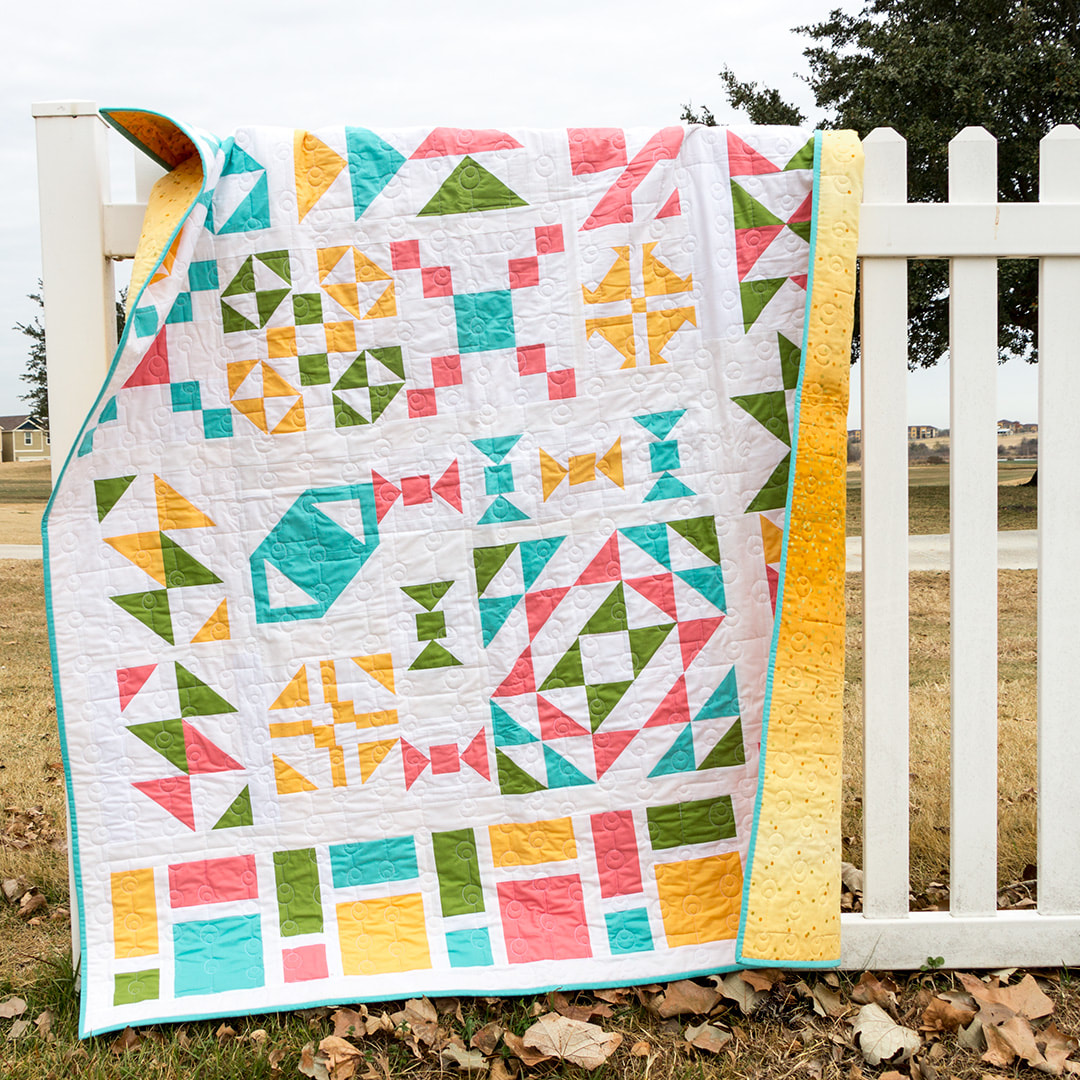 I'm pretty excited, because I was asked to be a sewer for the book, so the blocks in the book were made by me, and now I finally get to show you my Bella Beauties in a completed quilt!! 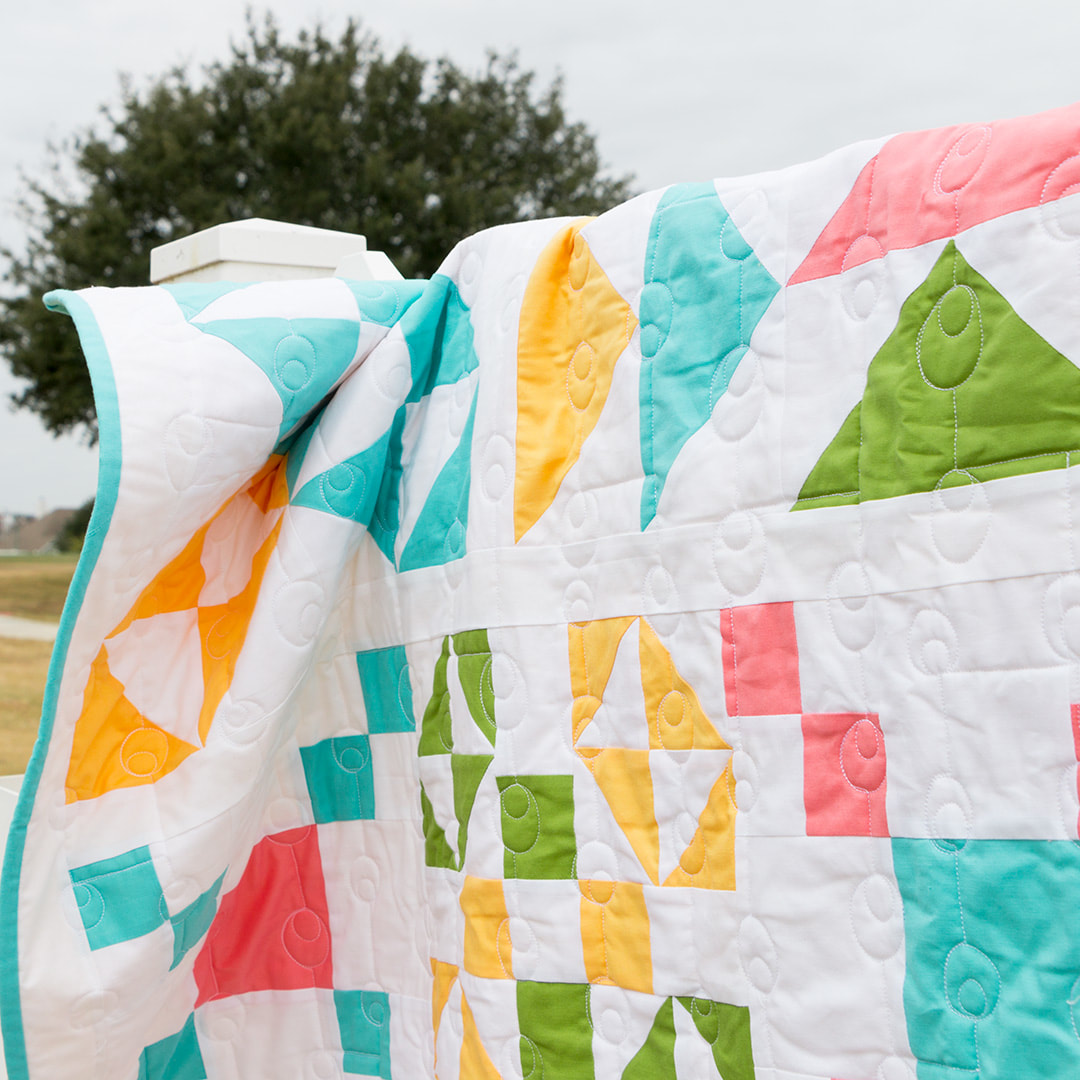 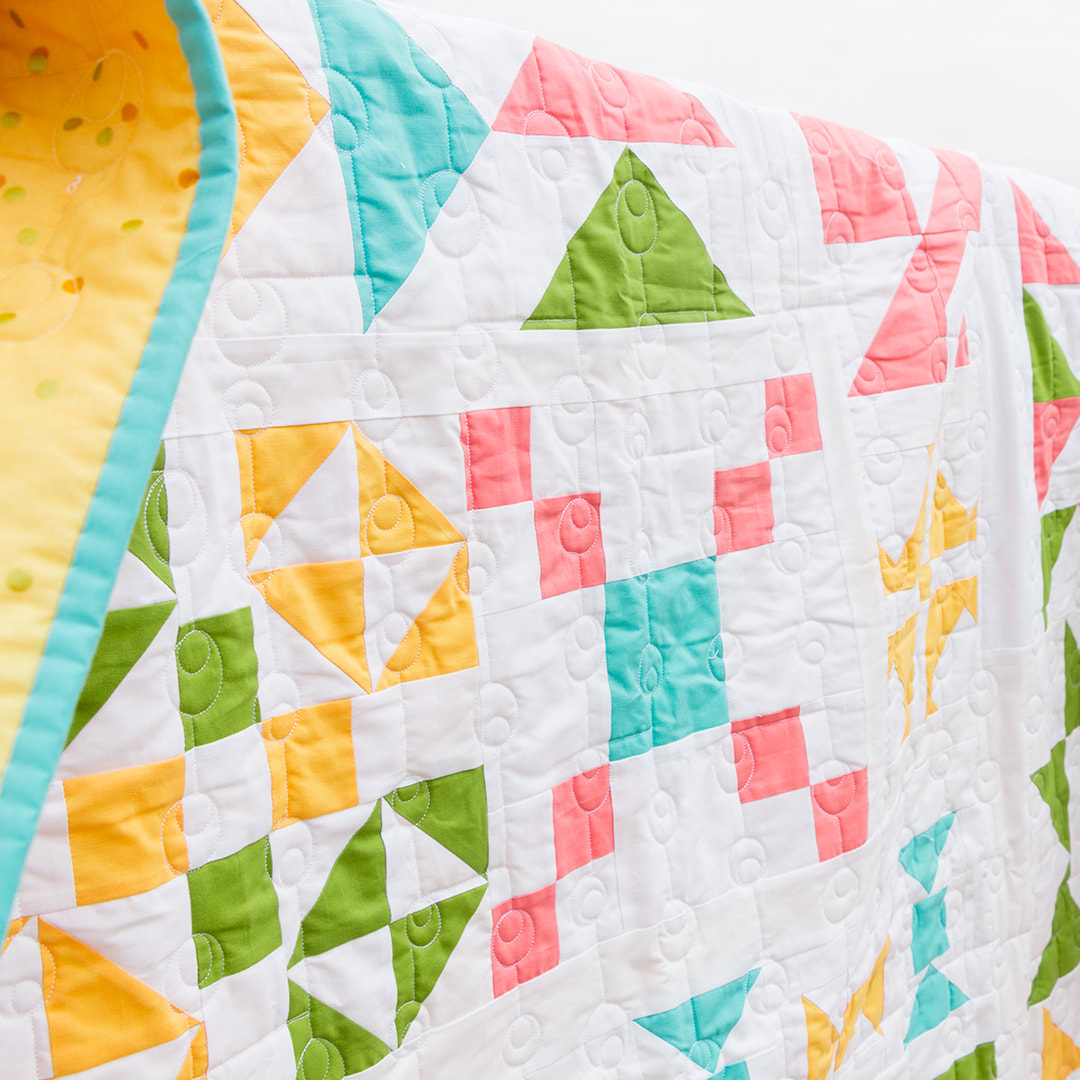 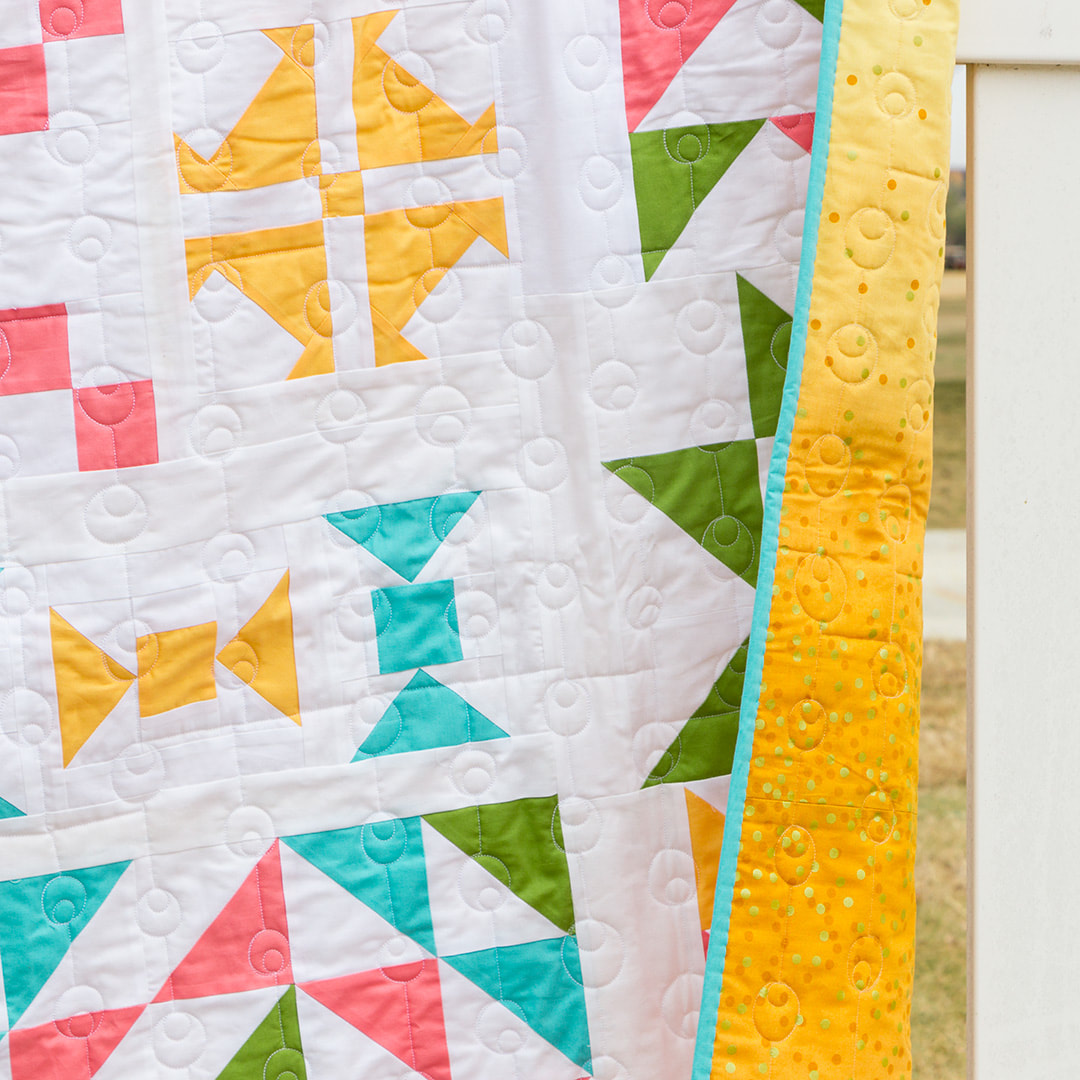 Since I am also a long arm quilter, I got to have some fun with circles for this one! All my circles here were quilted on my Handi Quilter Long Arm and they were all done freehand, so no pattern was followed. I thought it looked great with the Ombre Confetti Metallic by V & C backing fabric, this quilt is just so innocent and fun, don't you think!! If you'd like to use some of the Bella Solids that I used, here are the links... Pink Bella Solid Tea Rose Yellow Bella Solid Goldenrod Geen Bella Solid Leaf Blue Bella Solid Seafoam Background Bella Solid White 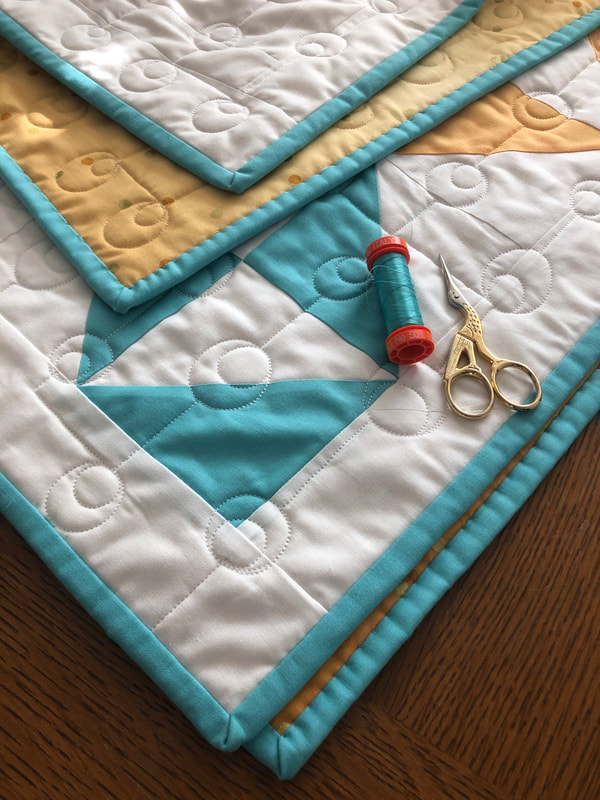 These blocks are really fast and fun, you could likely get these sampler blocks done in a weekend, if you set your mind to it. I hope you'll try it!! 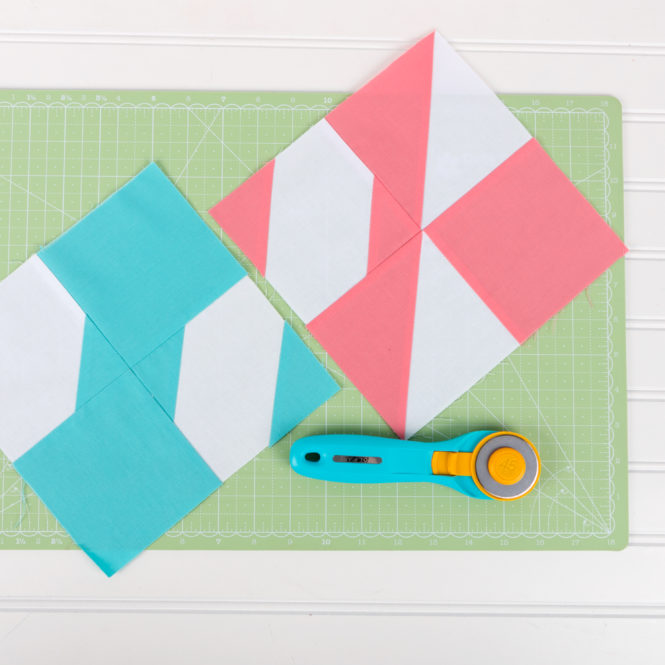 Week 1 - Banana Block and Birthday Cake Block 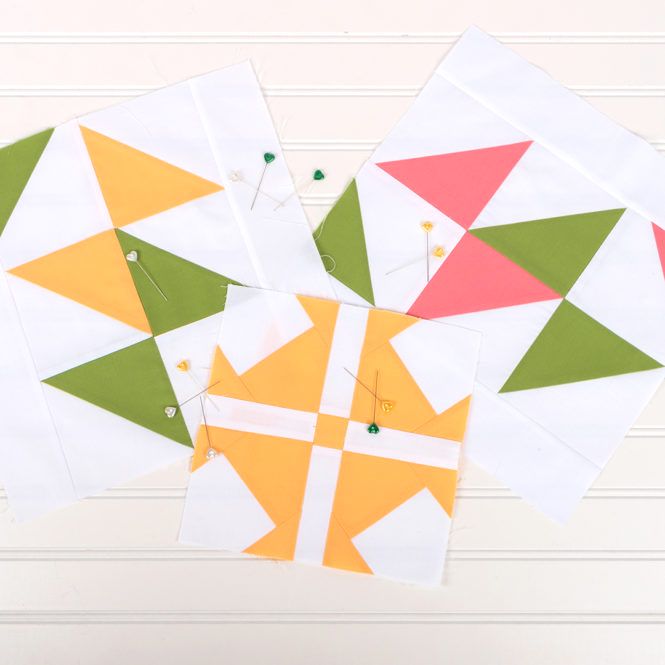 Week 2 - Buttered Pecan Block and the Coconut Block 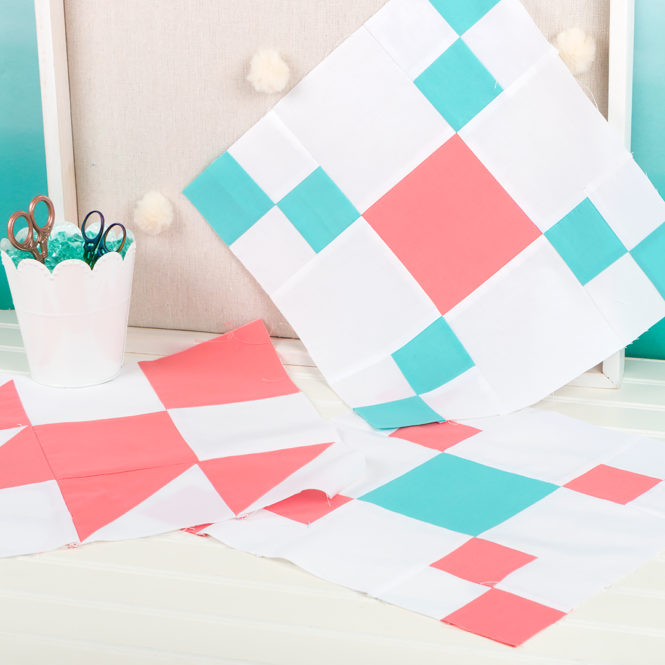 Week 3 - Coffee Block and Cookie Dough 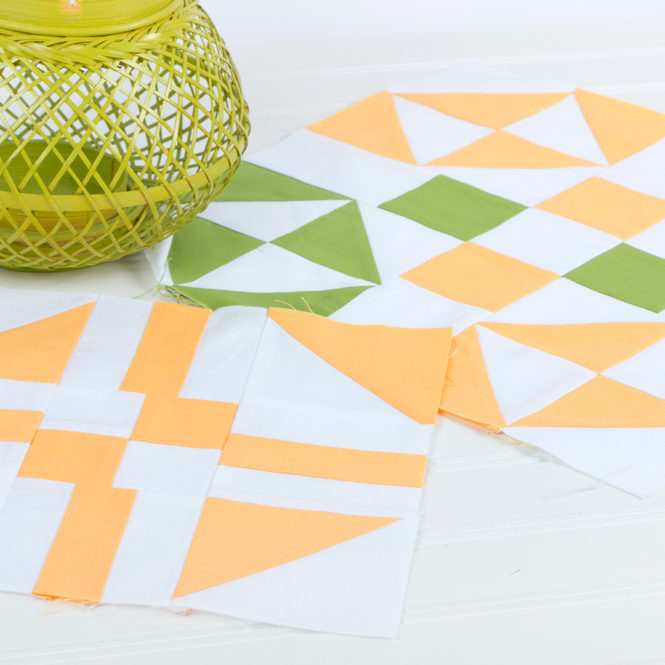 Week 4 - Cookies ‘n Cream and Cotton Candy Blocks! 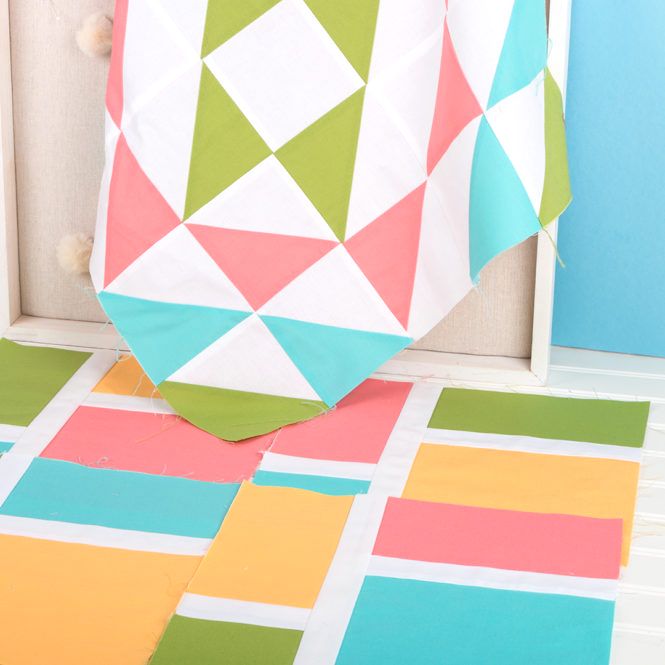 Week 5 - Dutch Chocolate and French Vanilla Blocks  Week 6 - Lemon Sorbet and Mint Chocolate Chip Blocks 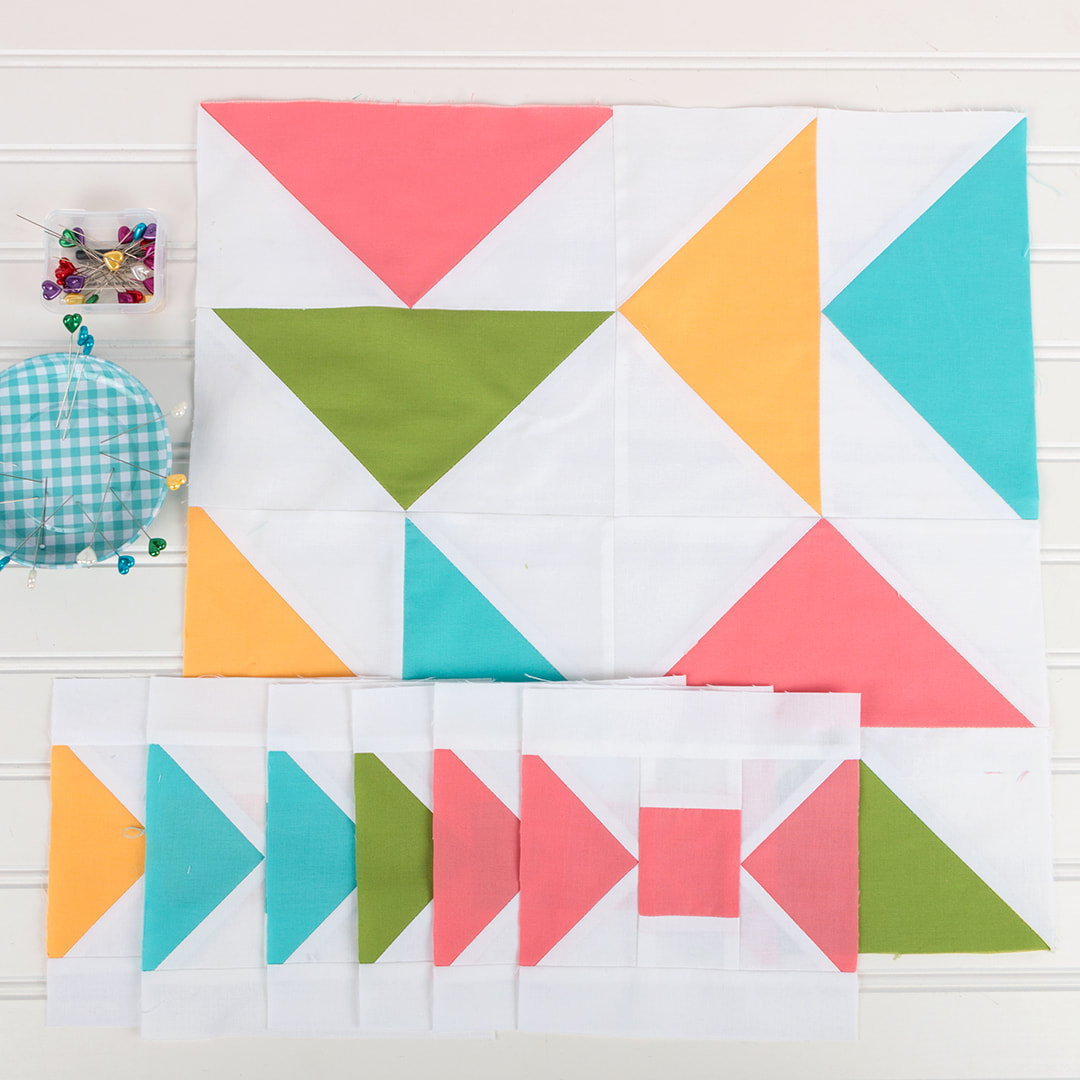 Week 7 - Neapolitan and Peaches ‘n cream Blocks 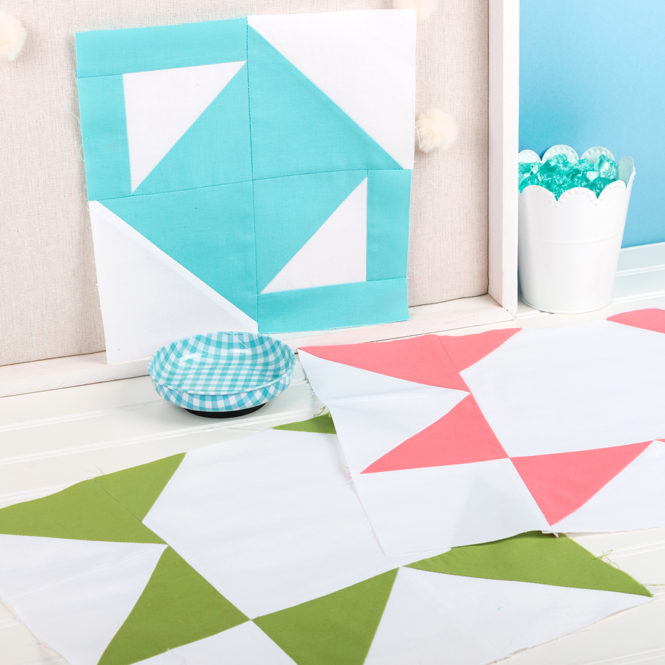 Week 8 (and almost final!) we making the Rainbow Sherbet & Rocky Road Blocks! Here's how it works! It’s Sew Emma has created 16 fabulous quilts featuring the Perfect 10 Ruler from Creative Grids and the beloved 10” square precut, the Layer Cake. With full color diagrams and clear instructions, this book is truly a “Perfect 10”! You can order the Perfect 10 Combo Pack to get both the book and ruler! This sampler quilt is a beautiful combo of all the quilt blocks from the book, so it's a great way to try them all out! Download out the full Fabric Requirements HERE and the finishing pattern here! We will be making blocks every Tuesday (#perfect10Tuesday) from October 9 to December 4! You will need the Perfect 10 book and Perfect 10 Ruler to help you complete the sampler quilt. Or you can get the Perfect 10 Book and Ruler Combo from The Fat Quarter Shop, it will get you all set up for the quilt along! 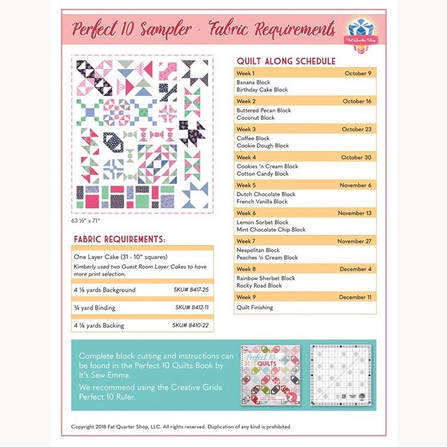 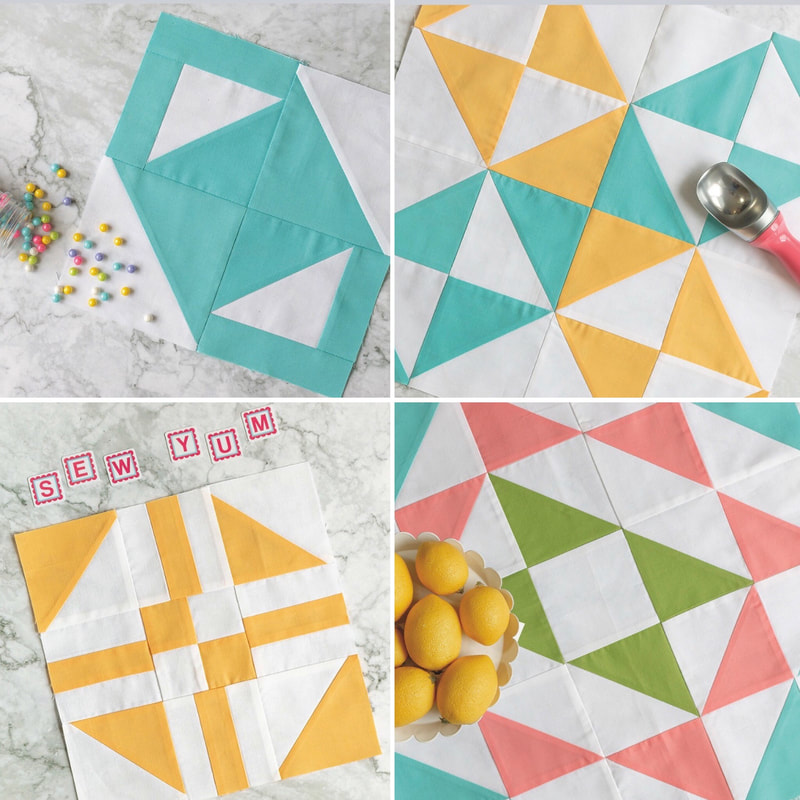 We’d love to see your Perfect 10 Sampler projects, share your blocks on Instagram or Facebook using #FQSPerfect10 so we can see! You can also check out some other talented bloggers sewing along too, there are some fabulous fabric being used for this one!
Greg of Grey Dogwood Studio Heidi of Buttons and Butterflies Jennie of Porch Swing Quilts Kim of Persimon Dreams Melanie of A Bit of Scrap Stuff Pam of Pam Kitty Morning Sinta of Pink Pincushion Sondra of Out of the Blue Quilts Find me on social media, I'd love to see what you're working on! Happy Quilting!! Hey Y'all! I am so excited to invite you to come check out my next LIVESTEAM, Kimberly Jolly, owner of The Fat Quarter Shop will be joining me in my tiny little sewing room to do some FMQ (free motion quilting). The live quilting fun starts at 9am CST Nov 29th, on YouTube or Instagram. But, if you miss it, that's ok too, it will be on YouTube forever, and you can scroll down to the bottom to watch. You should also subscribe to The Fat Quarter Shop's YouTube channel so you don't miss future updates, or become a paid member to get access to new top secret stuff, great discounts and lots of other goodies. 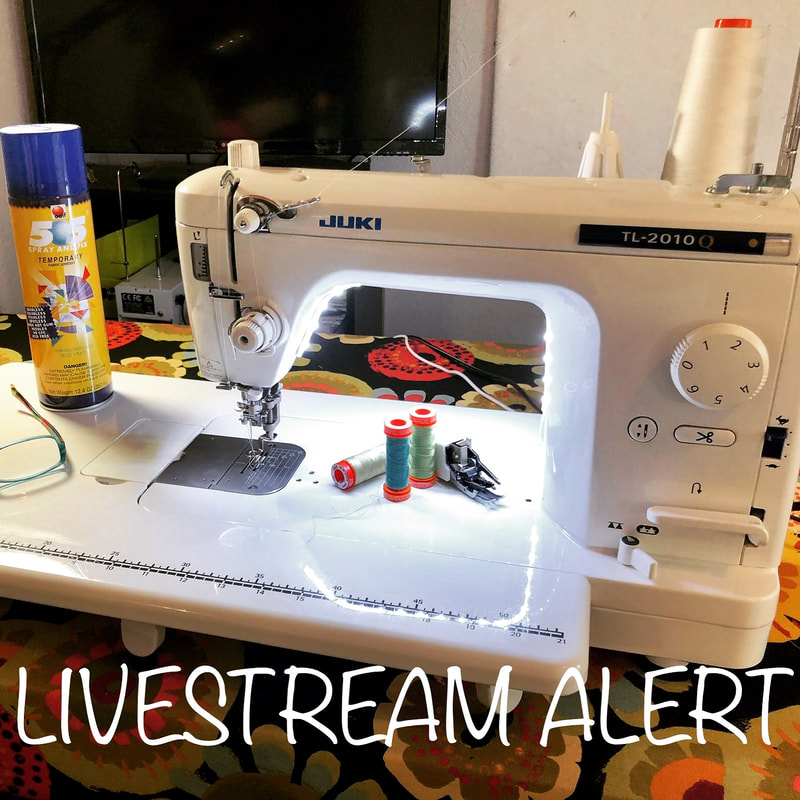 The last LIVESTREAM we did earlier this year we talked all about quilting on a long arm, but many of us do not have the space for a long arm, so it's great to learn to quilt them yourself. I quilted on my domestic machine for many years before I got my long arm, and it's a great way to really understand the entire process. It's also really great if you are on a budget, or if you need to get a quilt finished in a hurry! So put your feed dogs down, and lets get started!  I always get questions about tension, and this diagram has always been very helpful for me as I sew. You might like it too!! :) The first thing we need to do after we have our quilt top and backing all finished, is to get the 3 layers basted. The best way that I found to do this is on a tile or hard wood floor, or a large table if you have one available. Here is what you will need.... 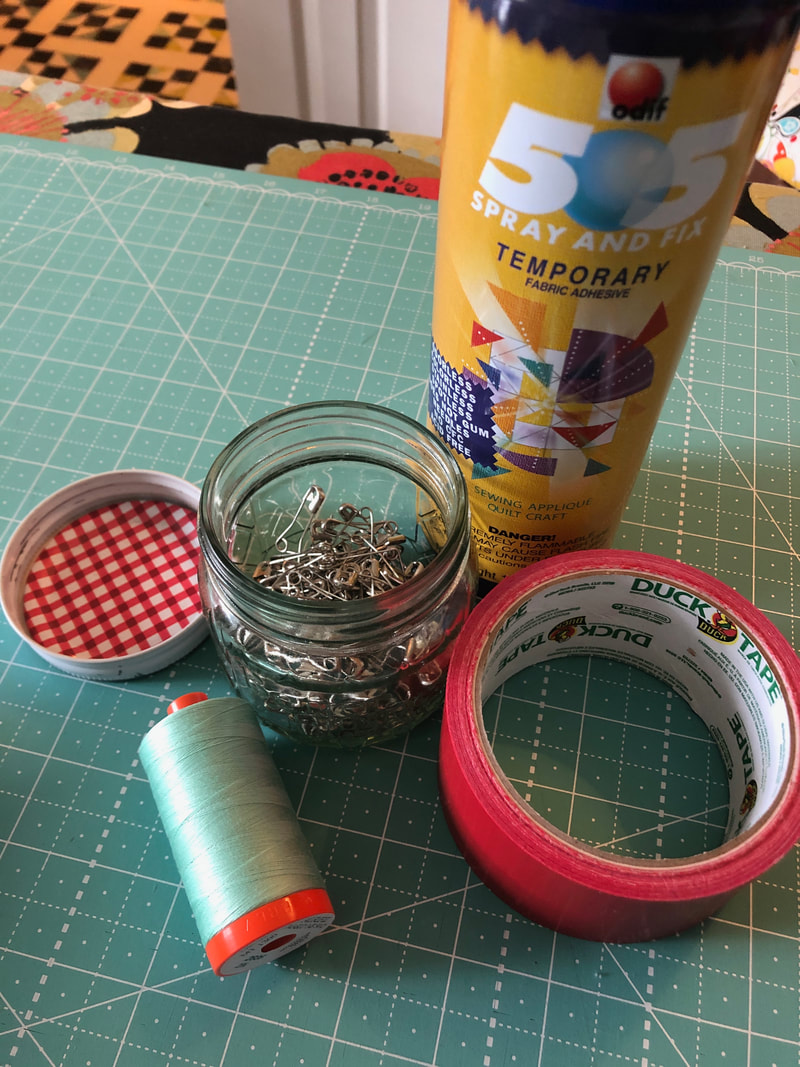 I like the 505 Basting spray best, I have tried others in a pinch and nothing works as well as this one, in my opinion. You can order it on Amazon or get it from Walmart of most craft stores, it's great because I have never had the needle get all sticky like other sprays do sometimes. You will also need curved safety pins, and some duck tape, red is my favorite color so that's what I use. But, I hear Fat Quarter Shop is going to stock some snazzy colors soon, so you can get that when you order your safety pins, needles and Aurifil Thread. OOOh are you getting excited?  Ok, so I lied, this part really isn't exciting, it kinda sucks, but it doesn't take that long, and you will be so proud of yourself when you are done!! I never could afford to use a long arm quilter when I first started quilting, so I taught myself how to finish them myself. I think it's important to do at least one or two quilts all the way through, just because you really get the feel goods when you can say you did it all yourself! If nothing else, it will make you appreciate all the requirements that the long arm quilter has. ***OK First, I put my quilt backing on the tile floor with the pretty side facing down, then I put my batting on top of that. Make sure your backing and batting are at least 4-5 inches bigger on all 4 sides than the quilt top, because it will shrink up unevenly around the edges after you push it around the machine. ***Next, you need to lay your quilt top with the pretty side up, in the center of your batting, and you now its time to watch the video.... 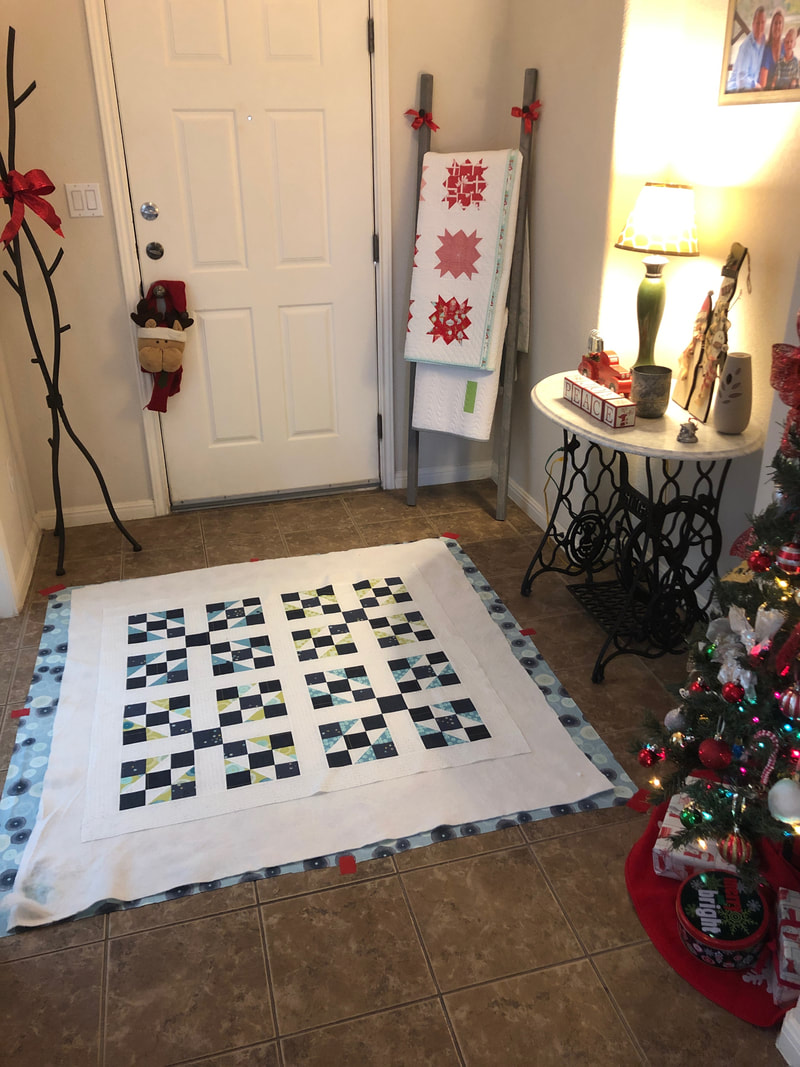 So once you let your spray dry for a few minutes, you will then need to secure the quilt with the curved safety pins. I put some on all 4 corners, then throughout the center in several spots, the more spray you use, the fewer pins you will need. So here is what it looks like after I added my pins. 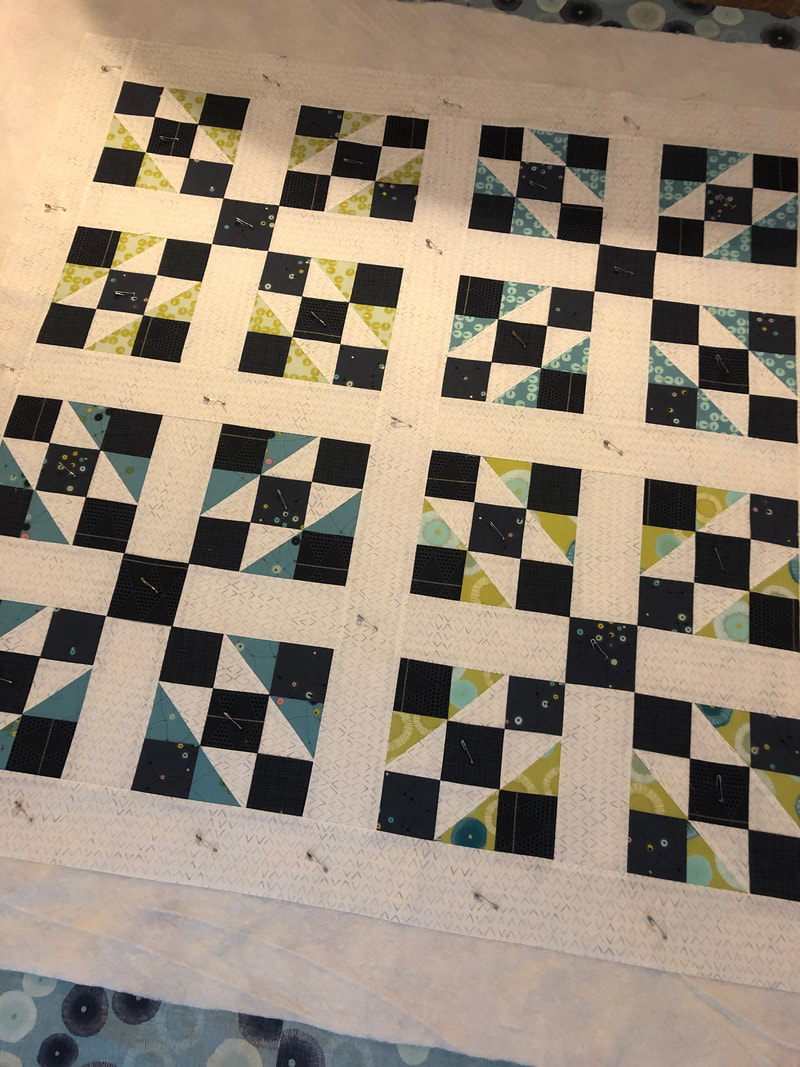 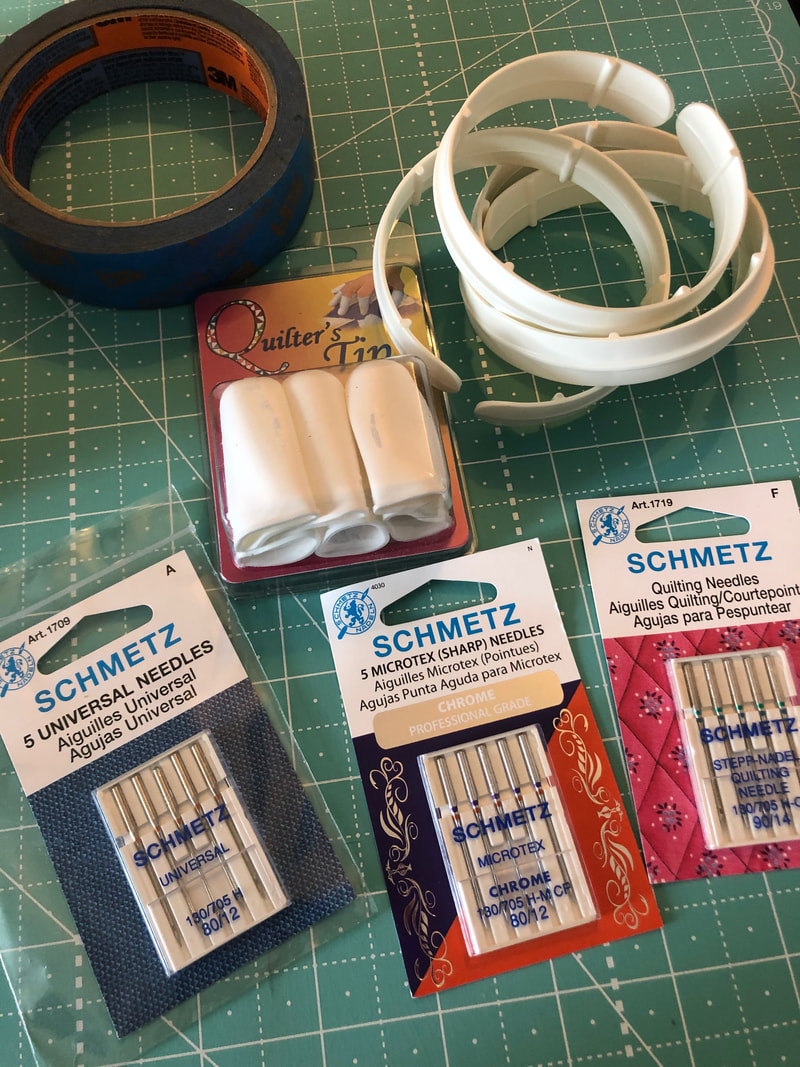 Here are a few of the other items you will need to get started.... The Aurifil 50 Thread works great in my machine with the 90/14 quilting needles, so that is what I would suggest. Fat Quarter Shop has a fabulous selection of quilting supplies with lots of new items stocked every day to help you. The 80/12 needles are sometimes too small and I get skipped stitches or uneven tension. But you might do some testing with your own machine and see what results you like best. I also use painters masking tape when I quilt, it's great to lay from one side to the other to get straight lines with your walking foot. The quilt clips here are good to hold the rolled side of the quilt while you work. Then no FMQ (free motion quilting) is complete without some kind of quilting gloves or tips. These will just help you get some traction when you push your quilt under the needle. Since you are moving the quilt not the needle, it helps to be able to get a good grip. I hope you will check out my LIVESTREAM for all kinds of tips and tricks to finish your quilt on your domestic machine. The Fat Quarter Shop has another Shortcut Quilt!
|
AuthorHey Y'all, I'm Gina Tell! I live on Lake Travis just North of Austin Texas. I'm a full time long arm quilter and lover of all this art and outdoors!! 
|